Materials, Manufacture
and Assembly
of our Yurts
Our yurts, made from the finest materials, offer a warm, comfortable and bright home adapted to the European climate. They are ethically sound and blend harmoniously into their natural surroundings.
Features, materials and finishes
5 diameters to choose from
We offer yurts with a floor diameter of:
- 4m (giving a floor area of 12.5m²),
- 5m (19.6m²),
- 6m (28.2m²),
- 7m (38.5m²) and
- 8m (50.3m²)
offering the right solution for most needs.
Do you need more space for your project?
Have you thought about semi-detached yurts?
In any case, don’t hesitate to contact us.
2 wall heights
Classic
With a lattice height of 160cm, the maximum total height is 320cm*.
Raised
The 180cm height of the trellises, for a maximum height of 340cm*, makes for a more comfortable living space, with the possibility of accommodating activities that require high ceilings, such as workshops, areas dedicated to yoga or other physical exercises.
*for a model with a floor diameter of 8m.
Natural materials
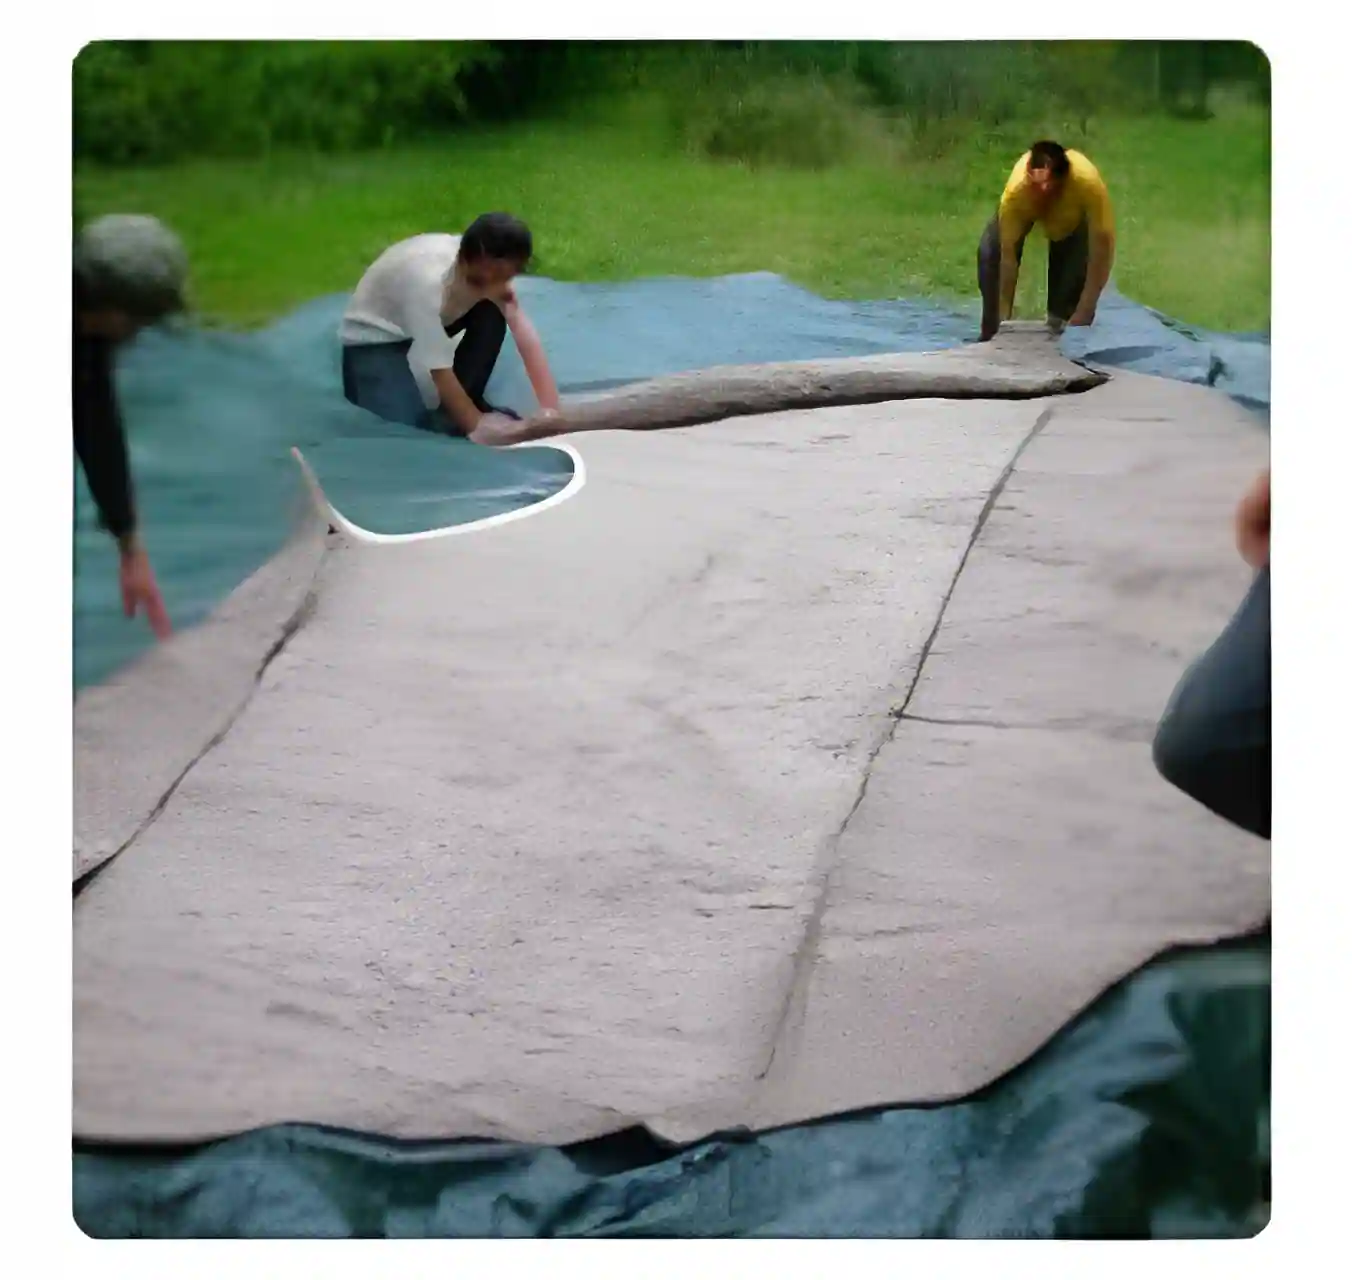
Our ‘breathable’ natural canvas and insulation limit the formation of condensation, even in prolonged periods of rain.
Outdoor canvas
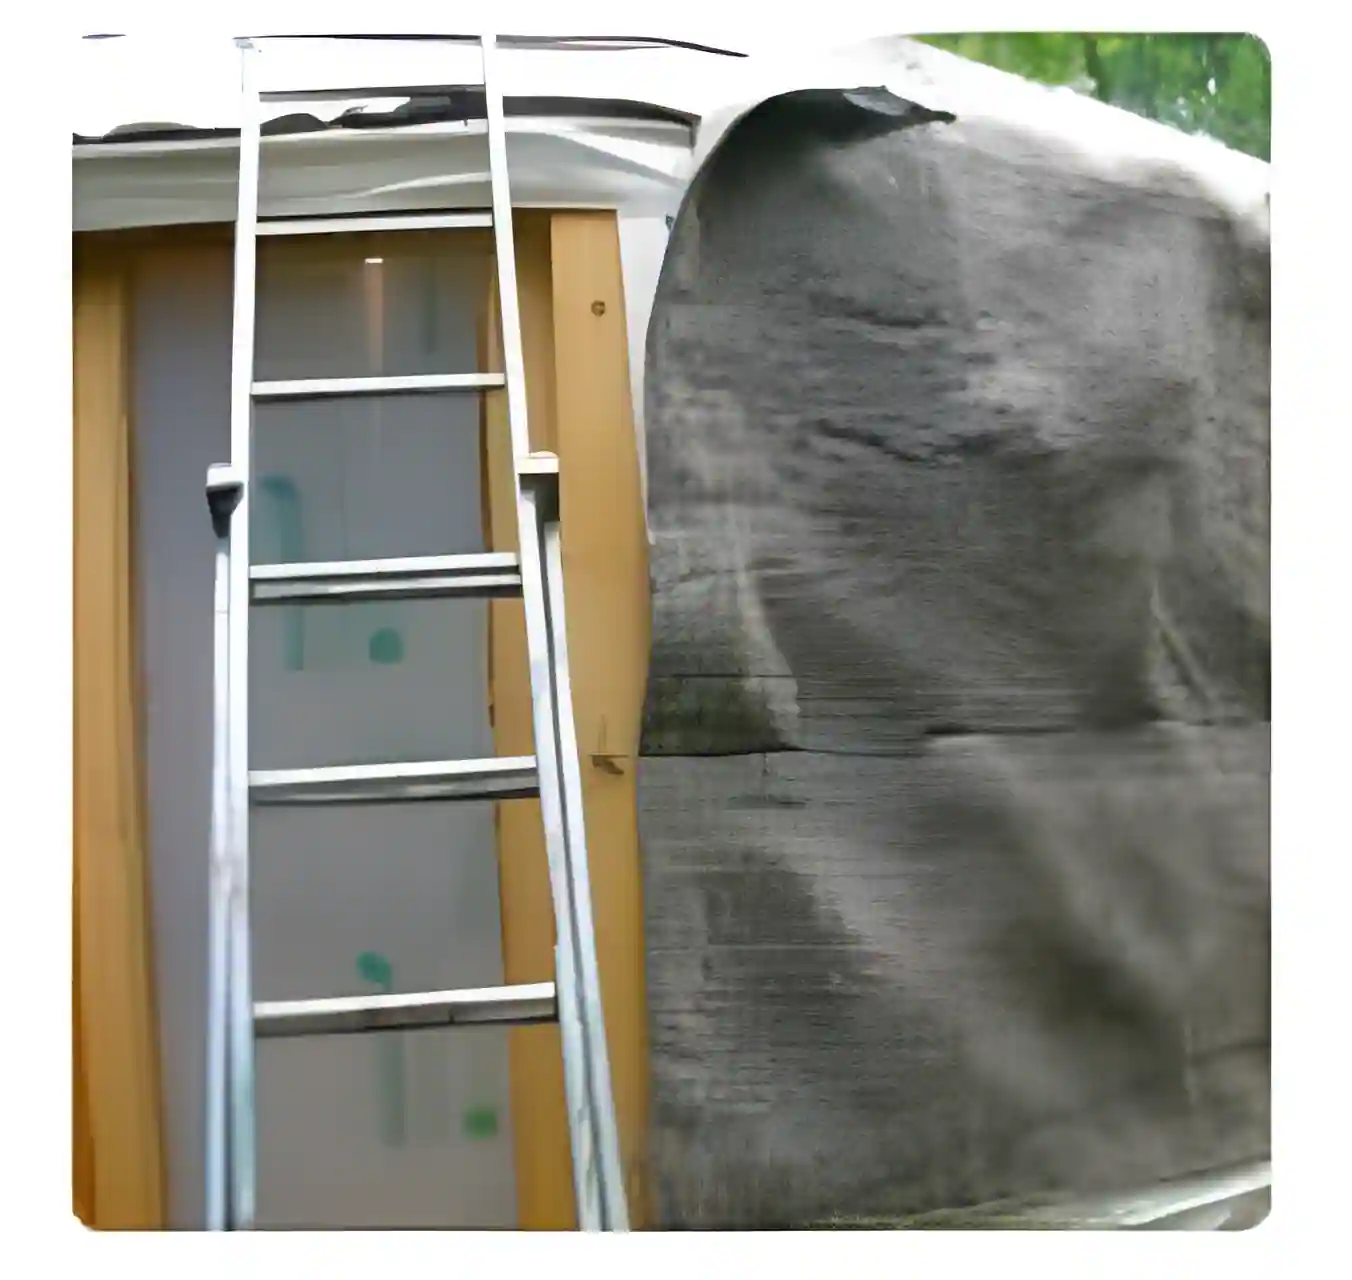
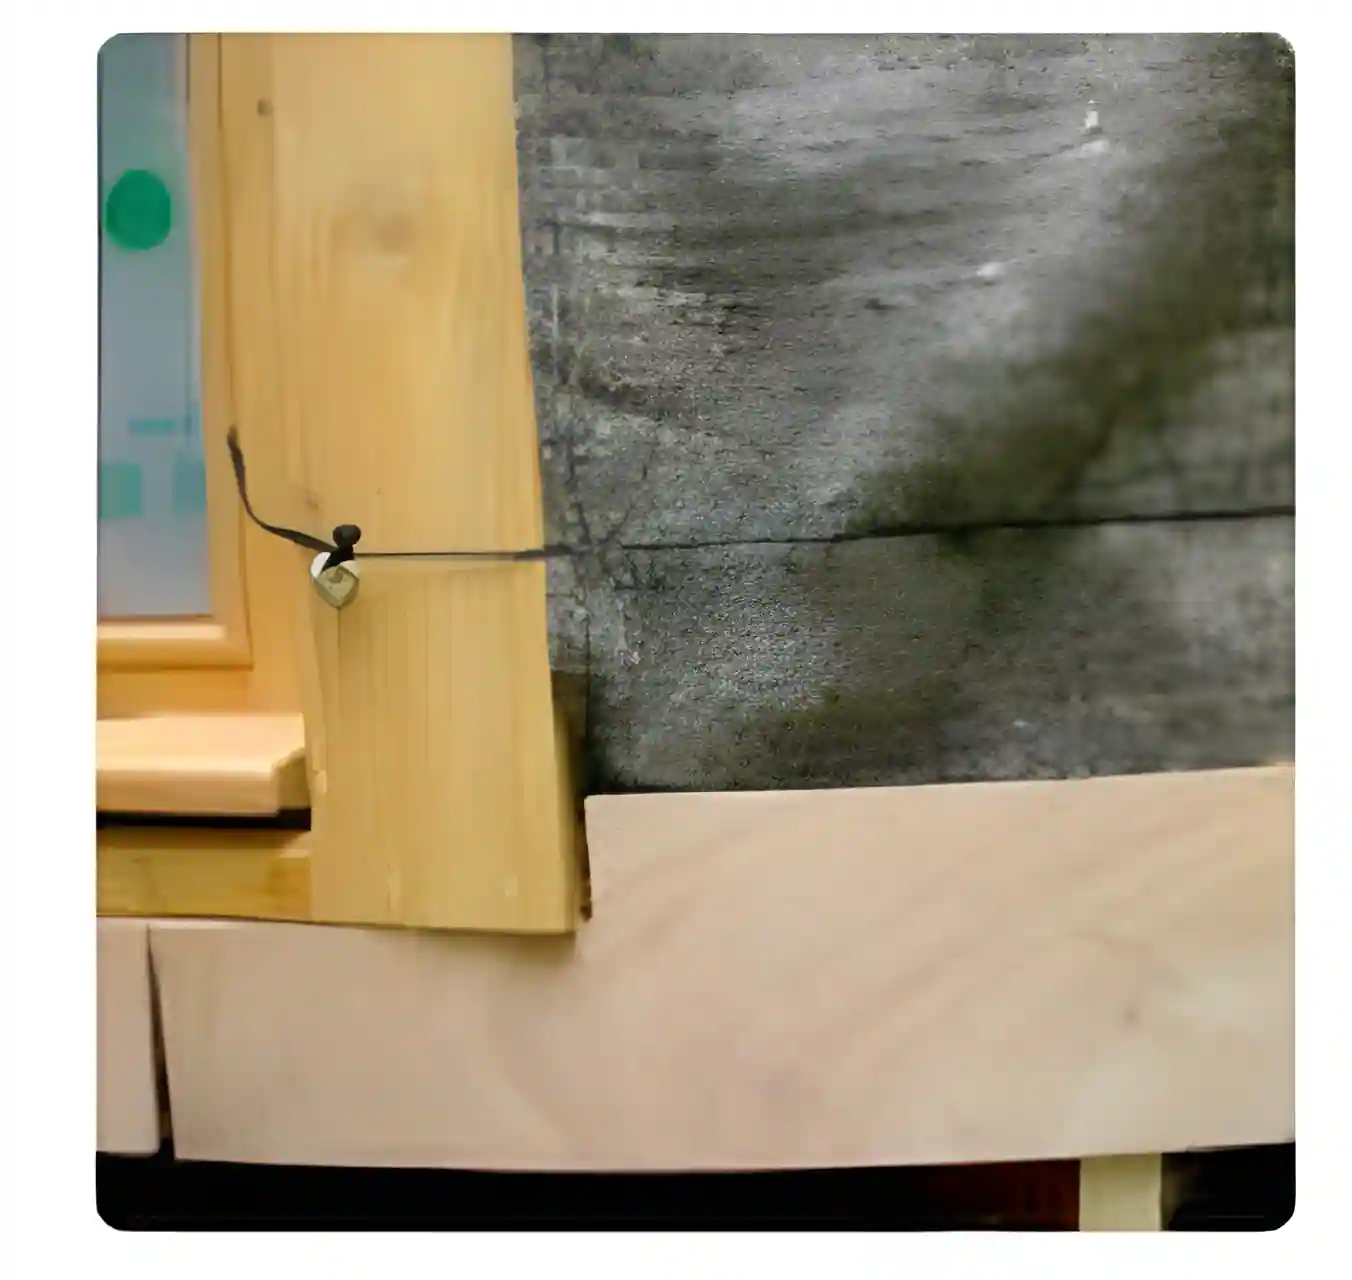
100% nautical grade acrylic, UV and mould resistant, Oeko-tex certified.
Windows and doors
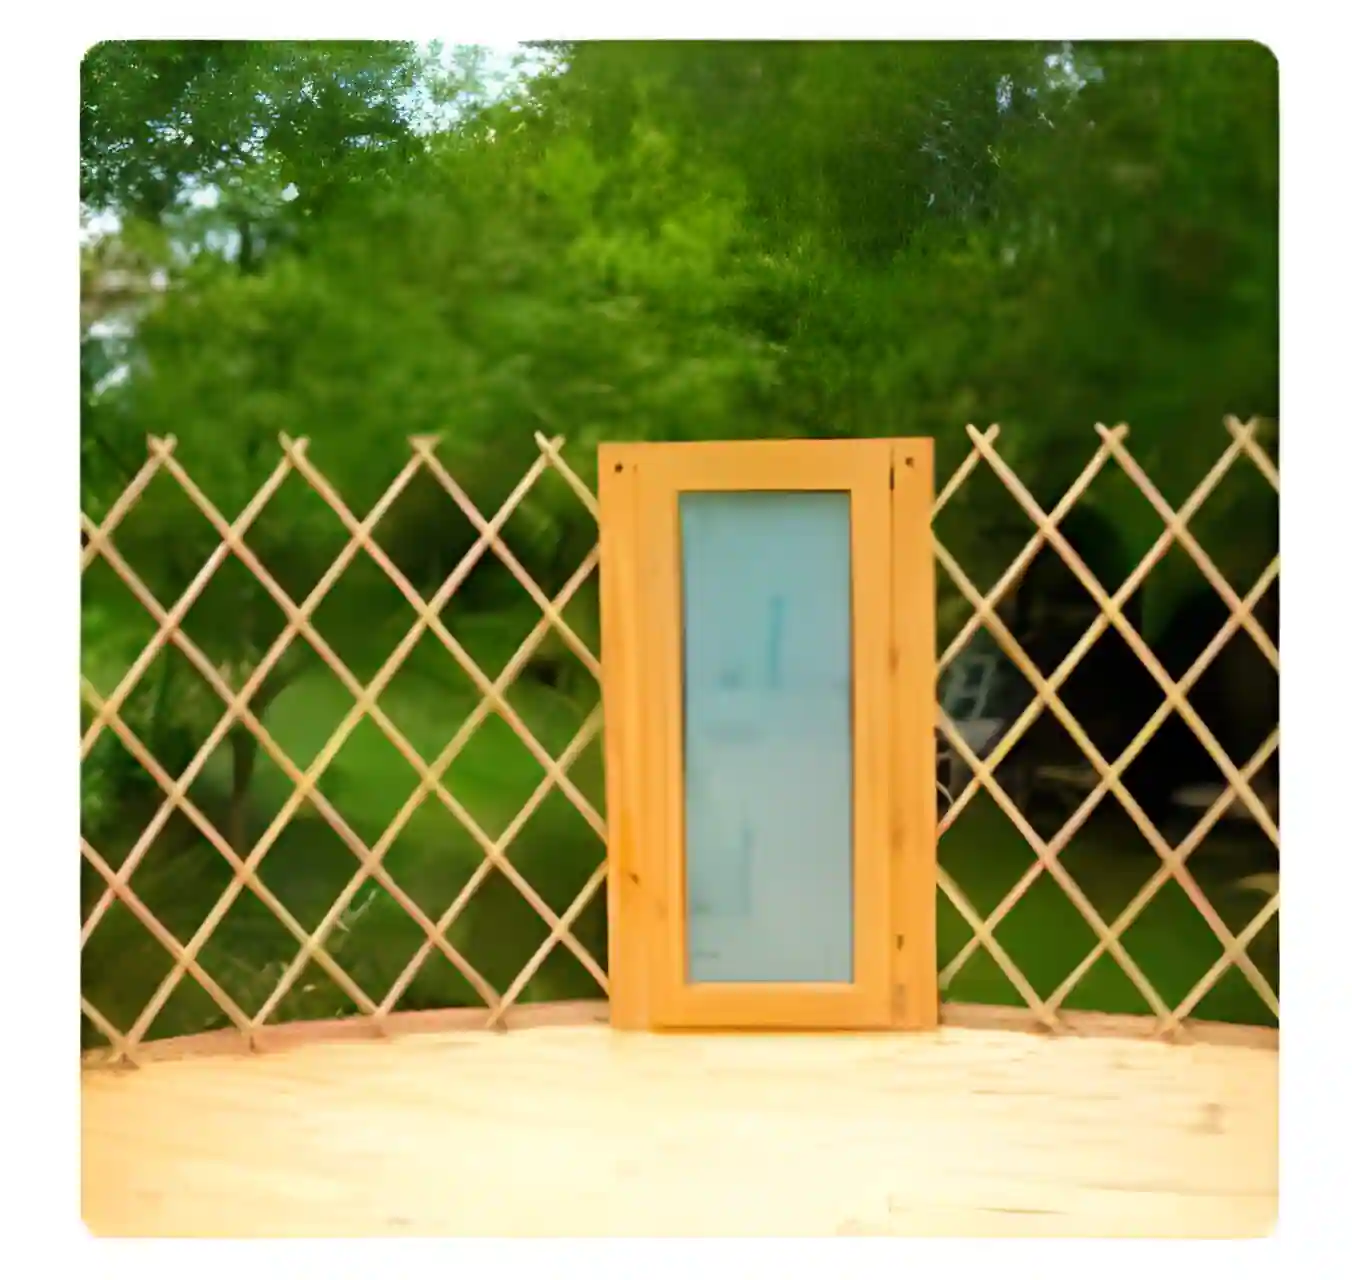
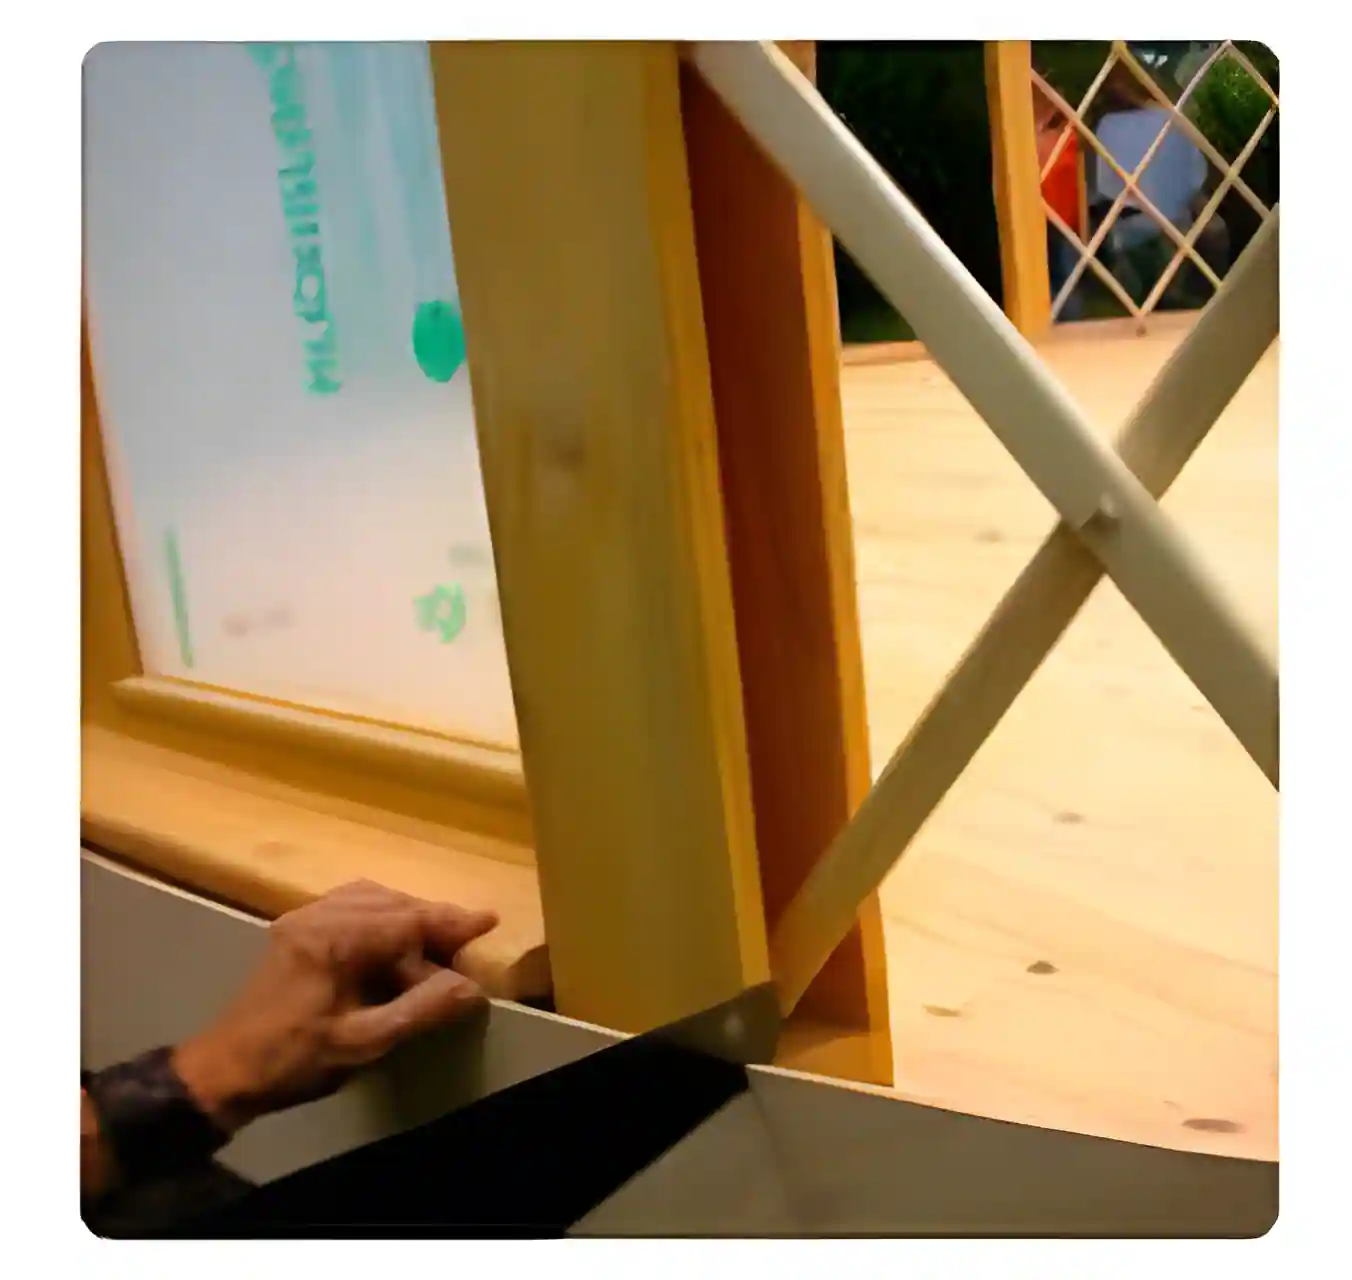
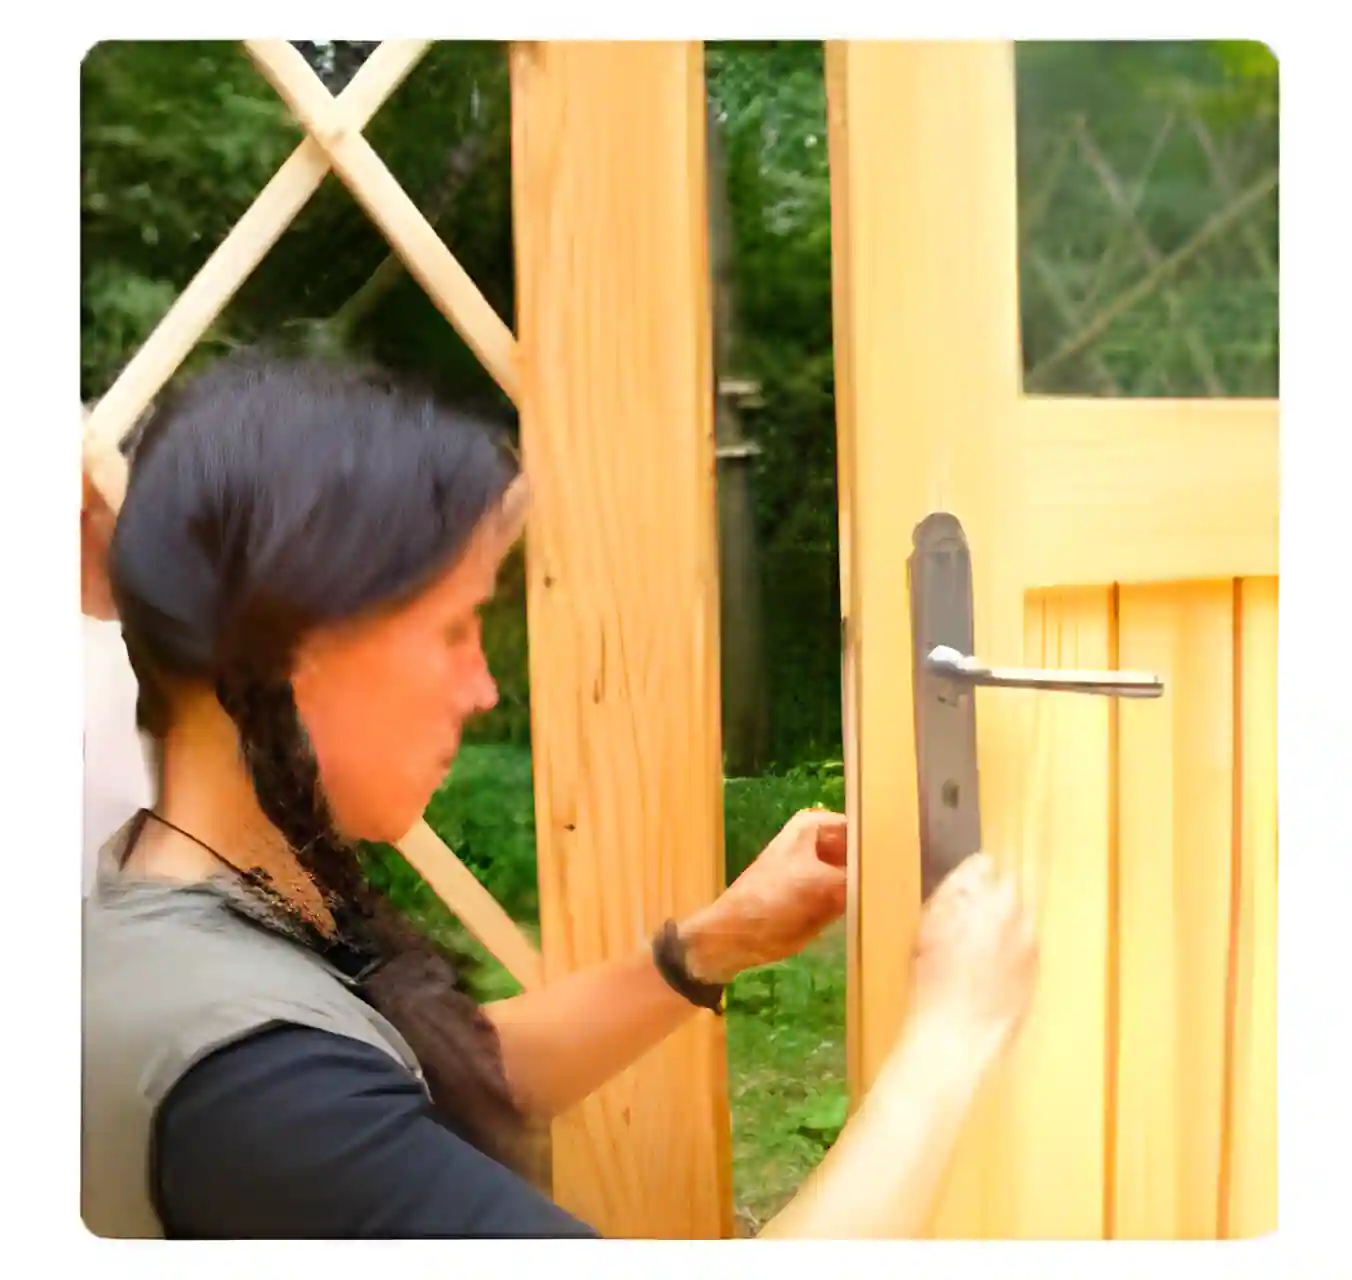
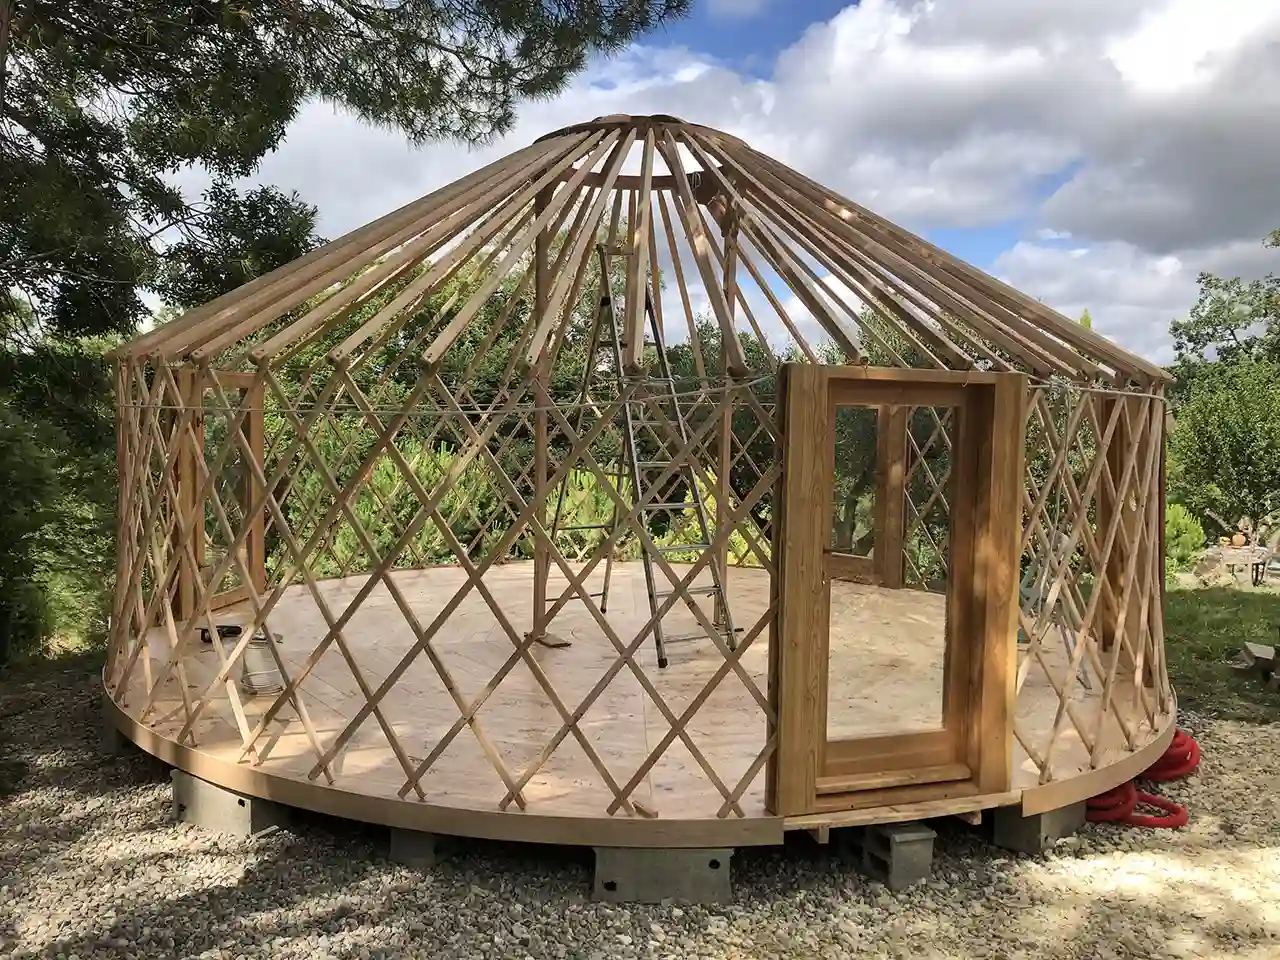
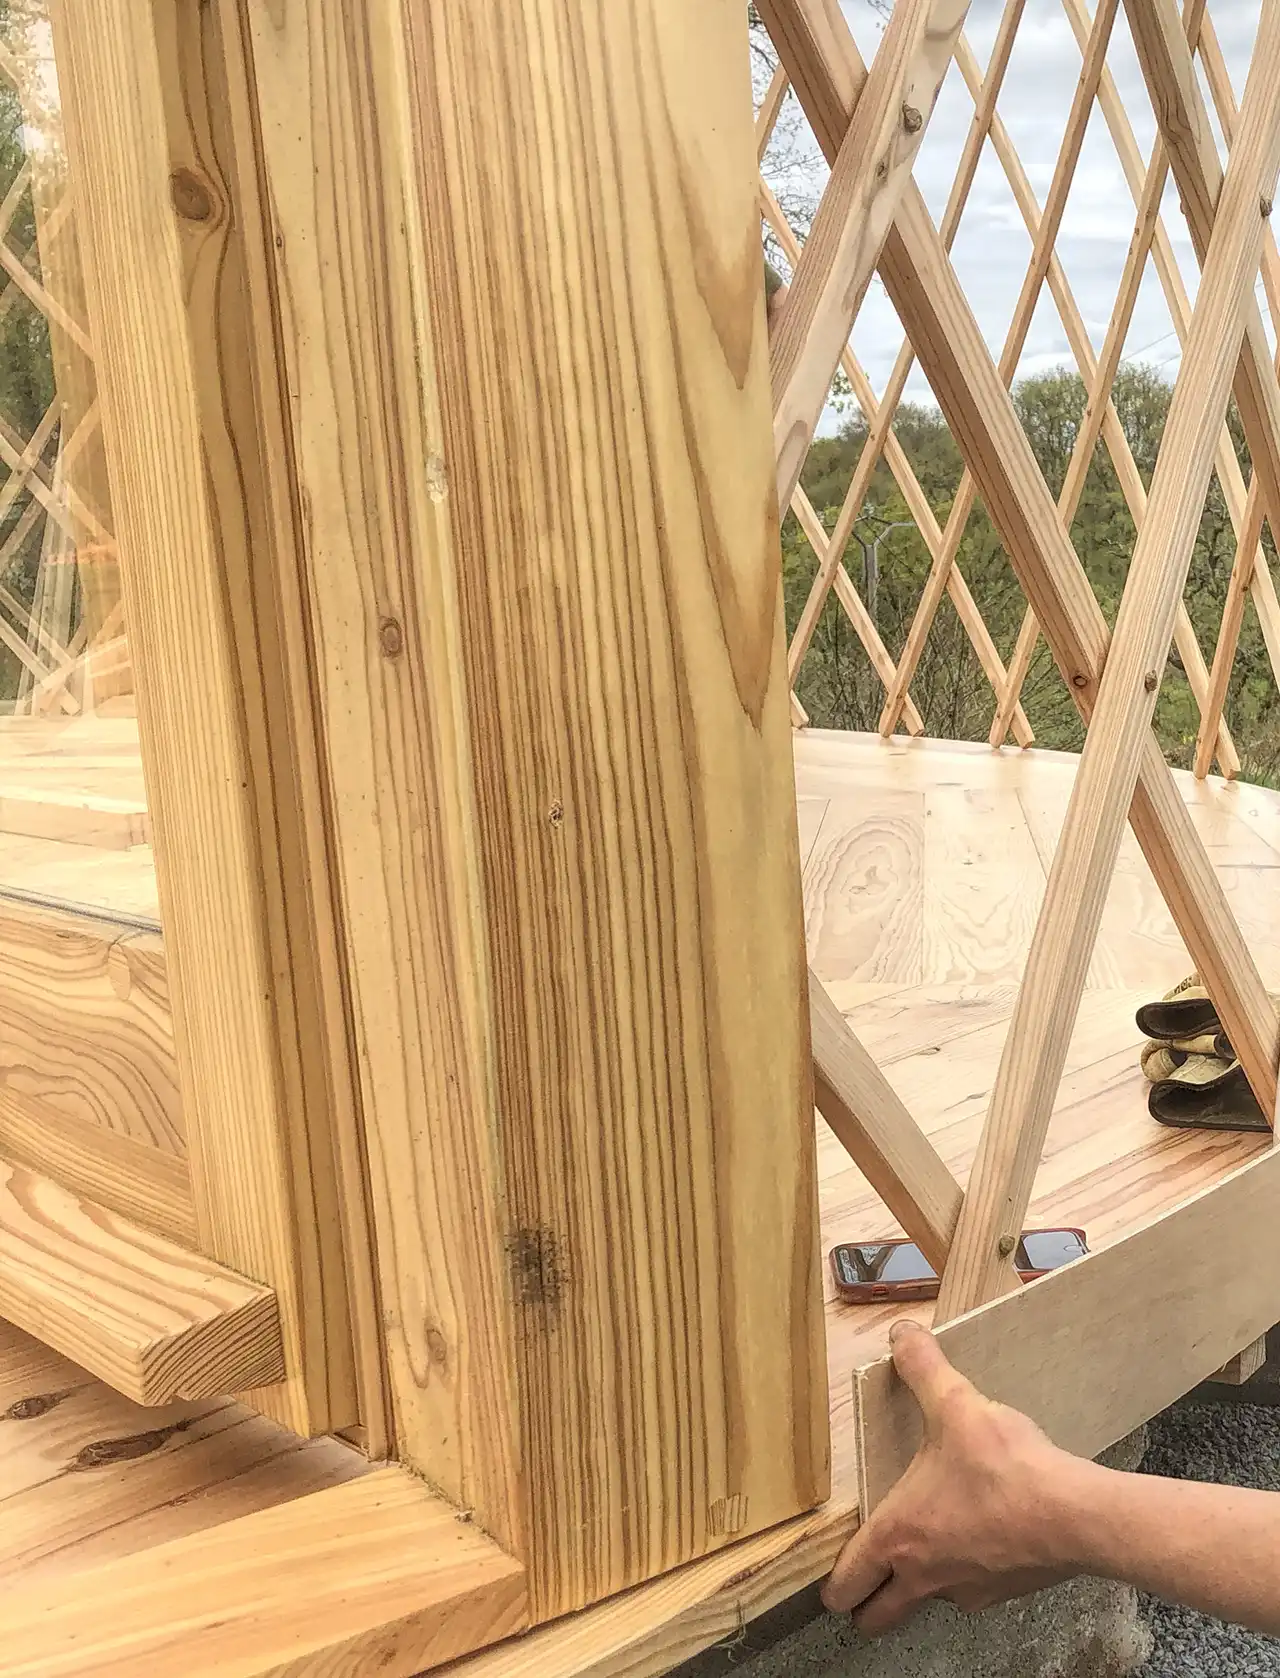
Larch, double-glazed or plexiglass, impact-resistant.
Structure
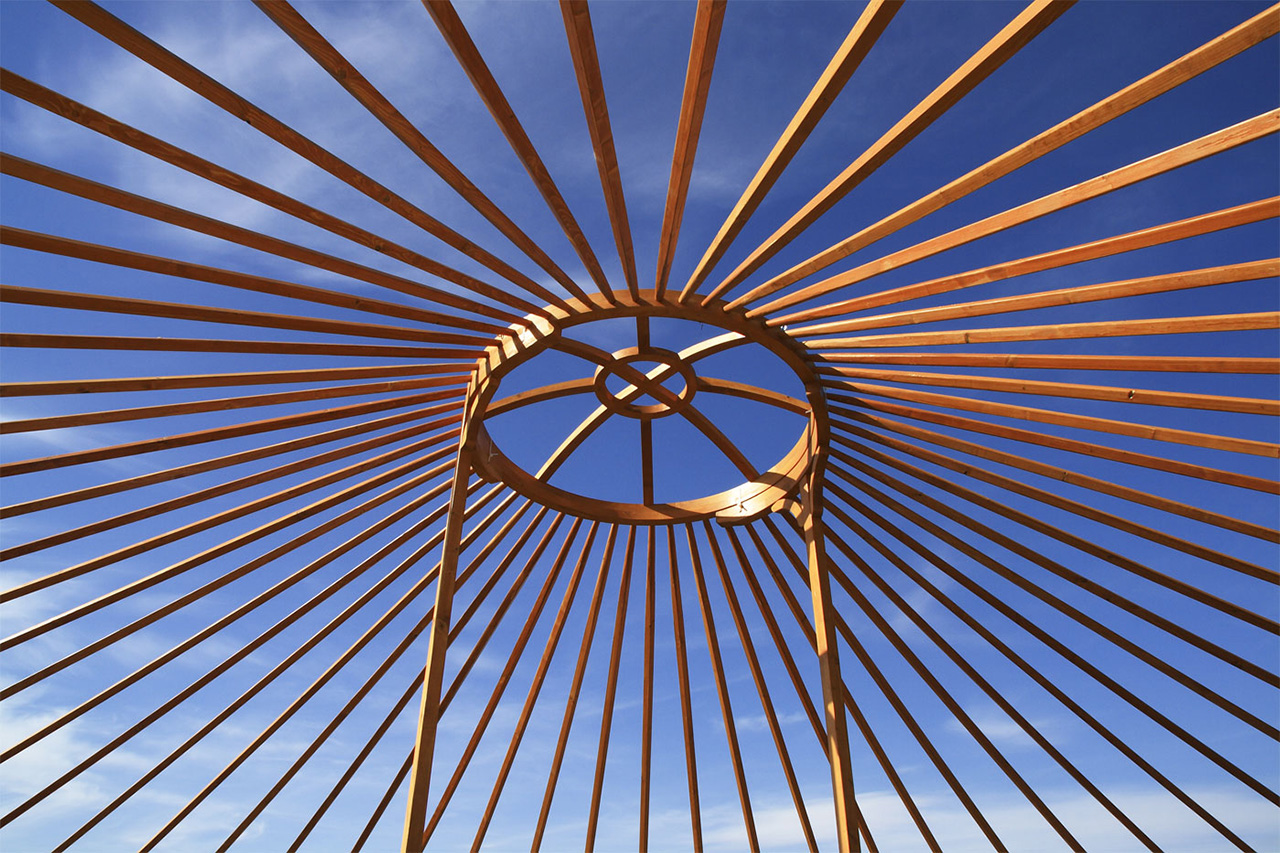
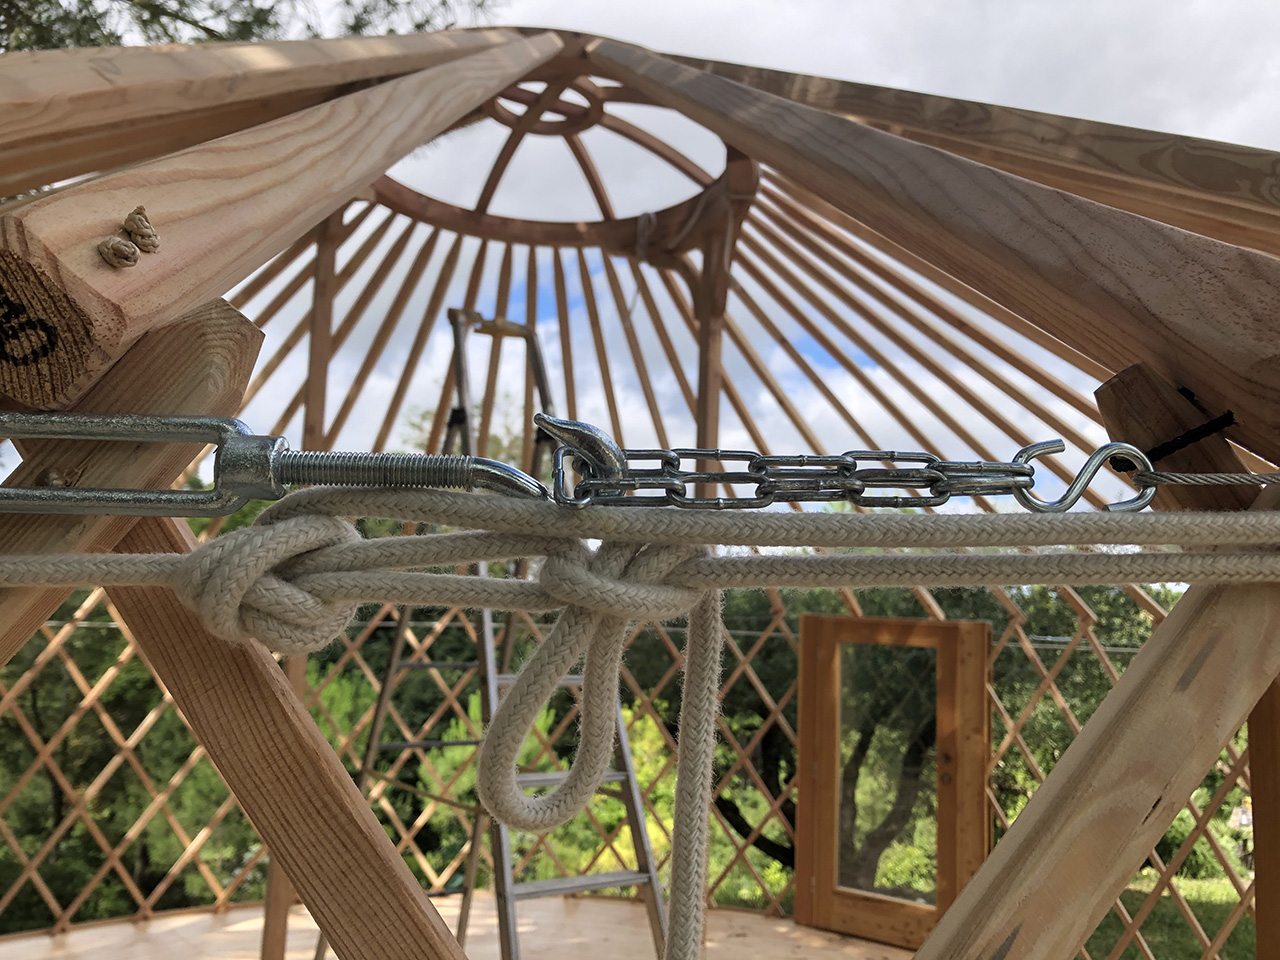
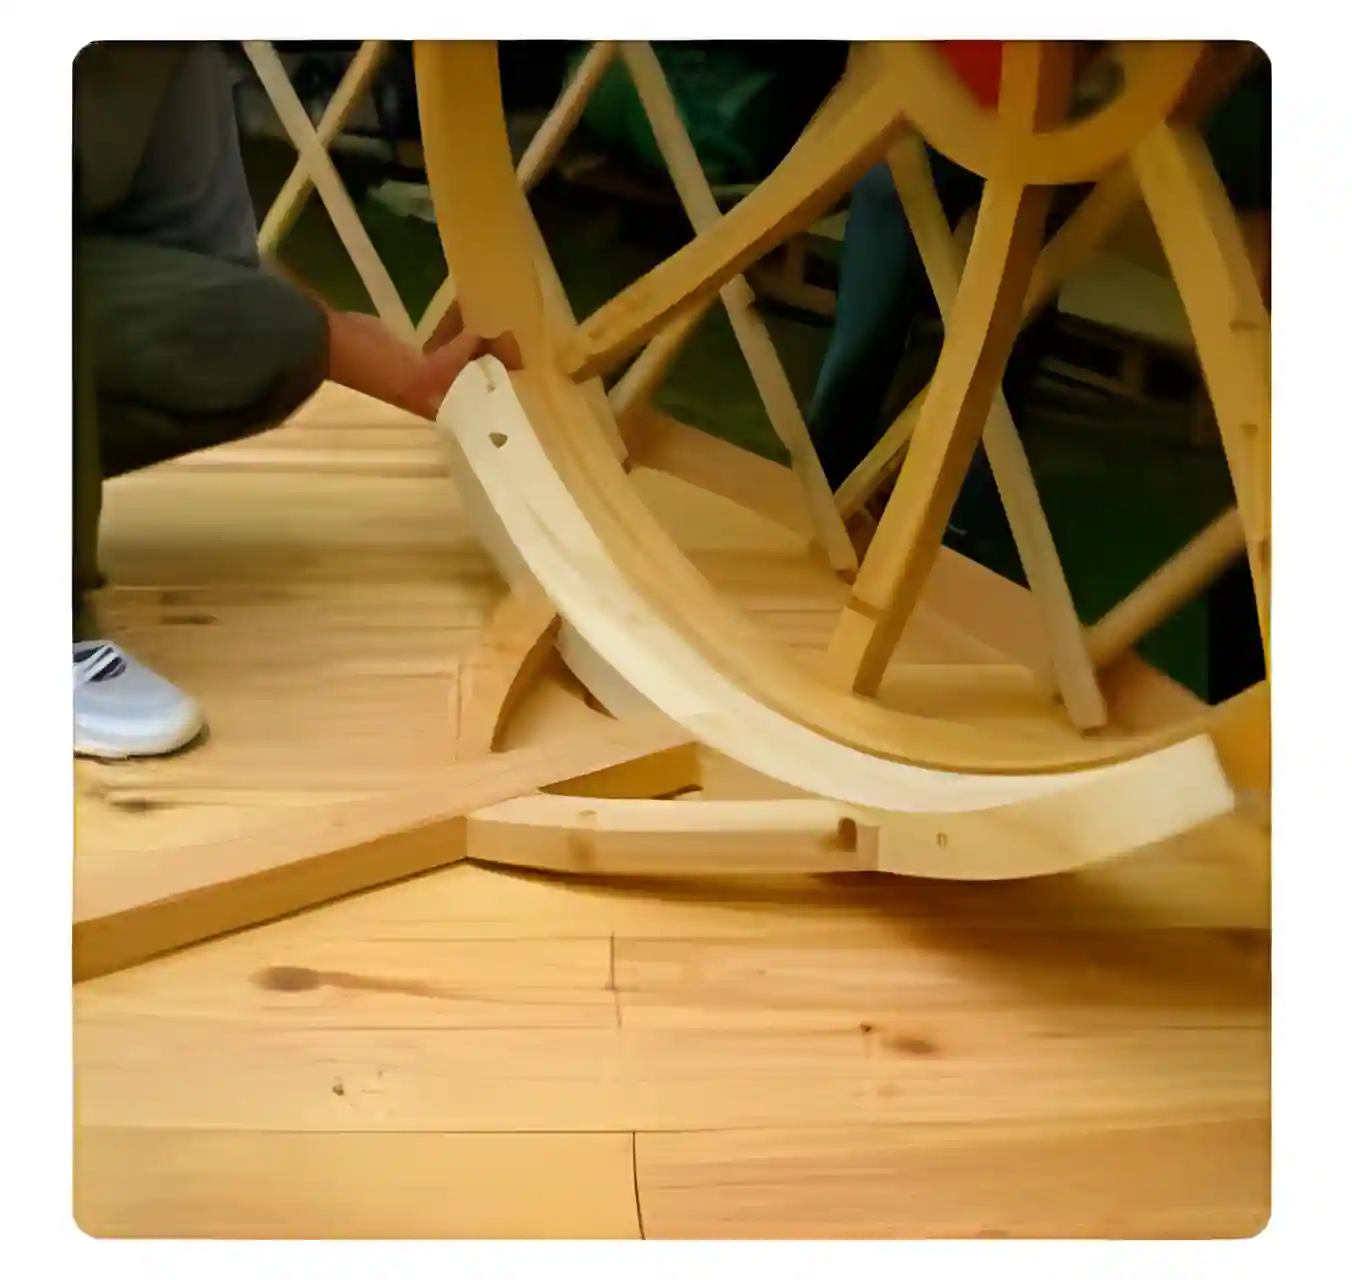
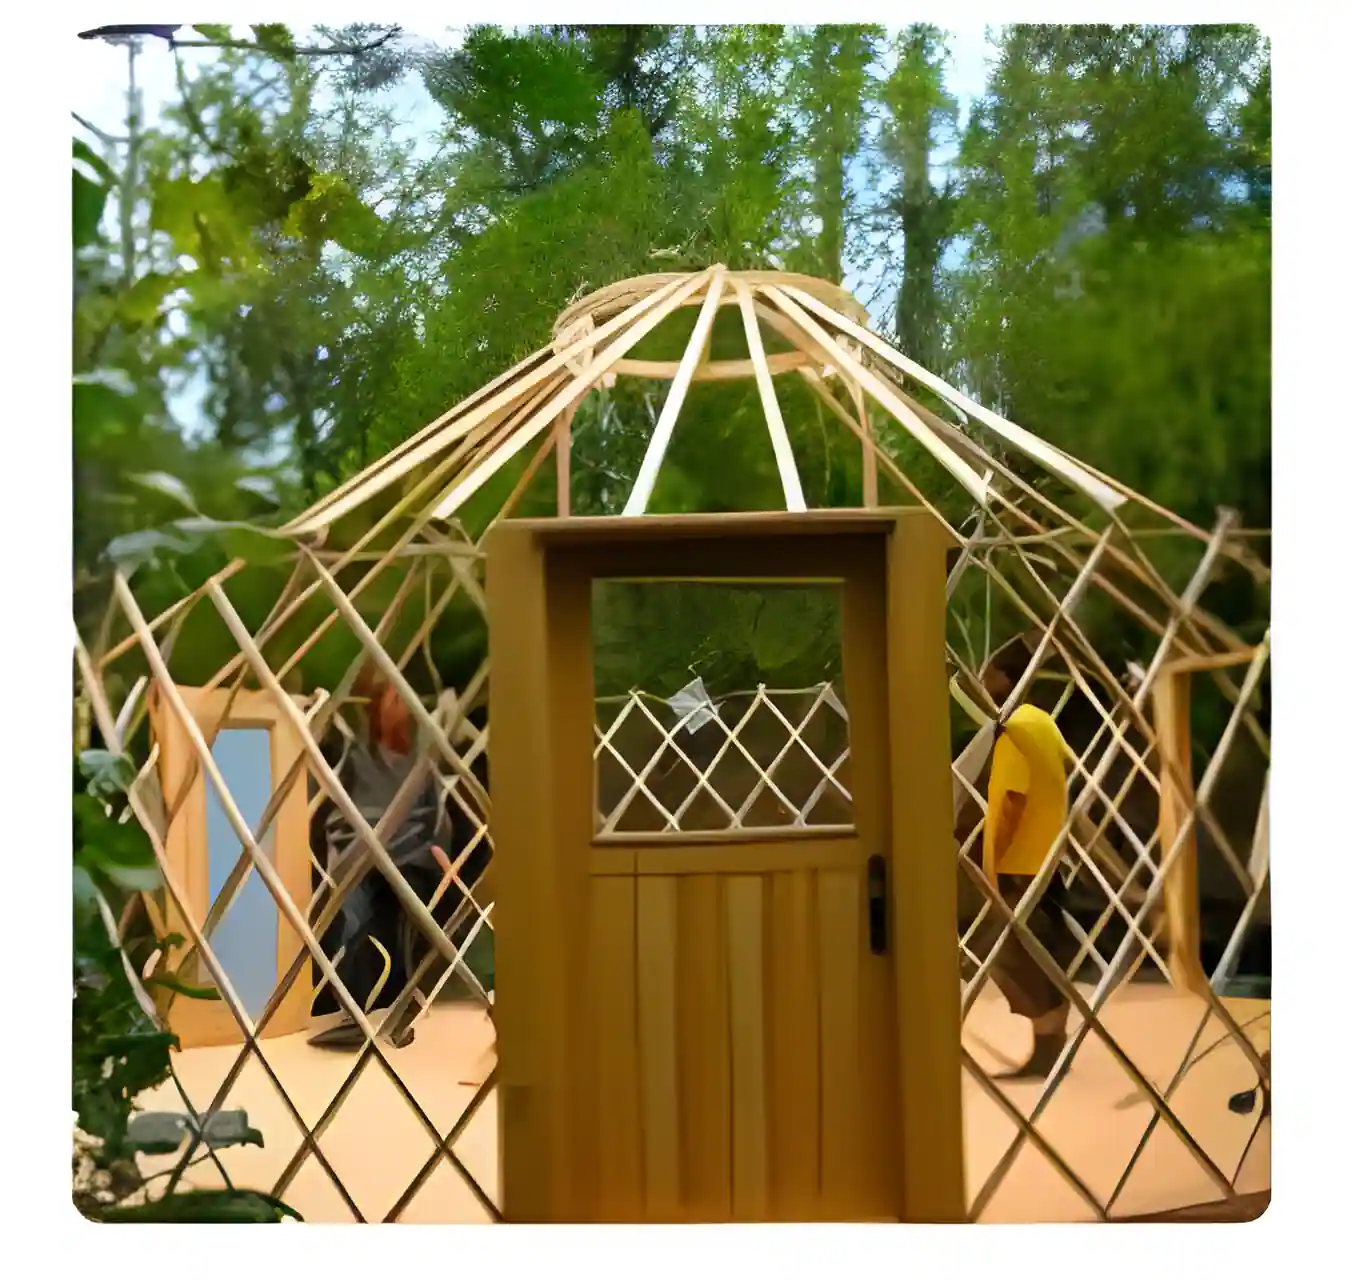
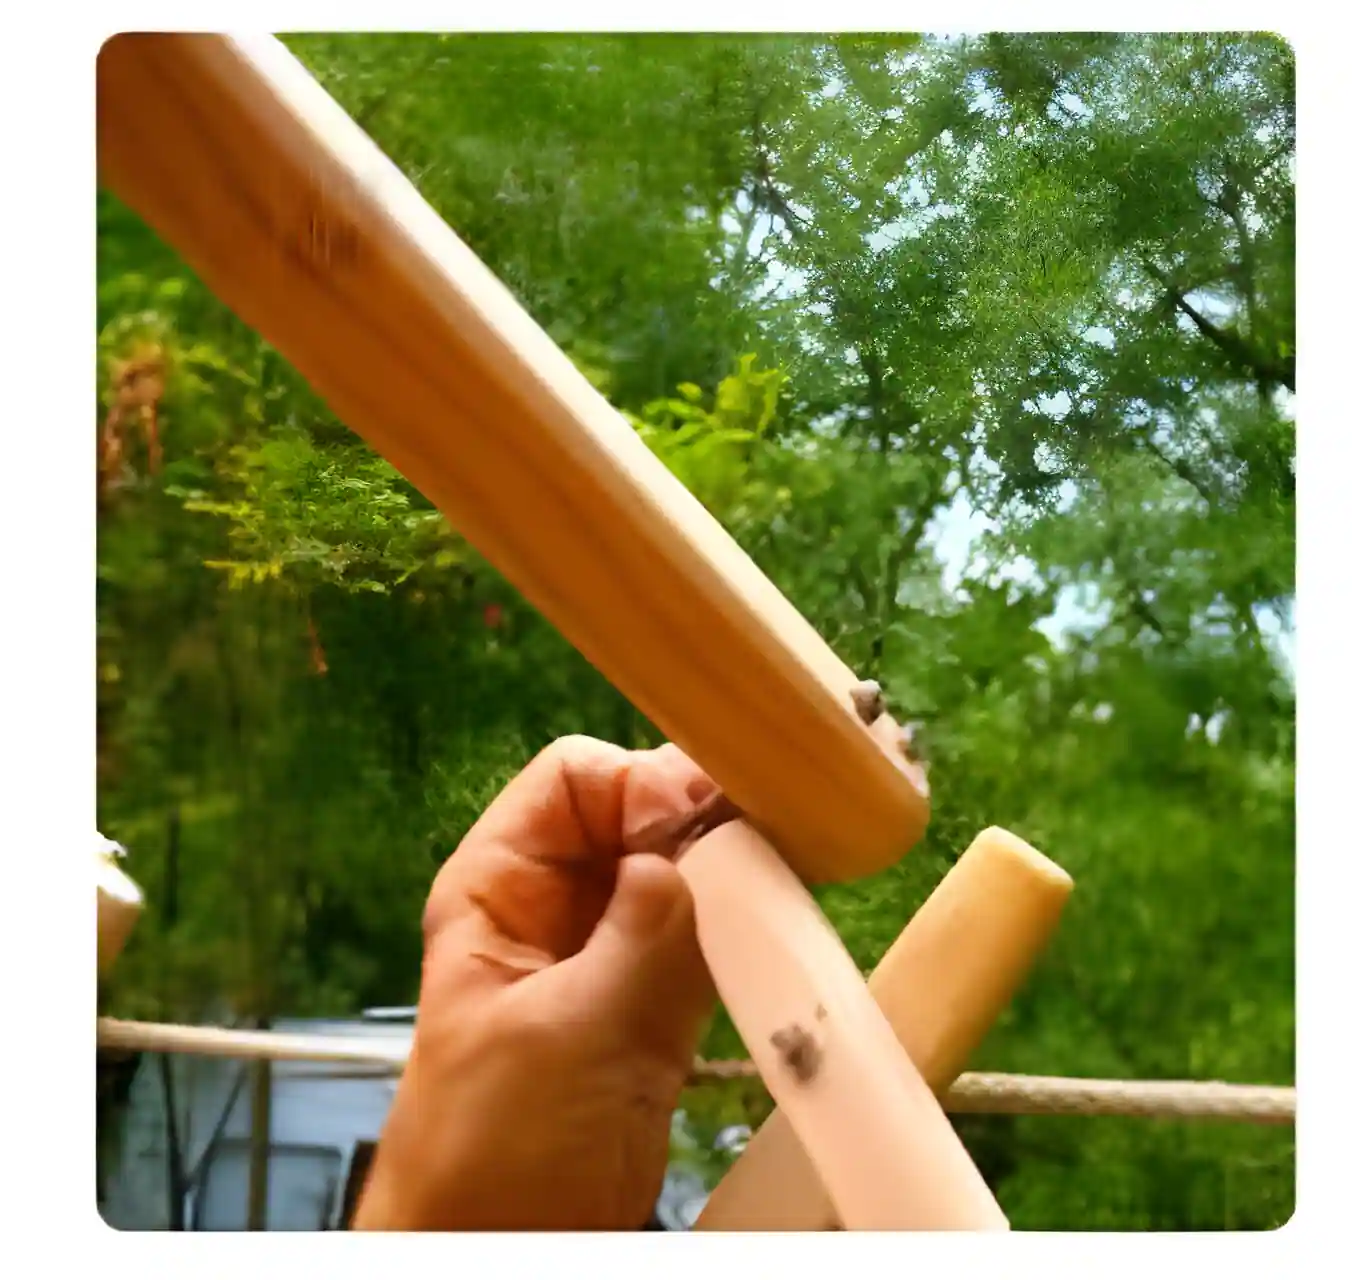
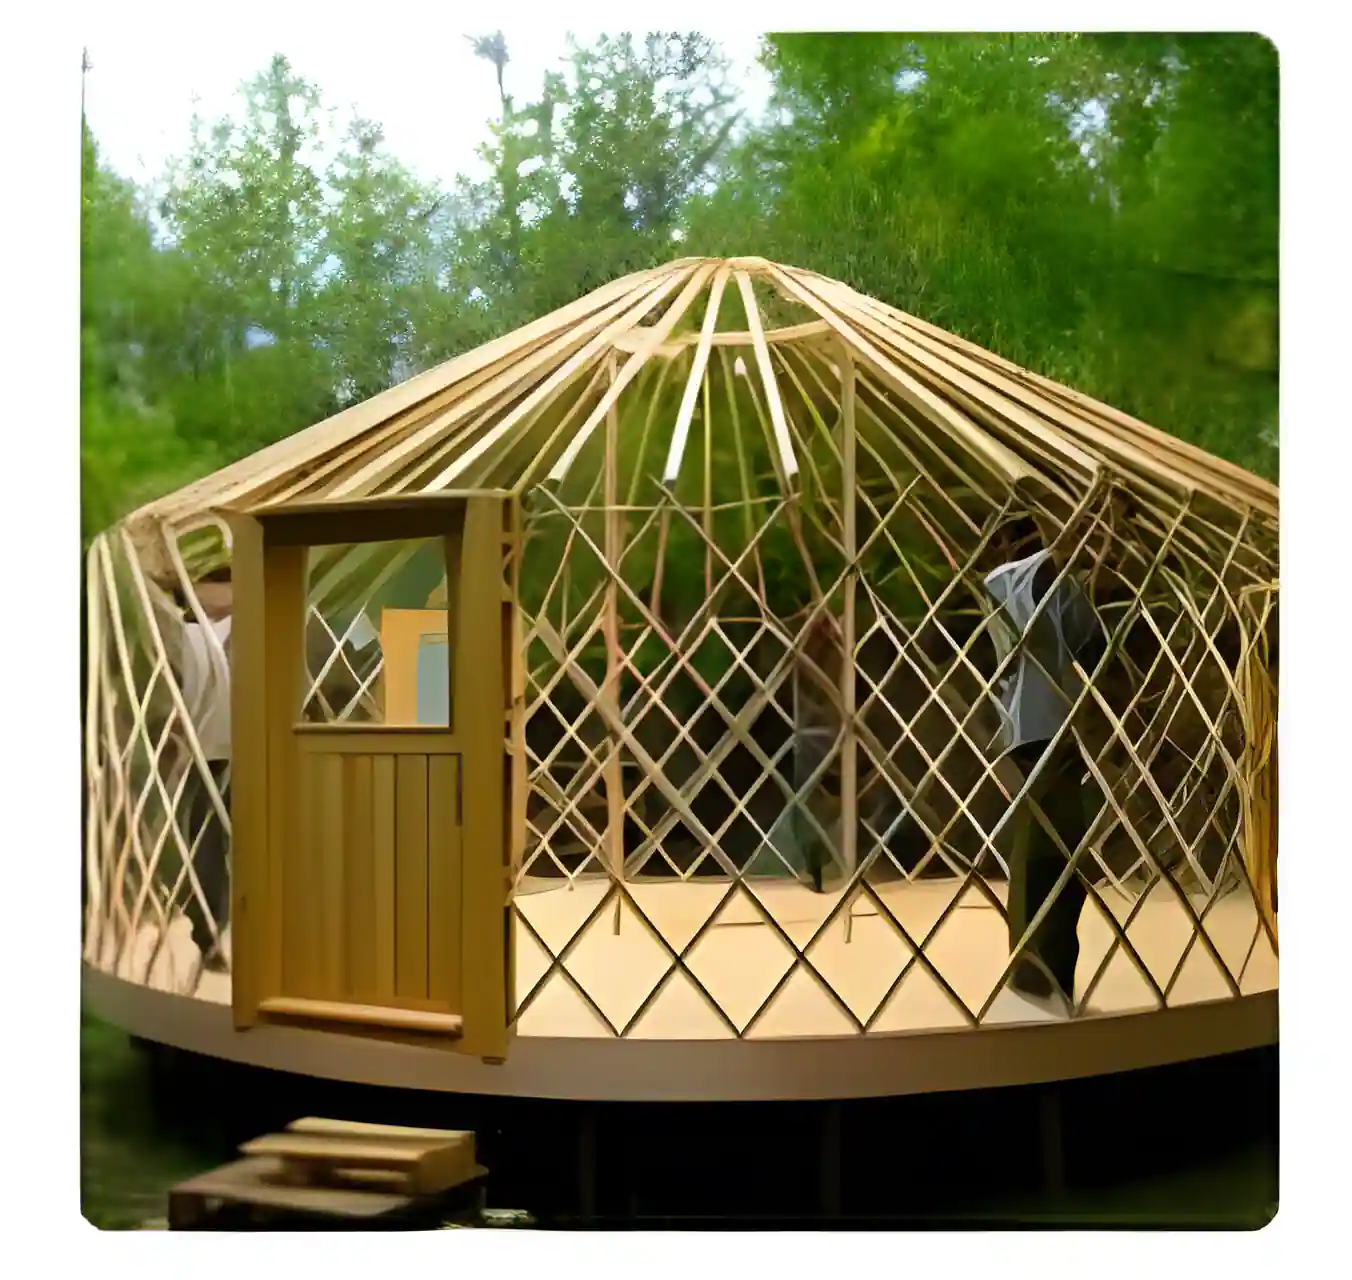
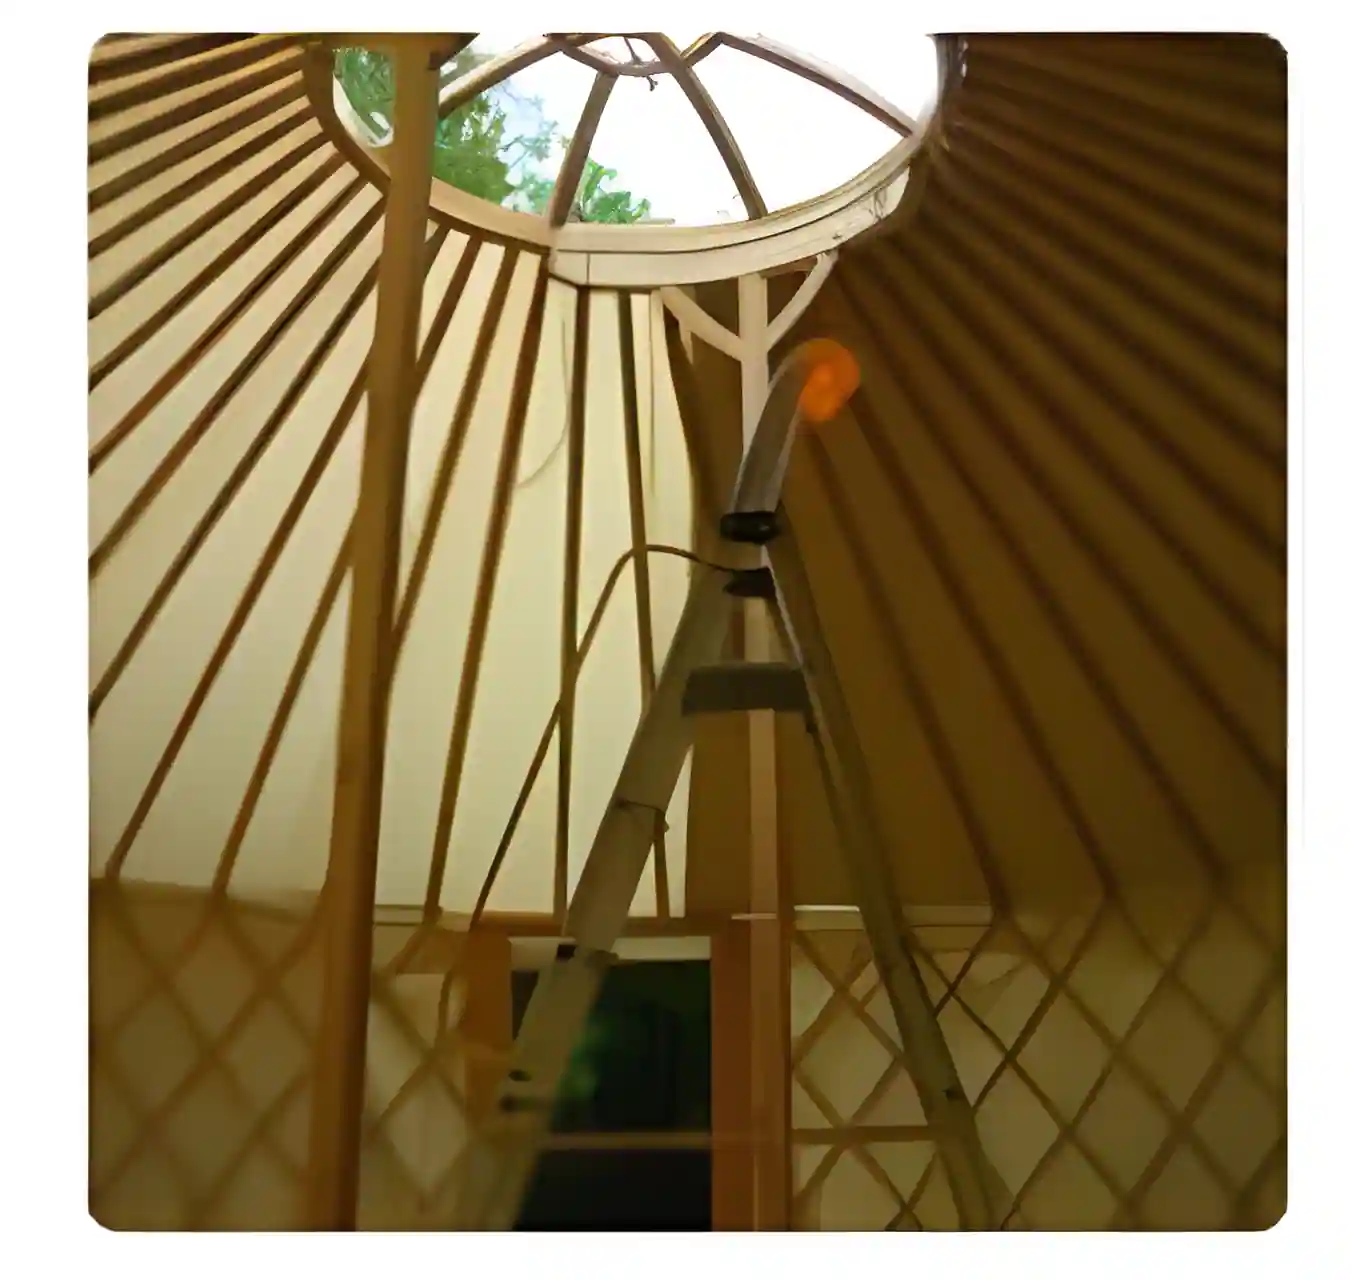
Solid larch wood frame, assembled with flexible halyard fasteners.
Crystal cap
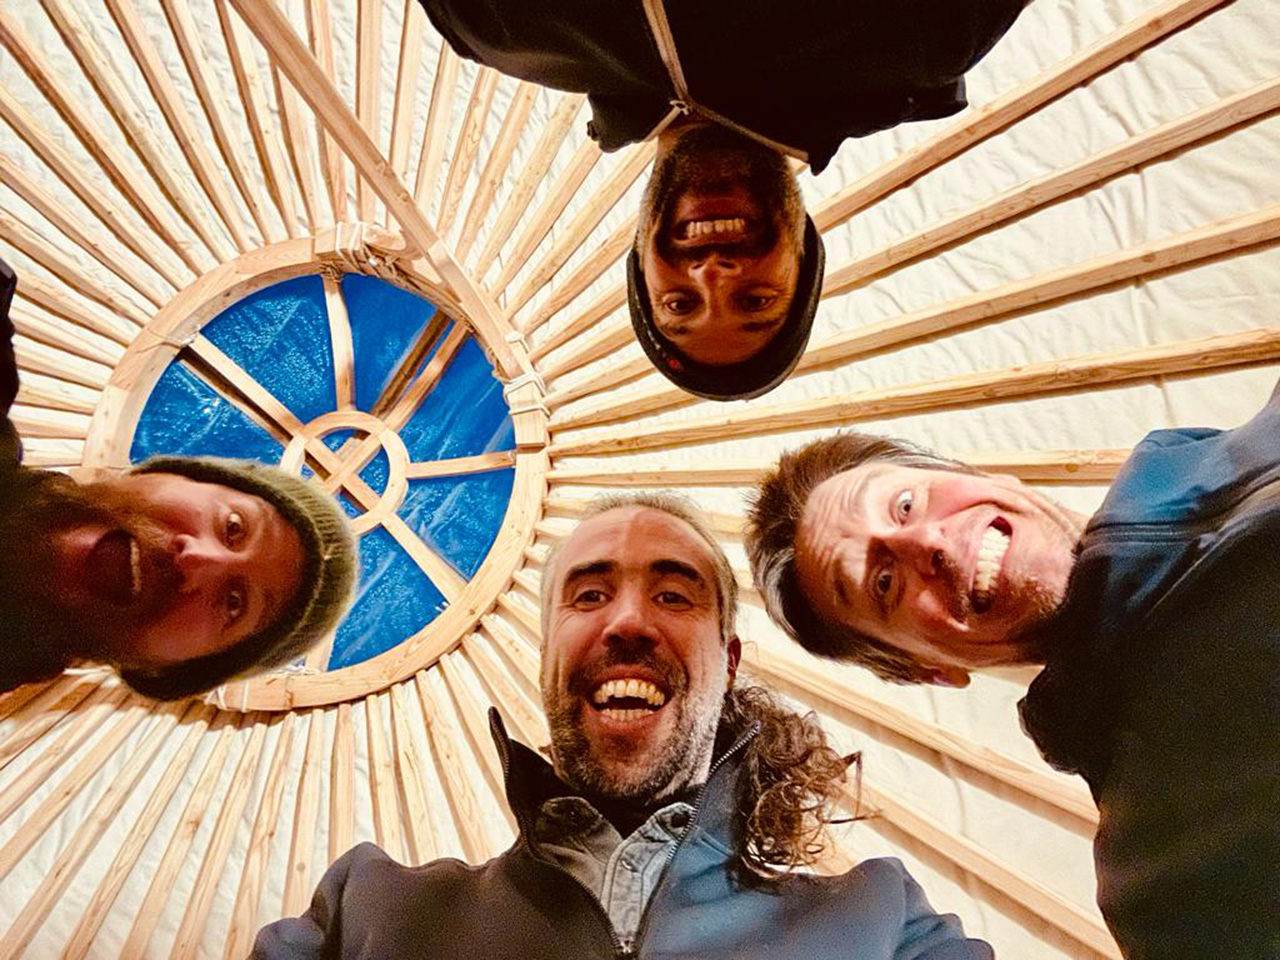
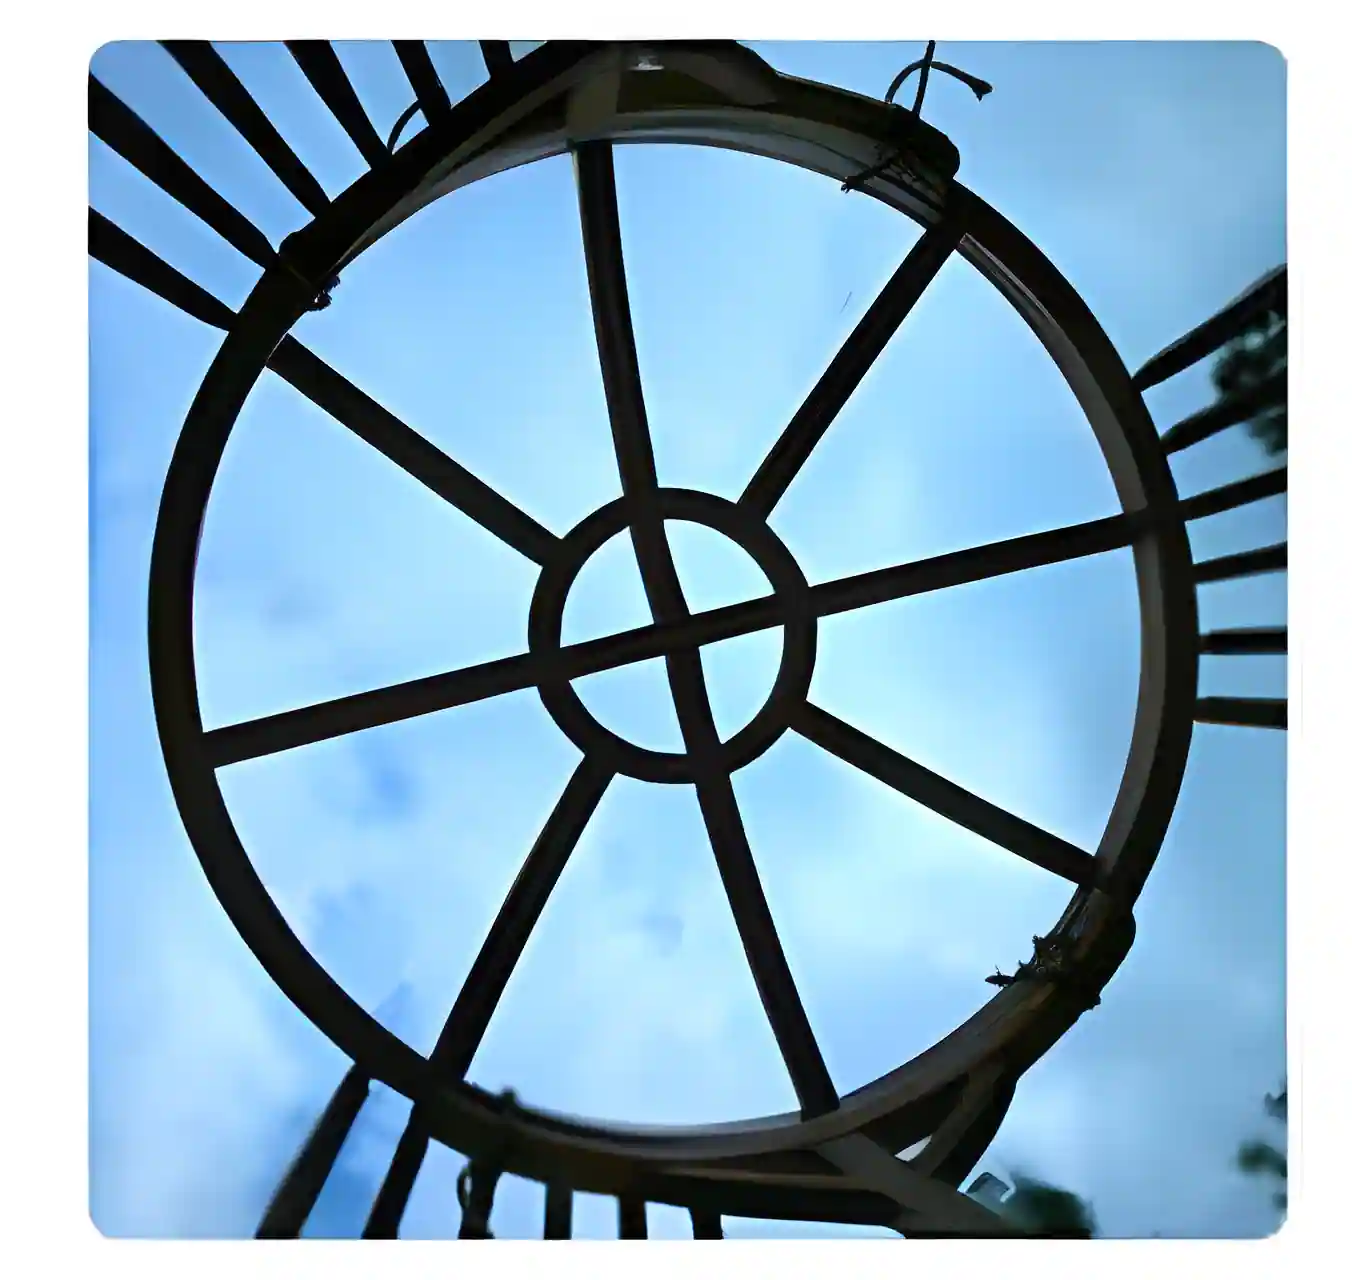
In flexible plexiglass PVC, for optimum ventilation and a central skylight.
Insulation and comfort
Natural insulation
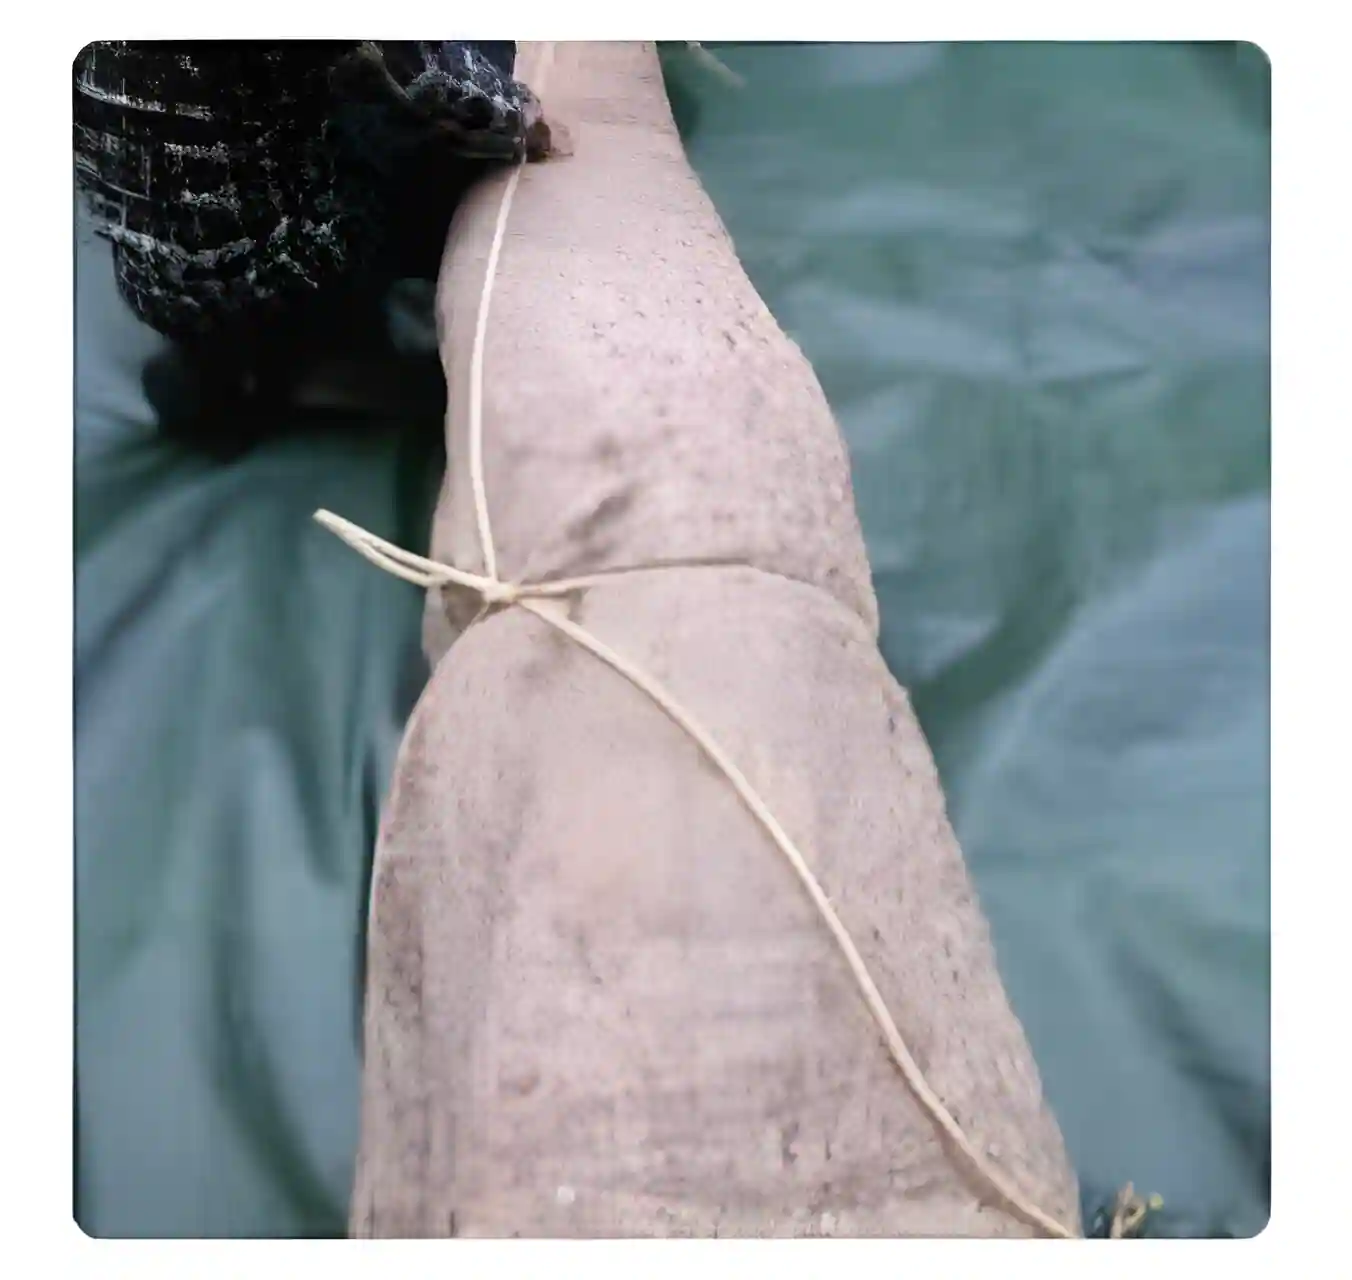
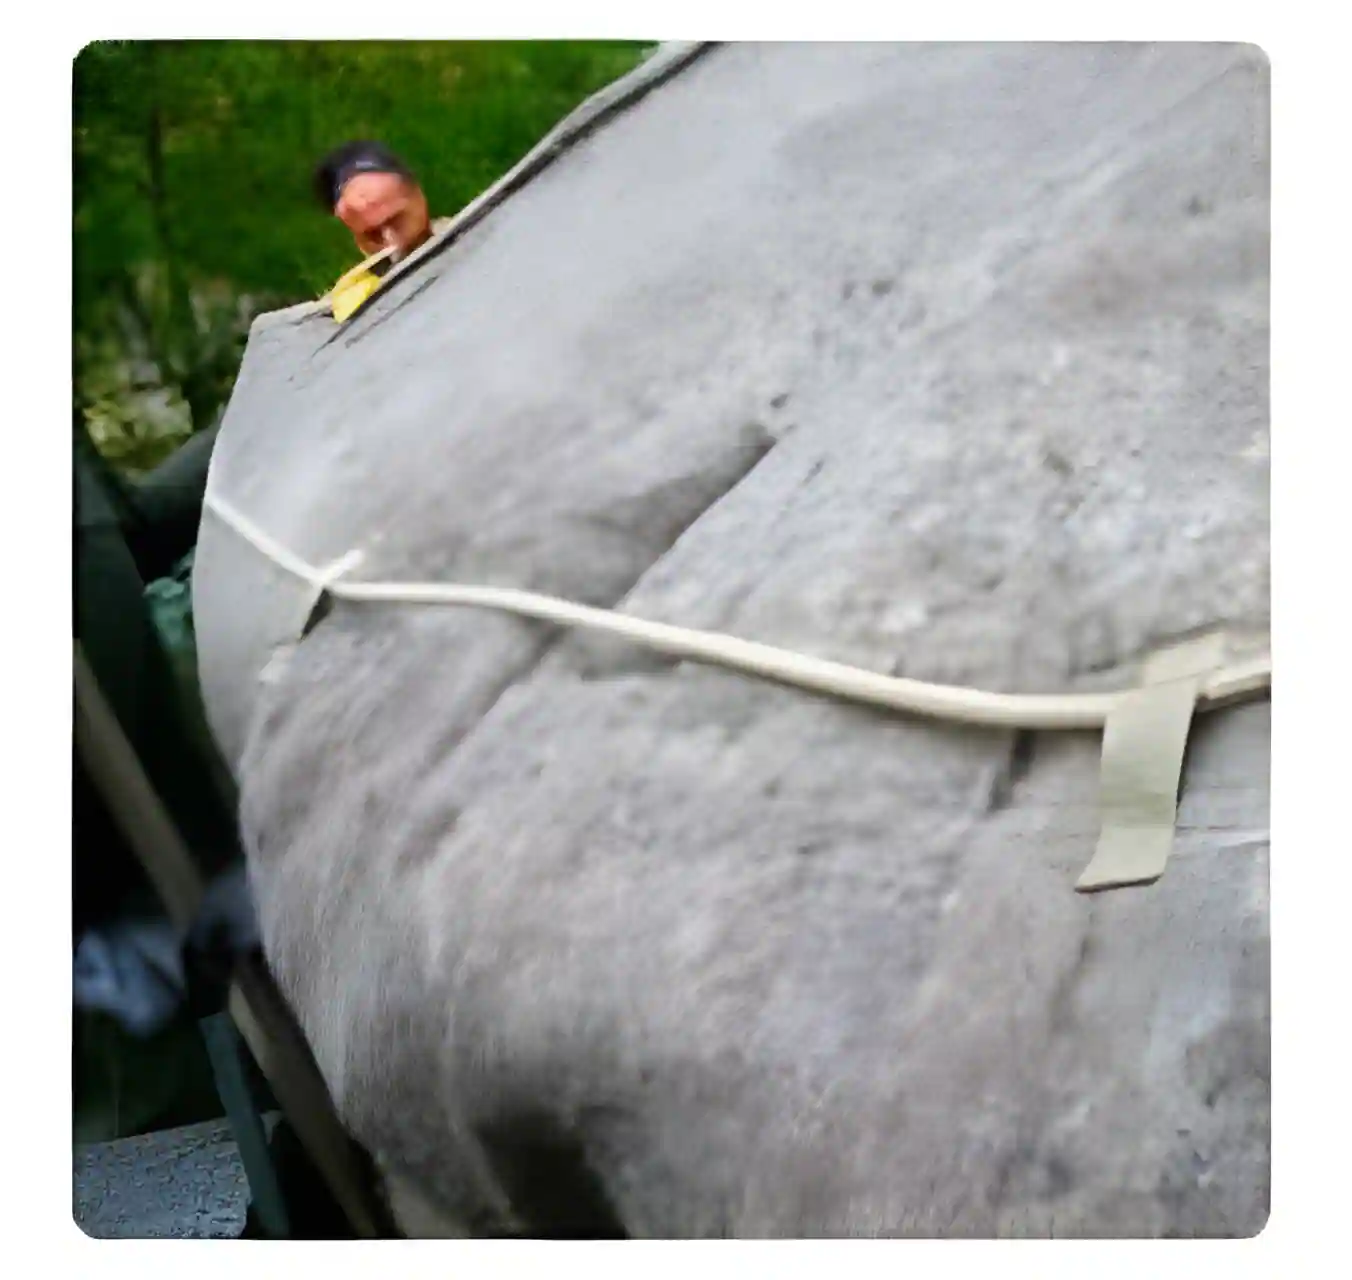
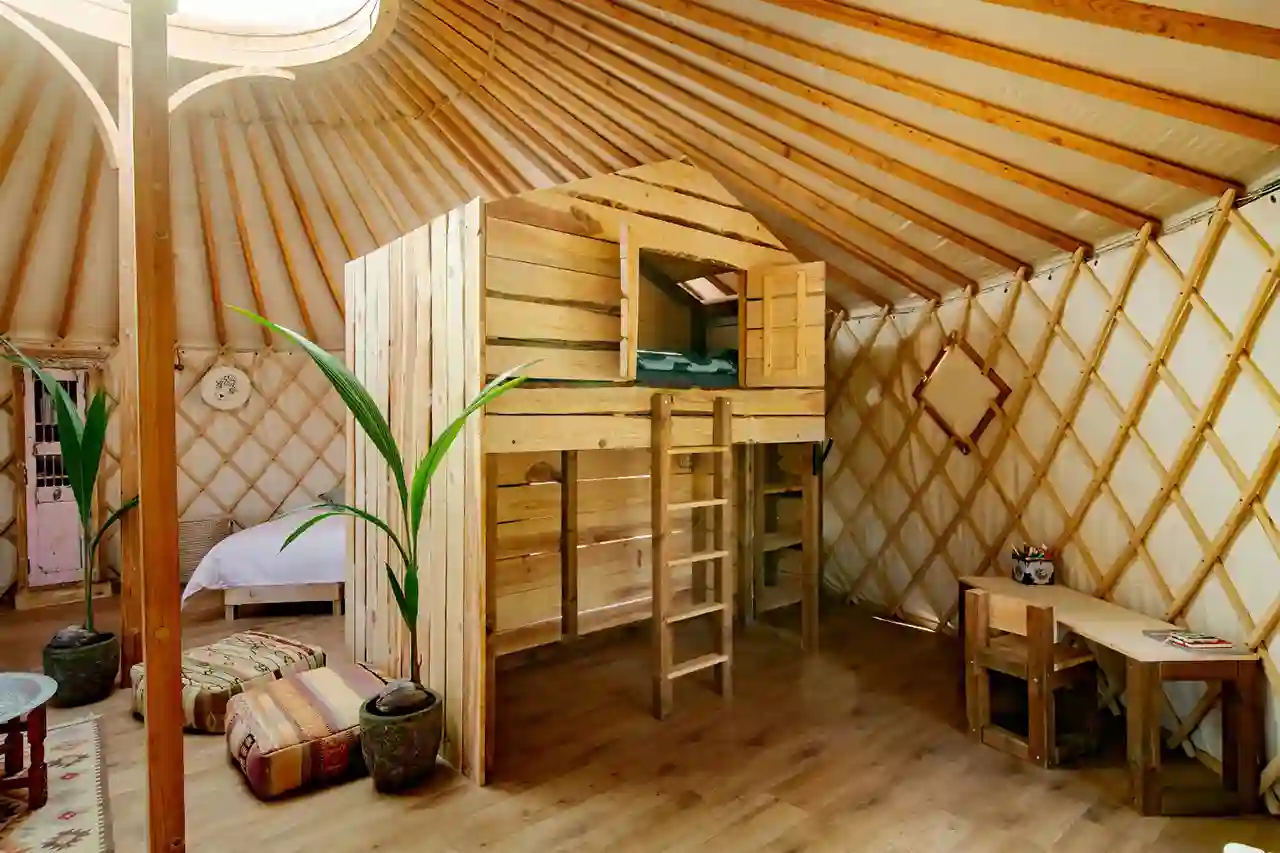
High-quality sheep’s wool felt (900g/m²) keeps you warm in winter and cool in summer, creating a cosy cocoon in all seasons.
Decorative inner lining
The off-white polycotton (290gr/m²) lining limits condensation, keeps the dust out while brightening up the interior.
Heating options
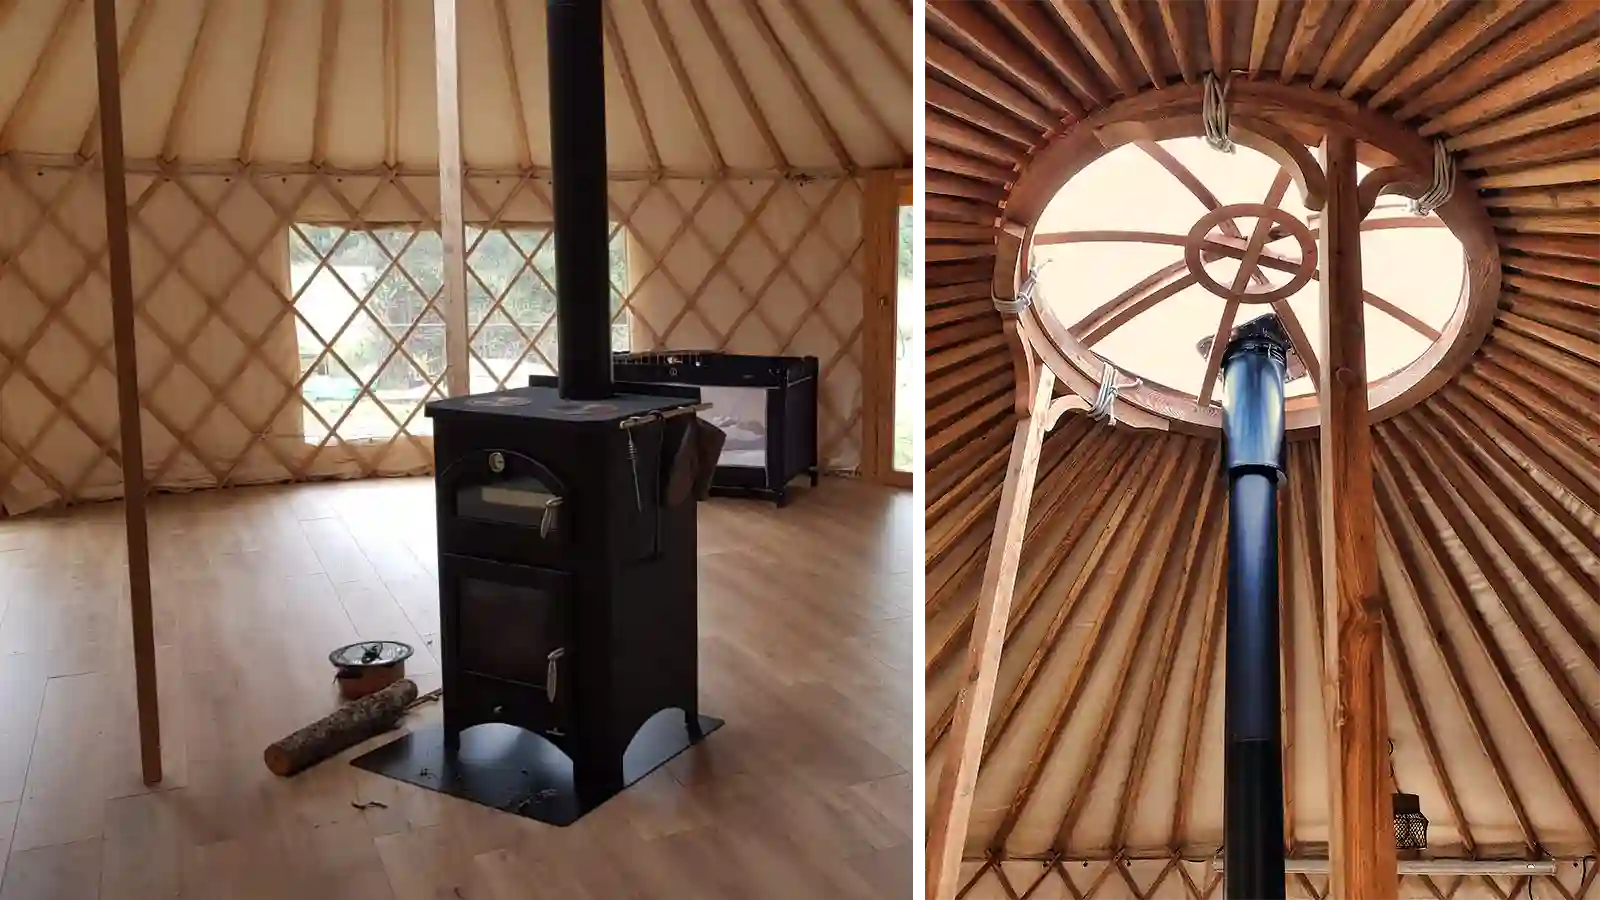
Central stove pipe outlet
For centralised heating and optimum heat distribution.
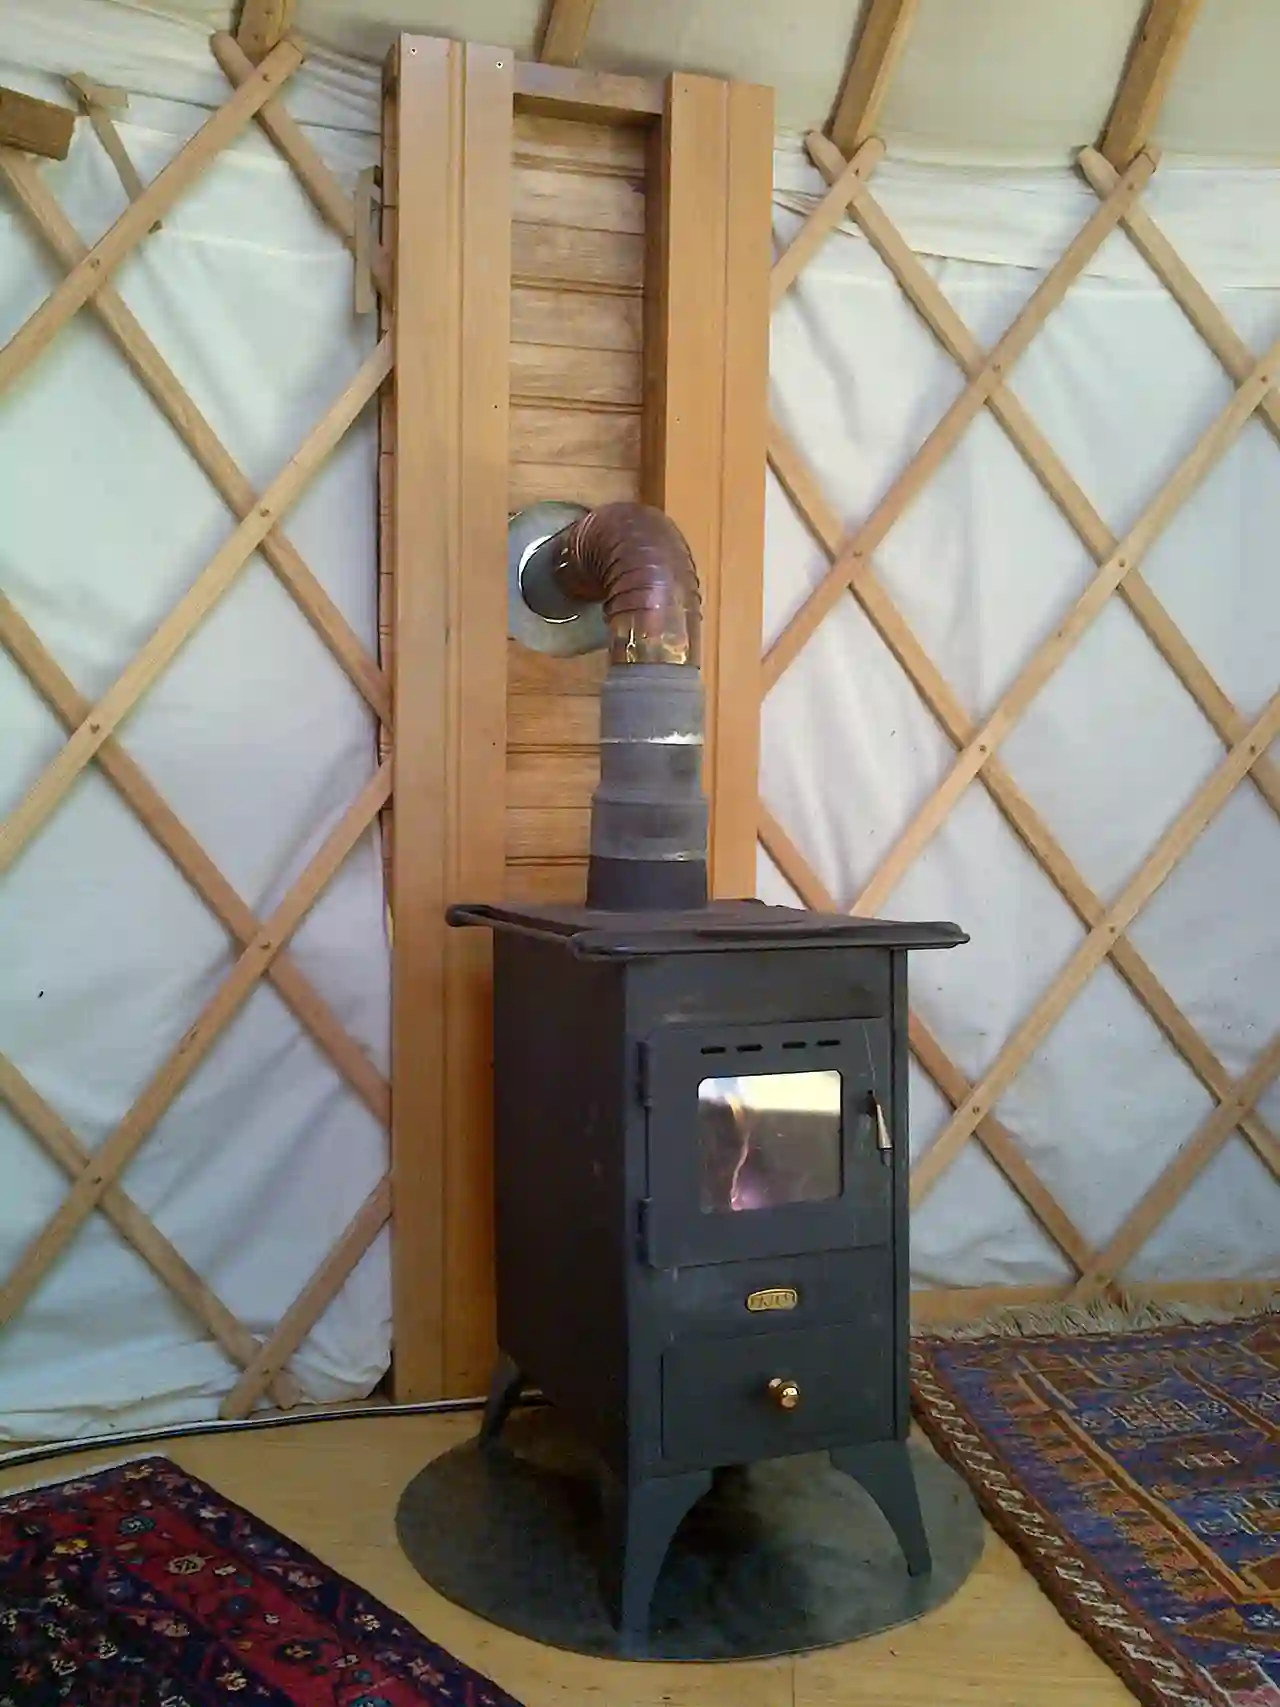
Side stove pipe outlet
For specific installations, with a frame integrated into the yurt trellis.
Assembling your yurt:
A convivial experience
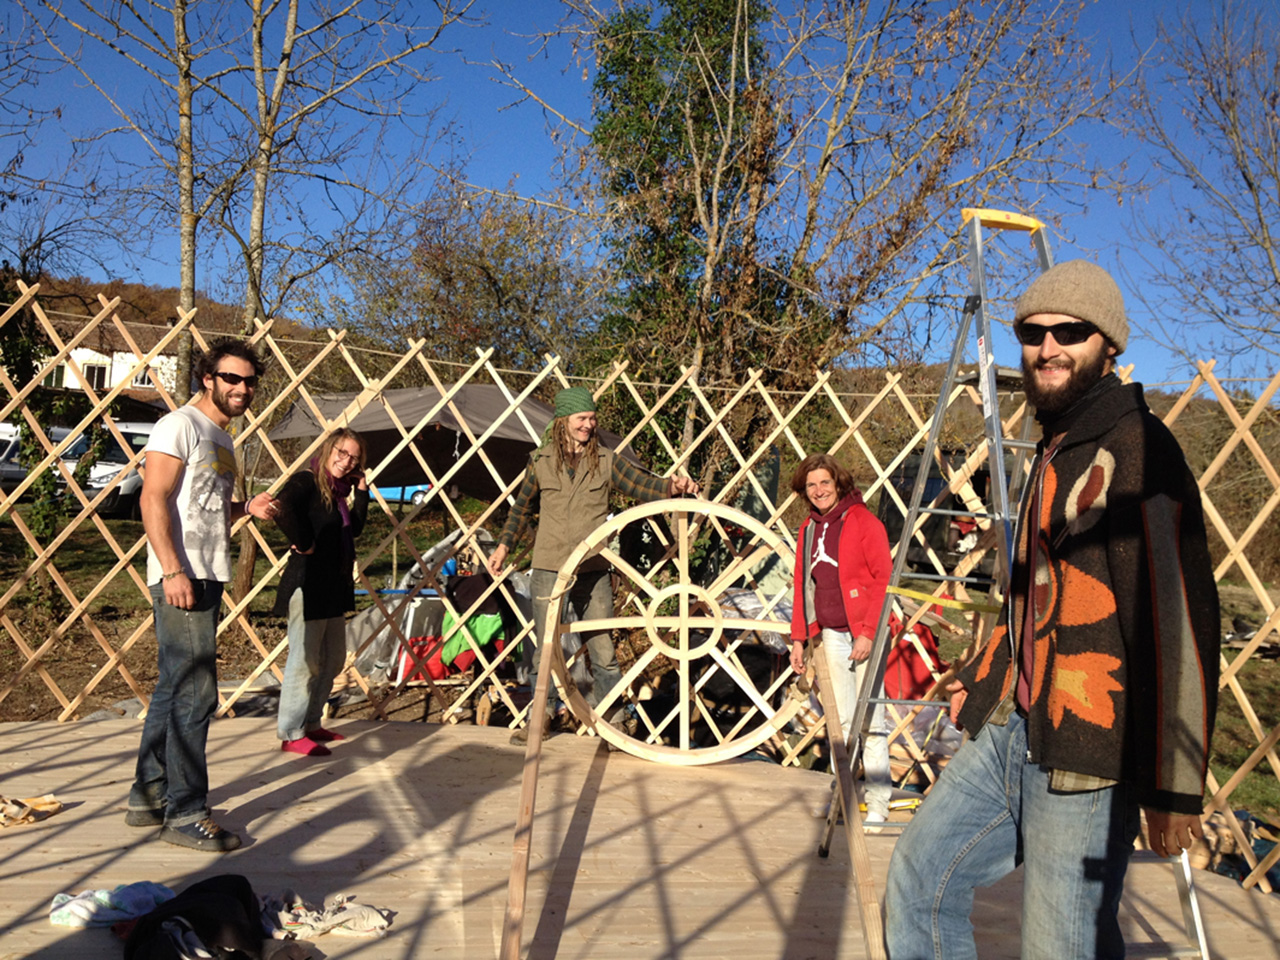
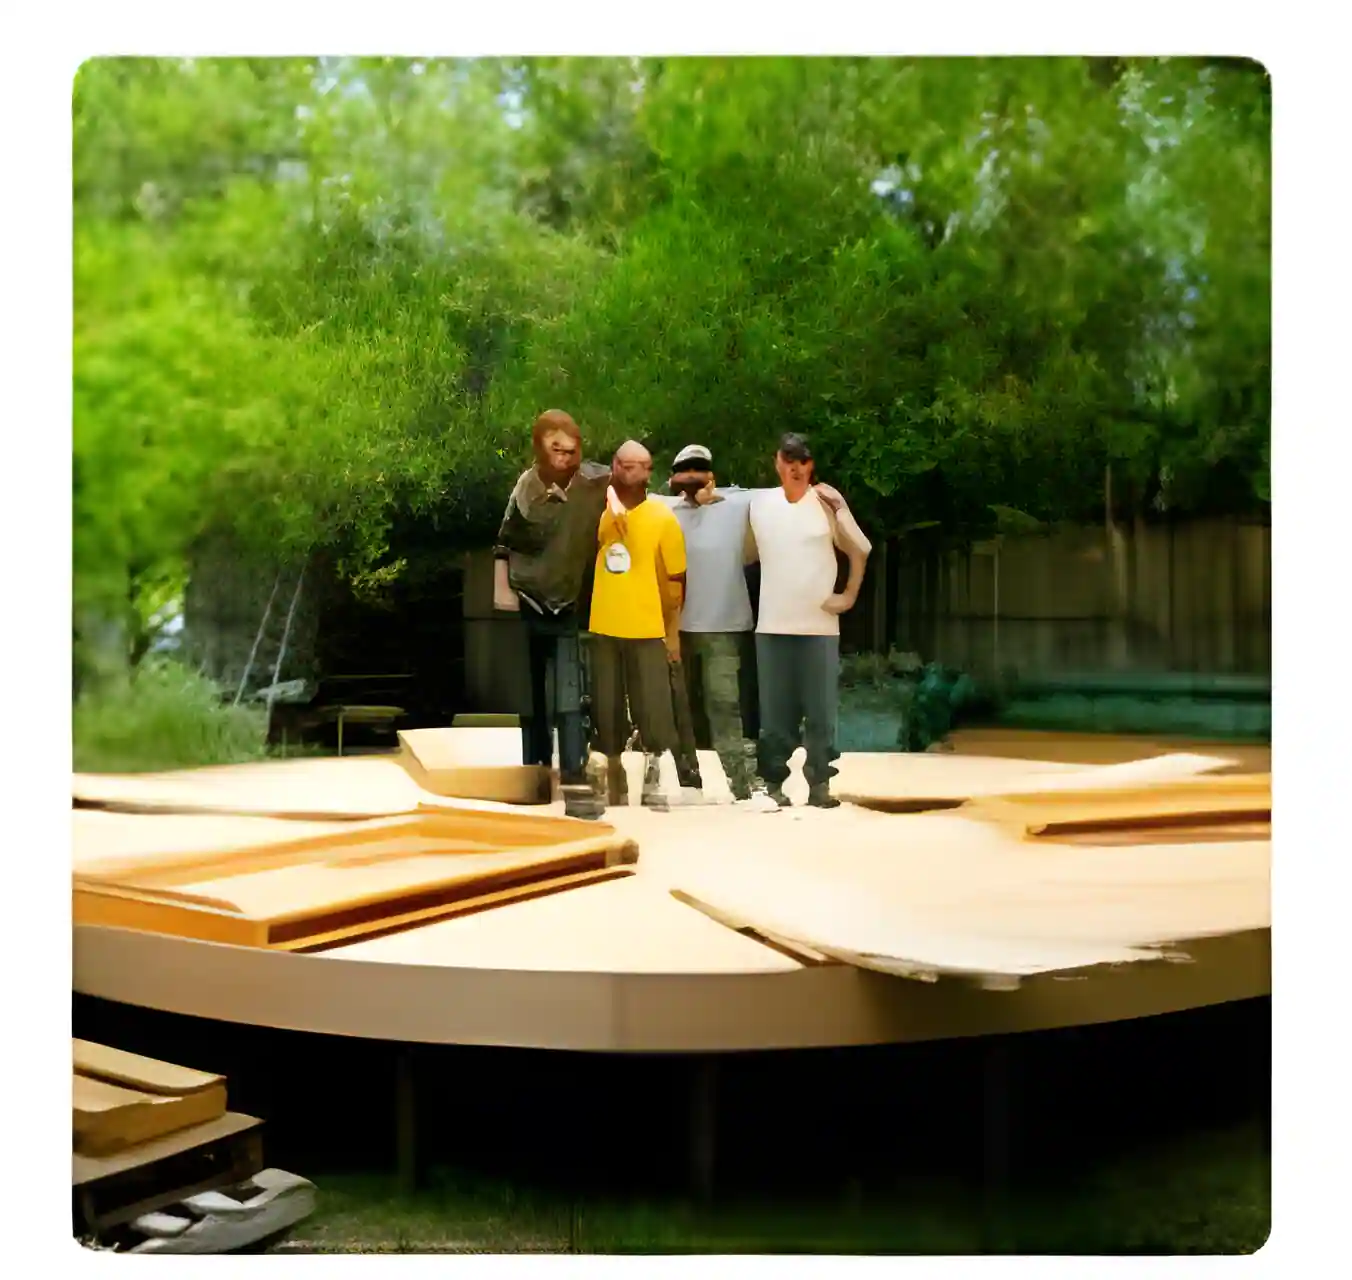
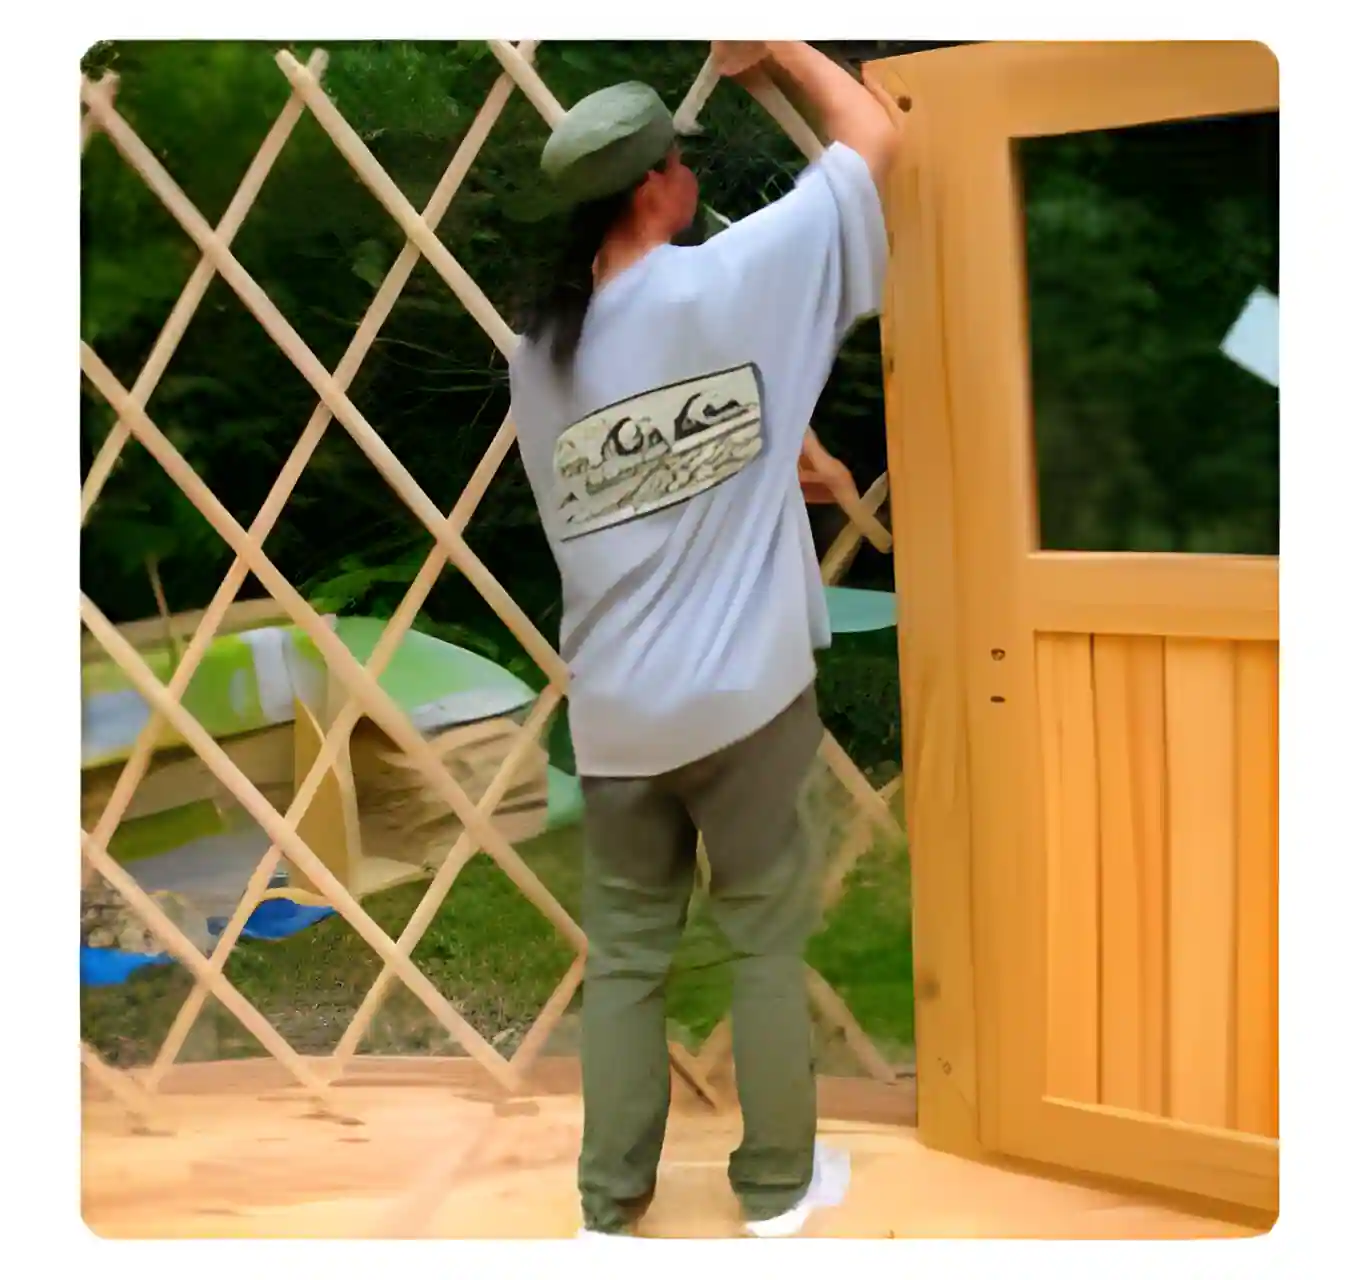
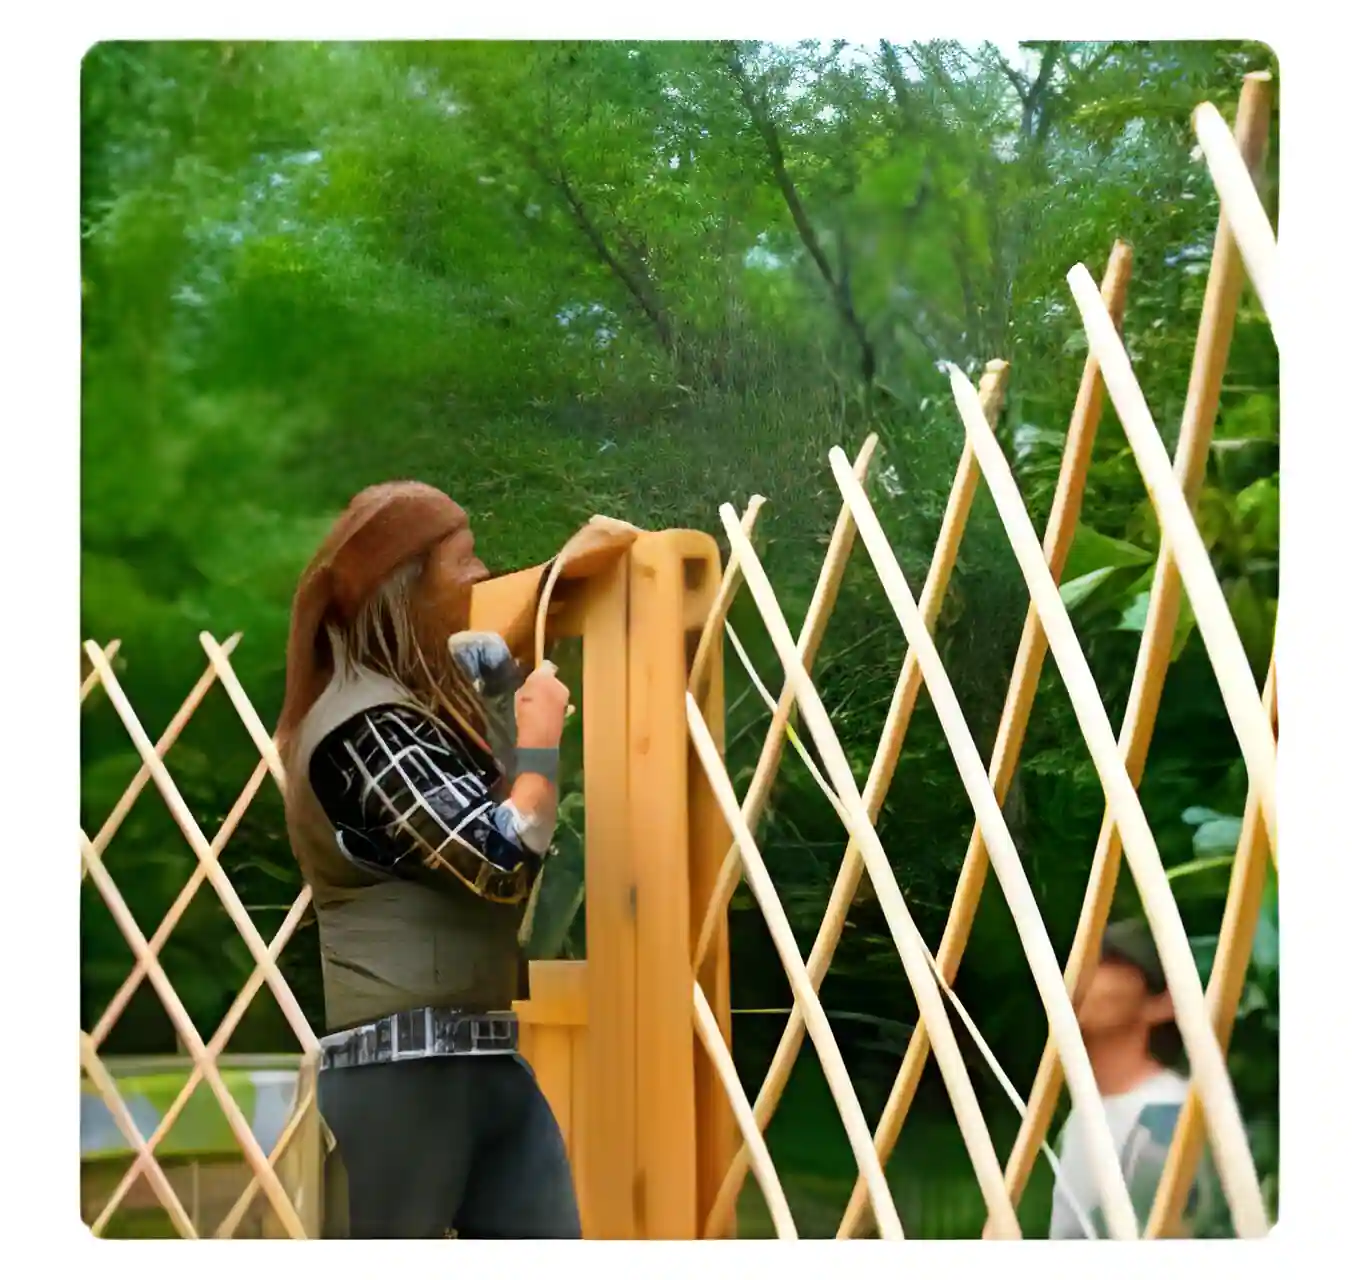
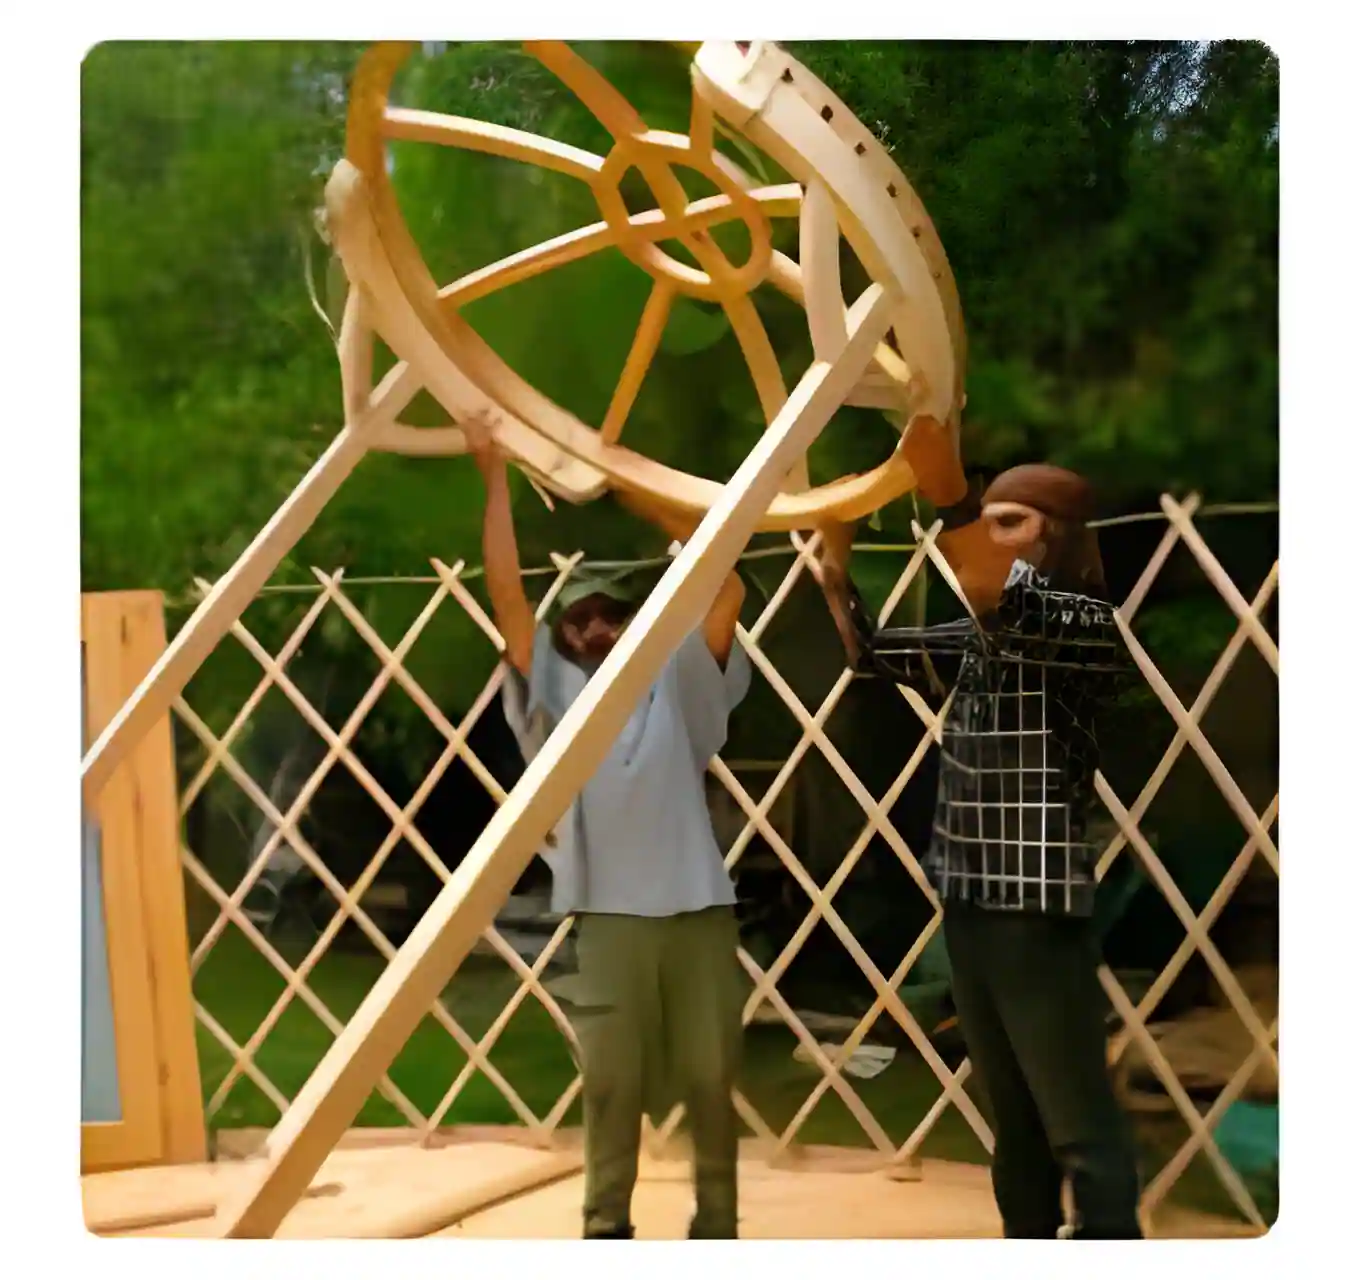
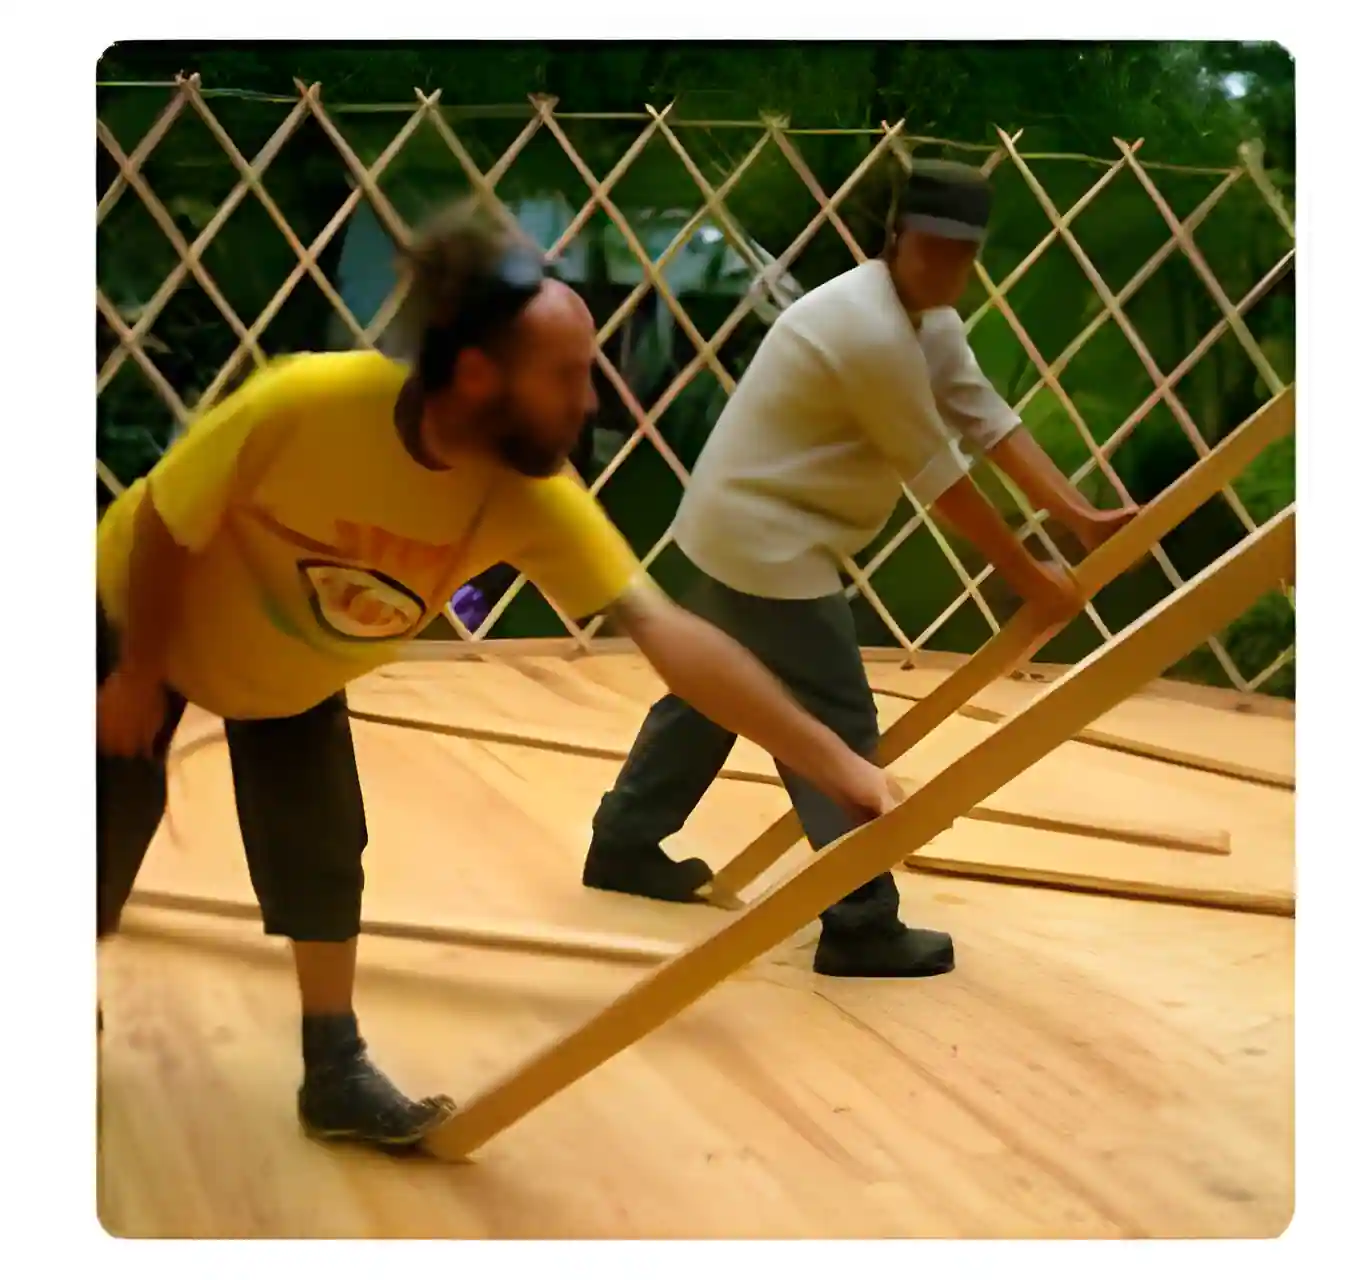
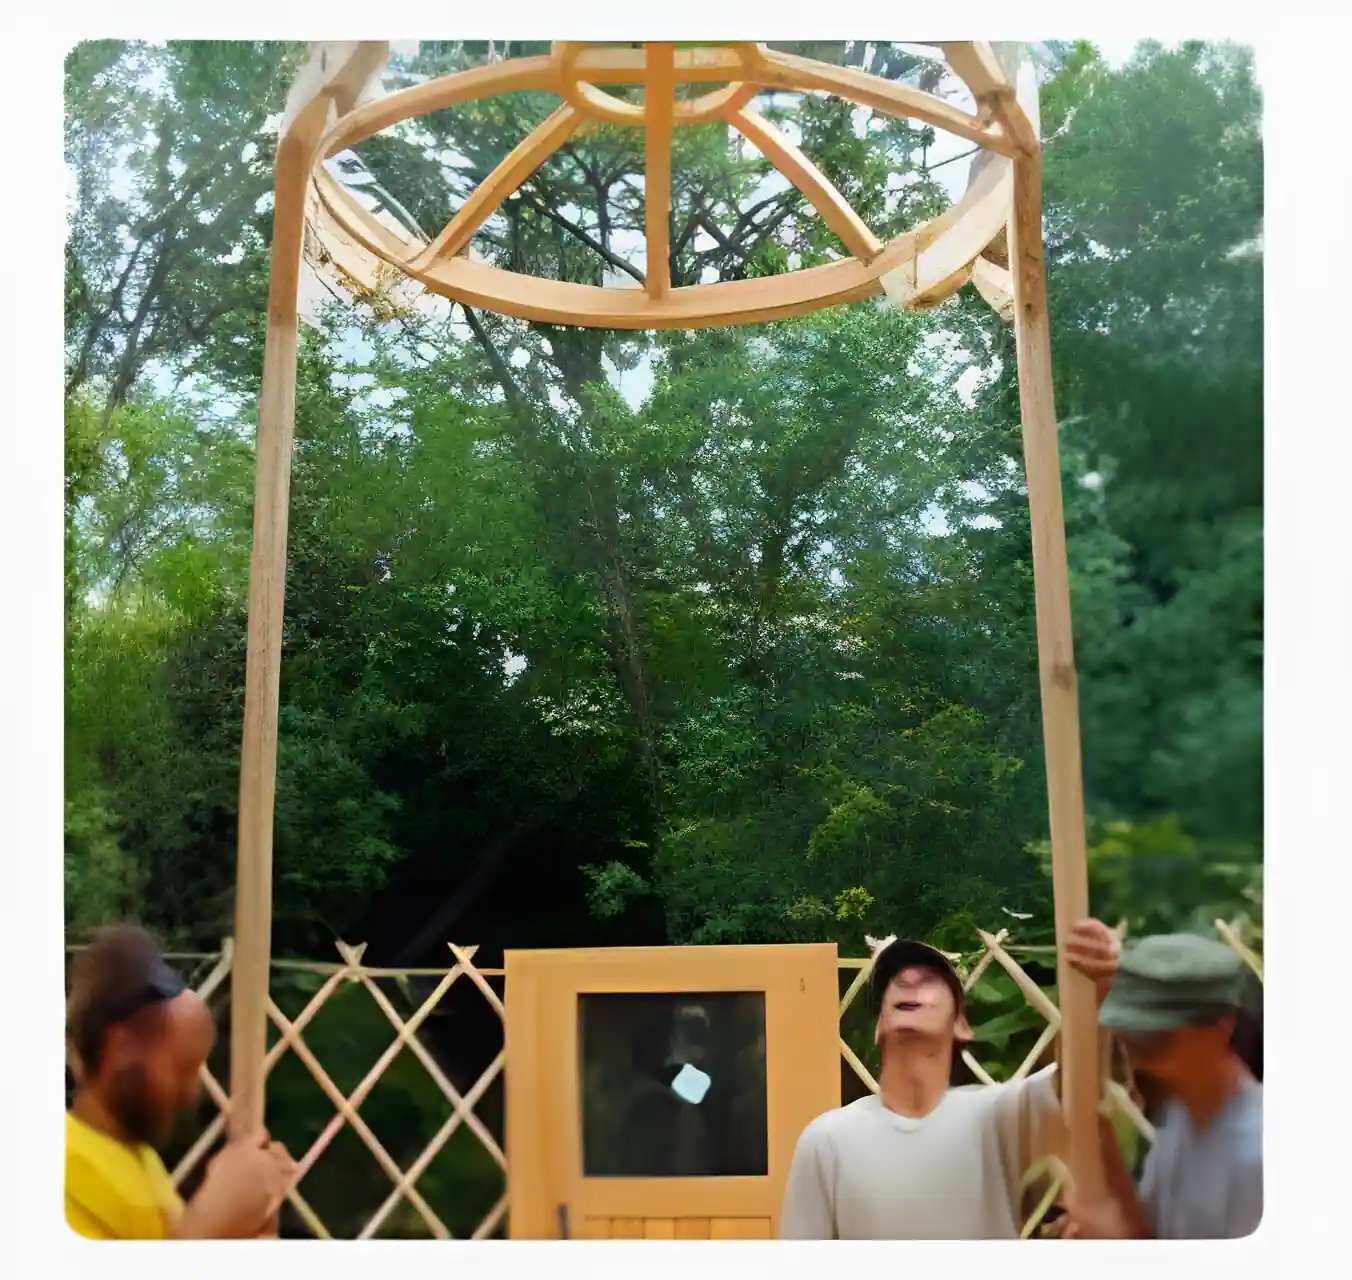
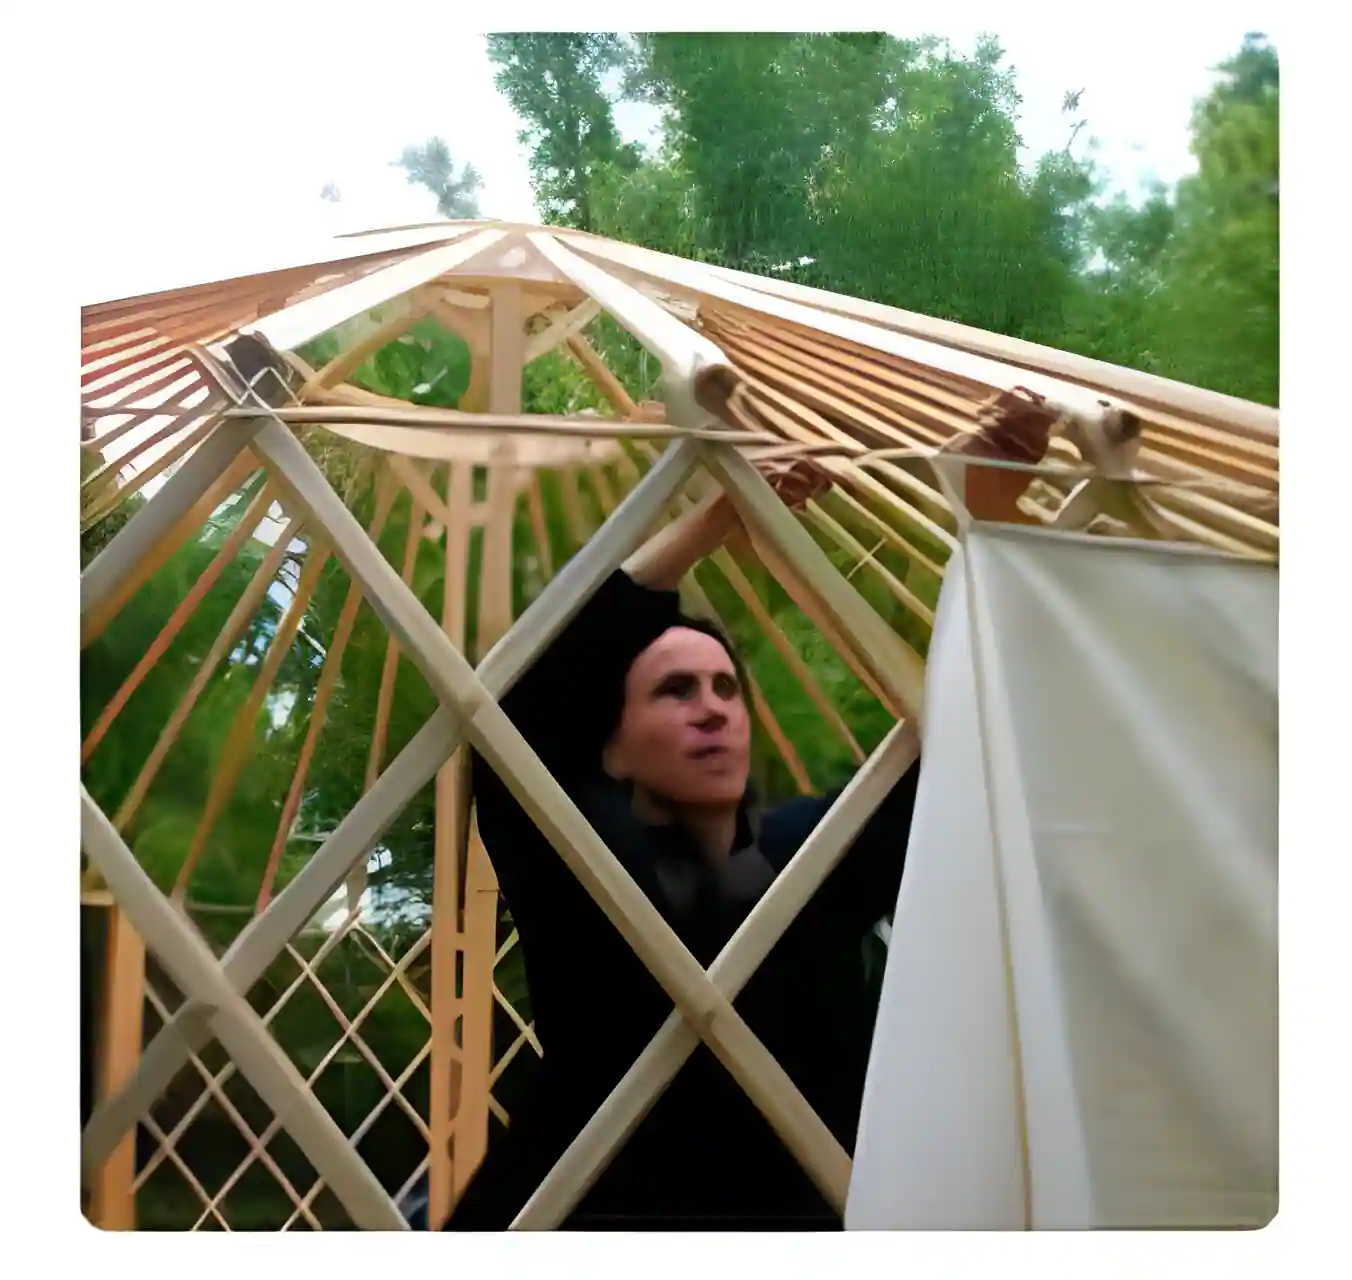
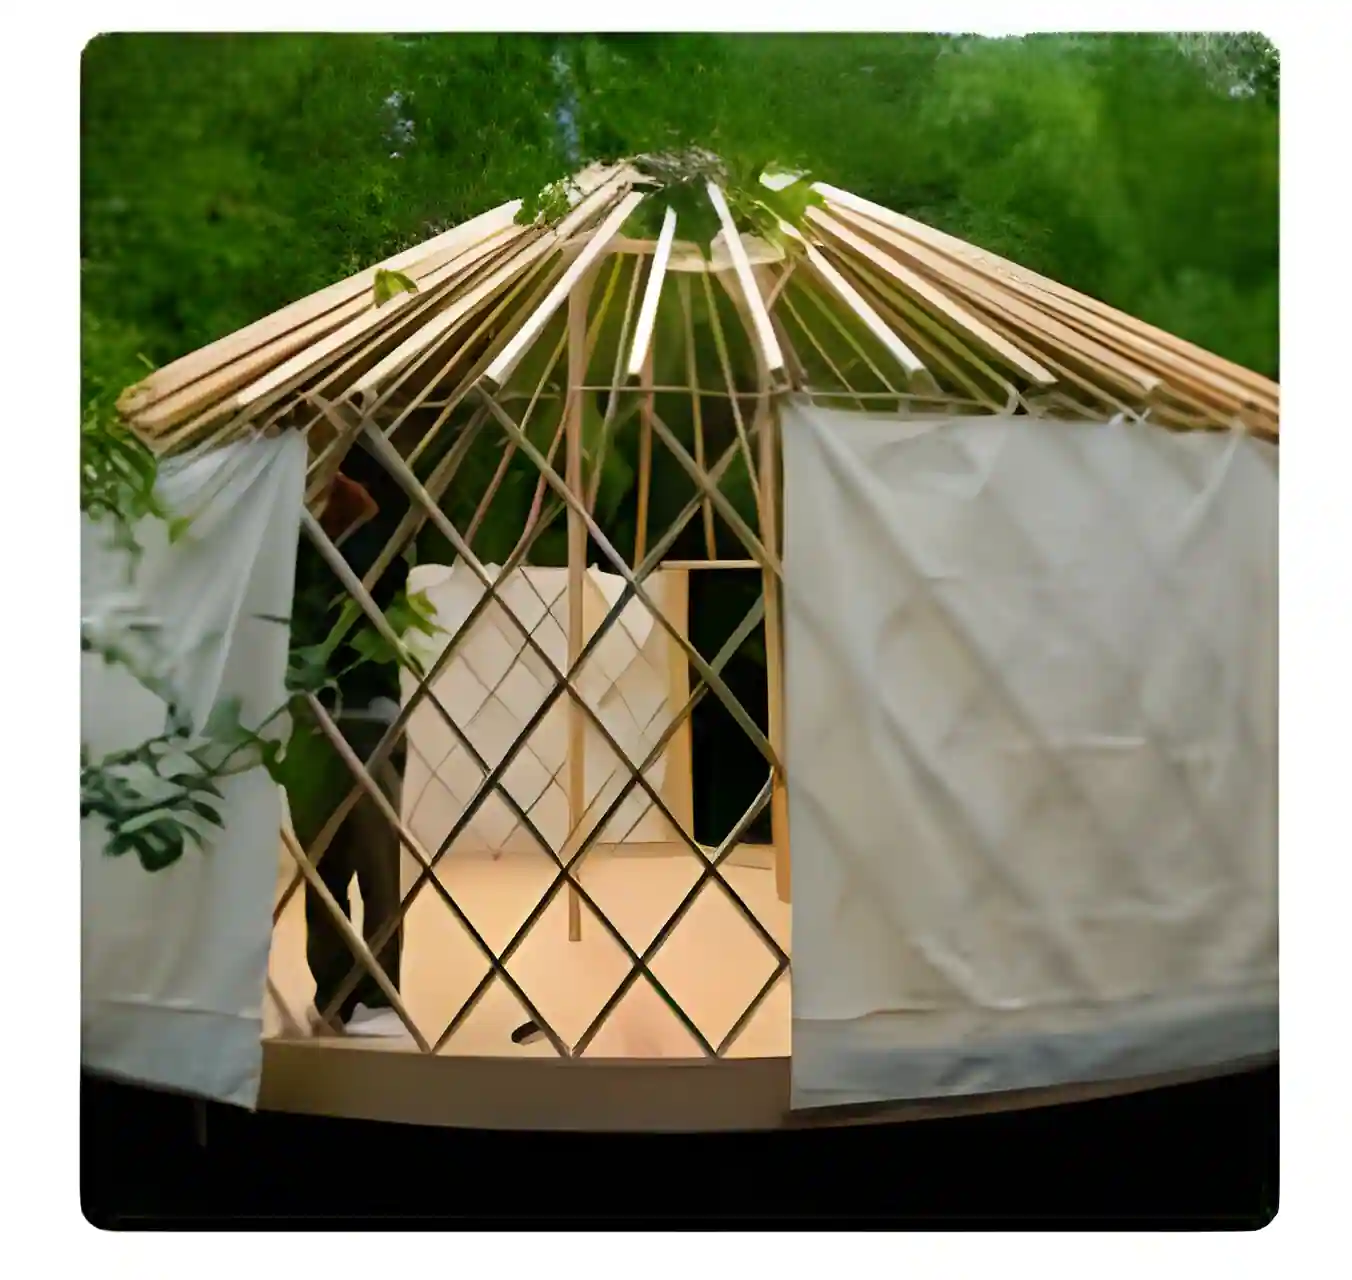
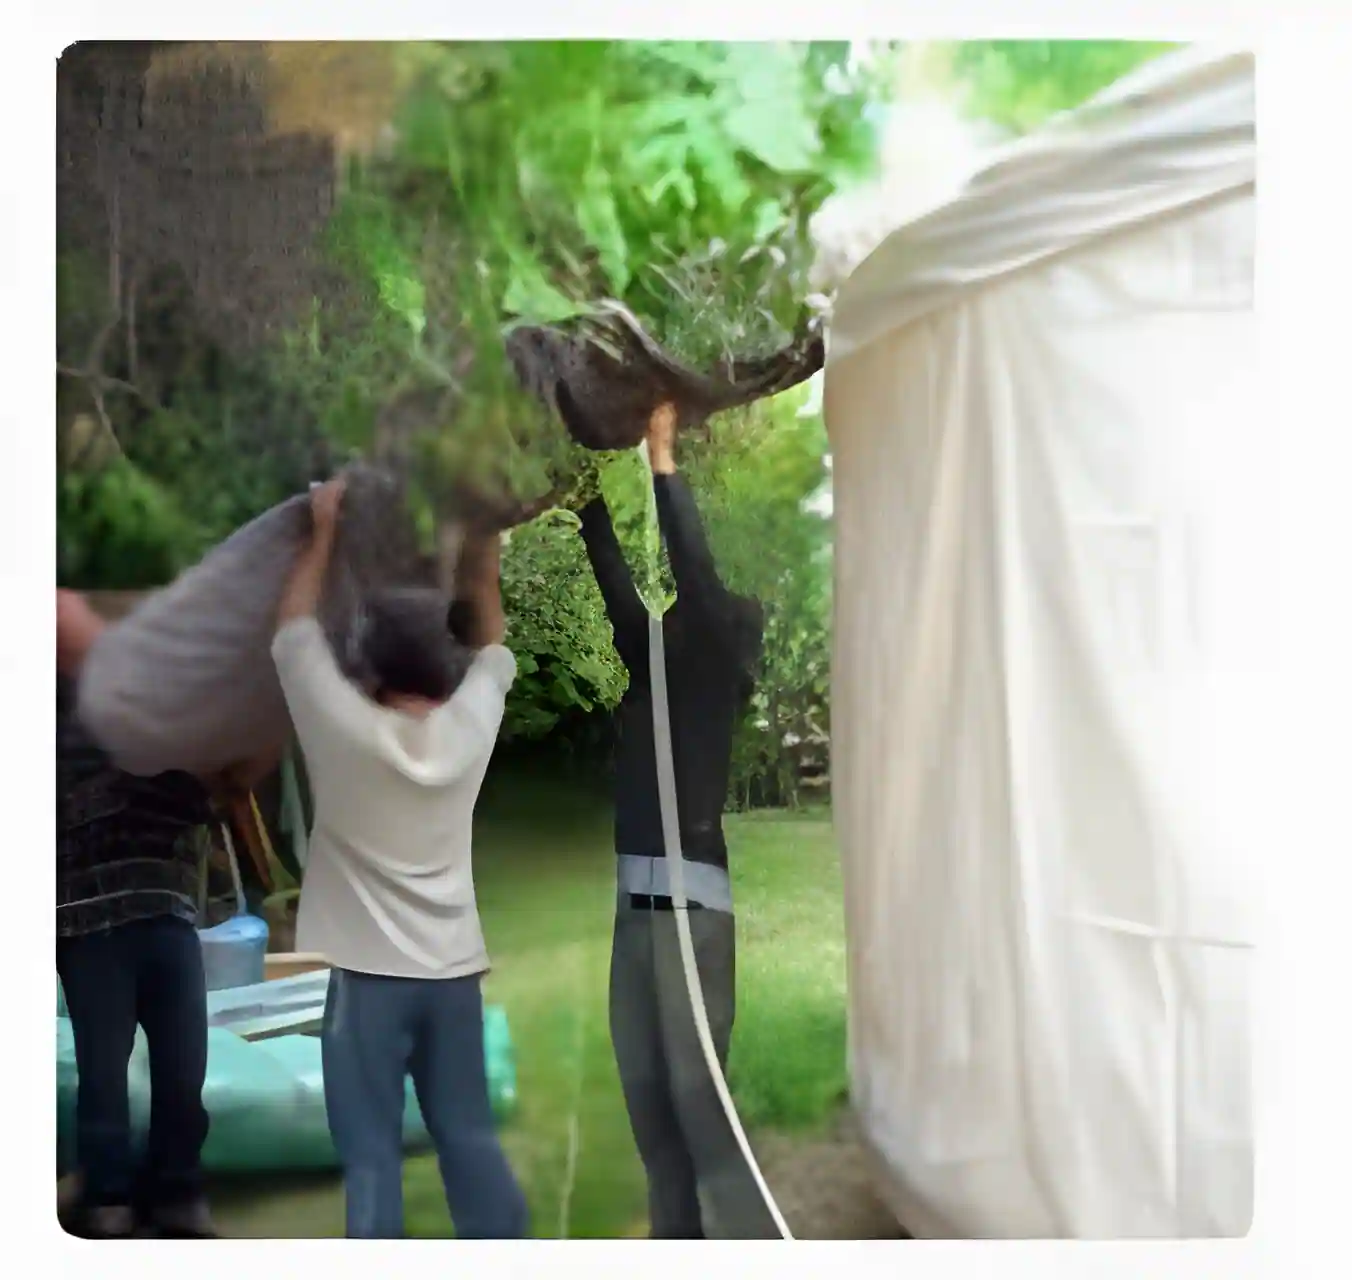
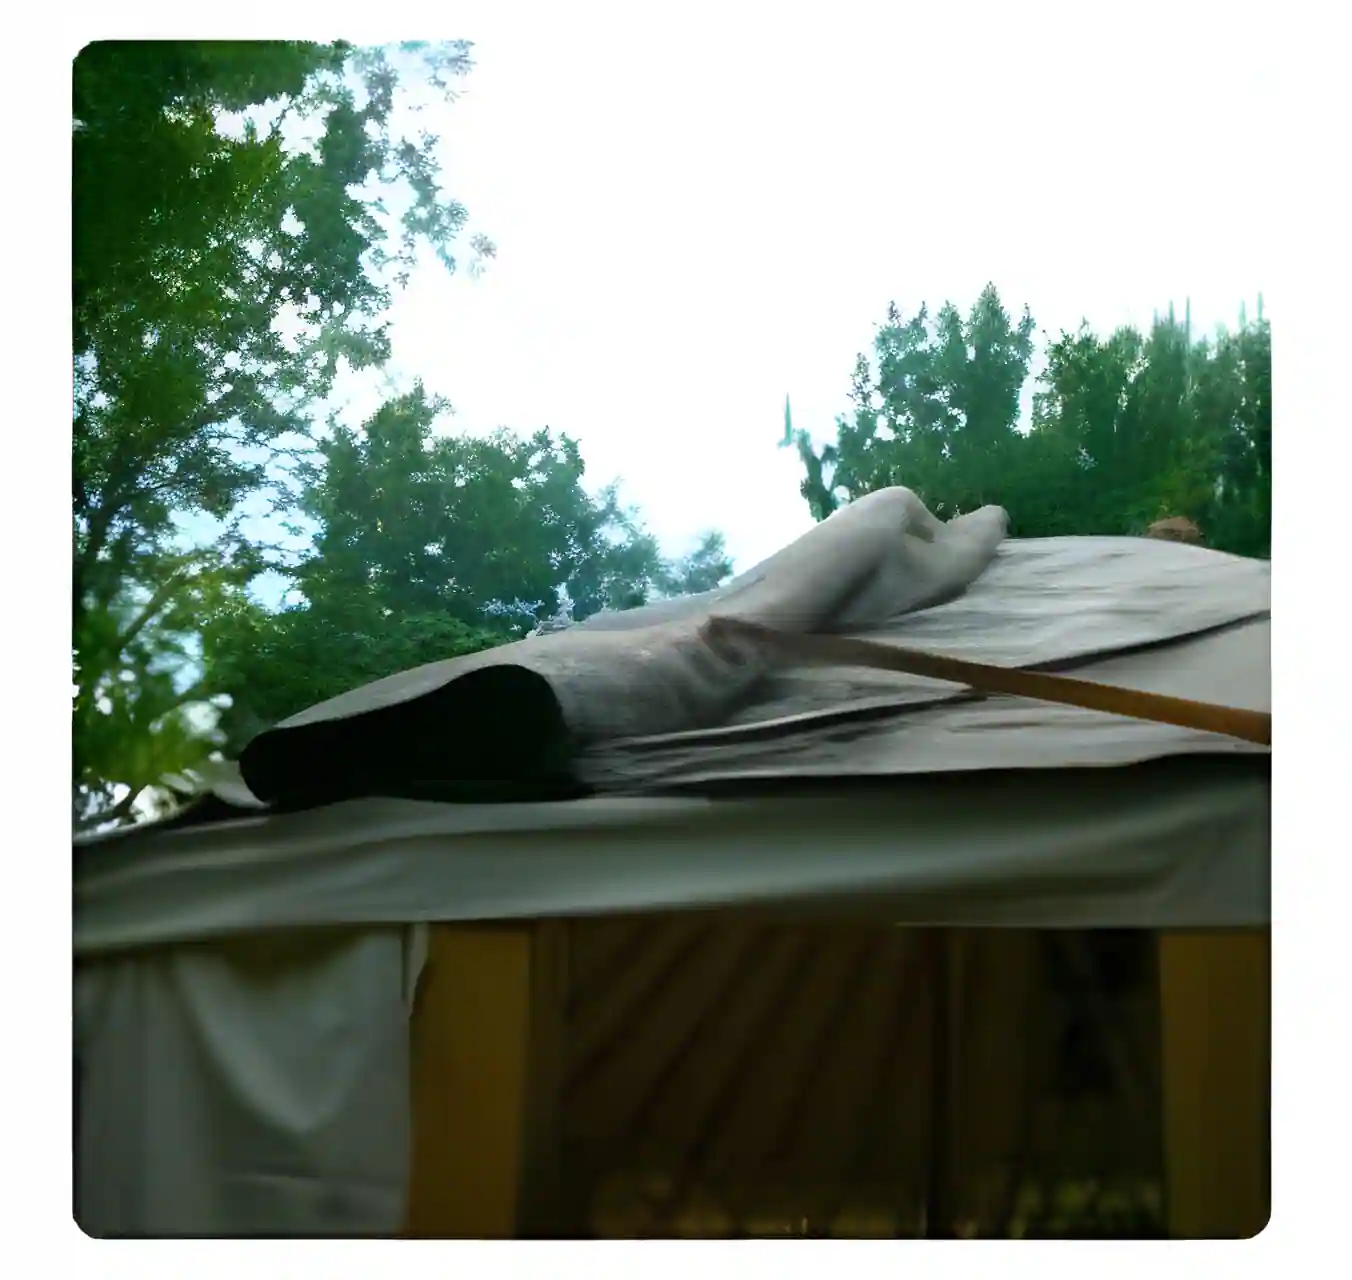
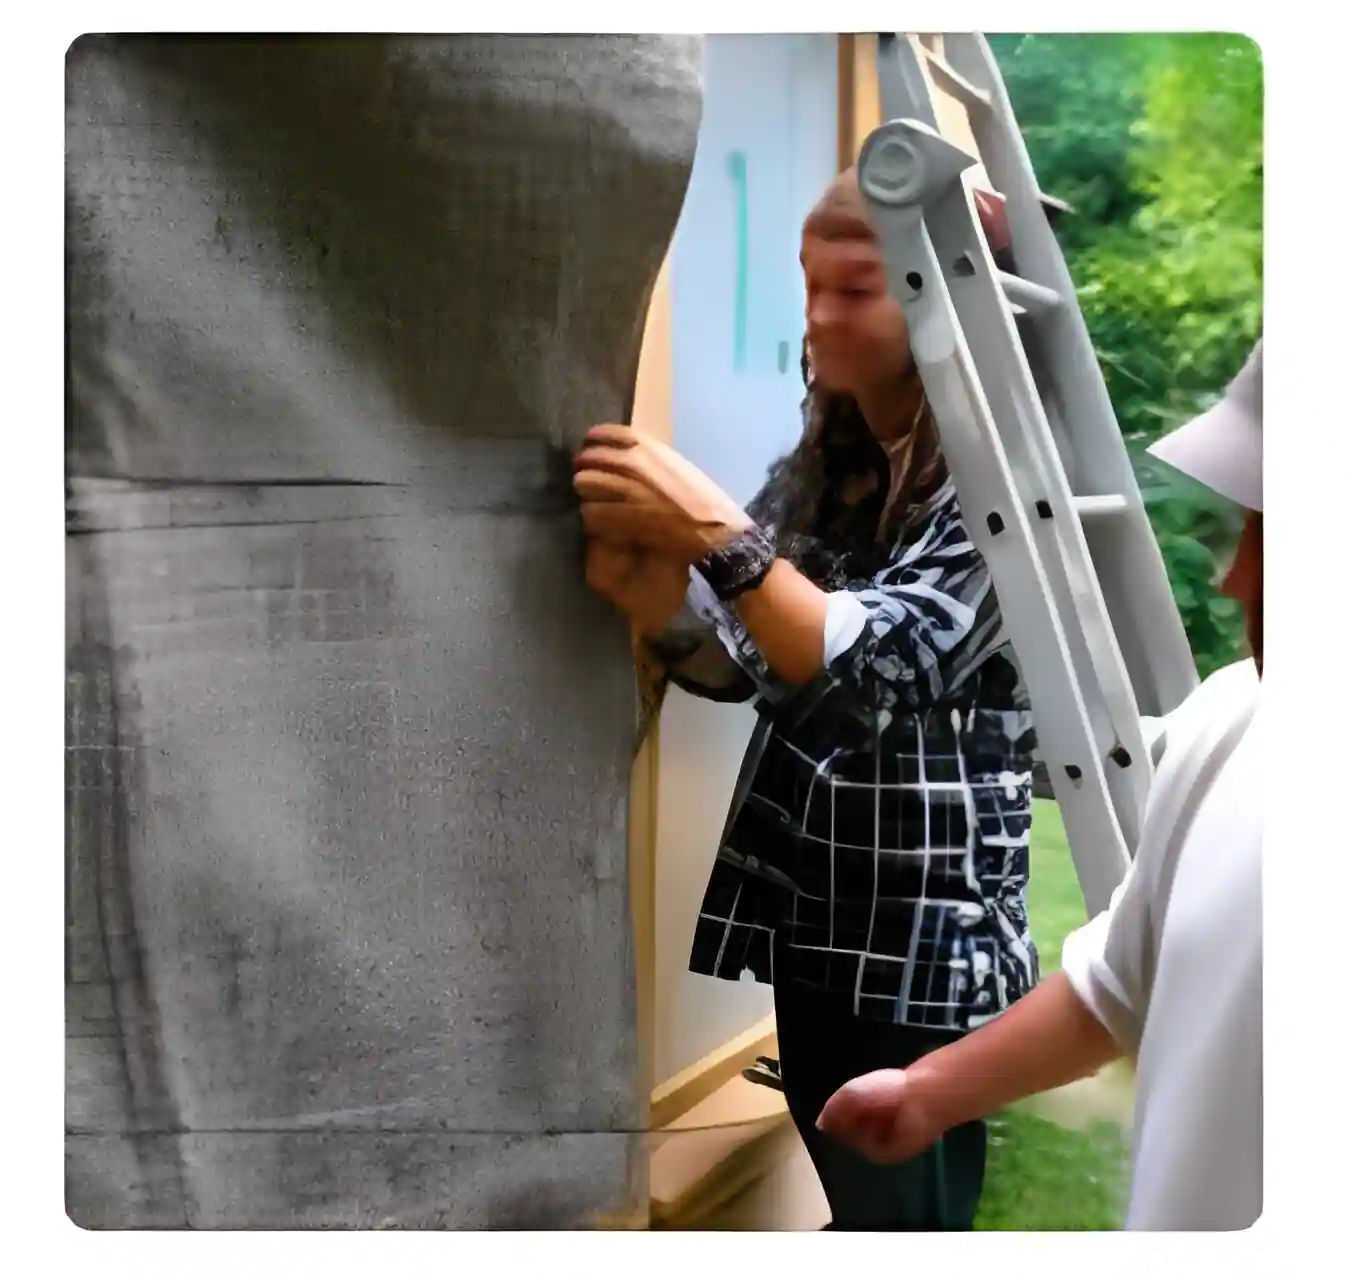
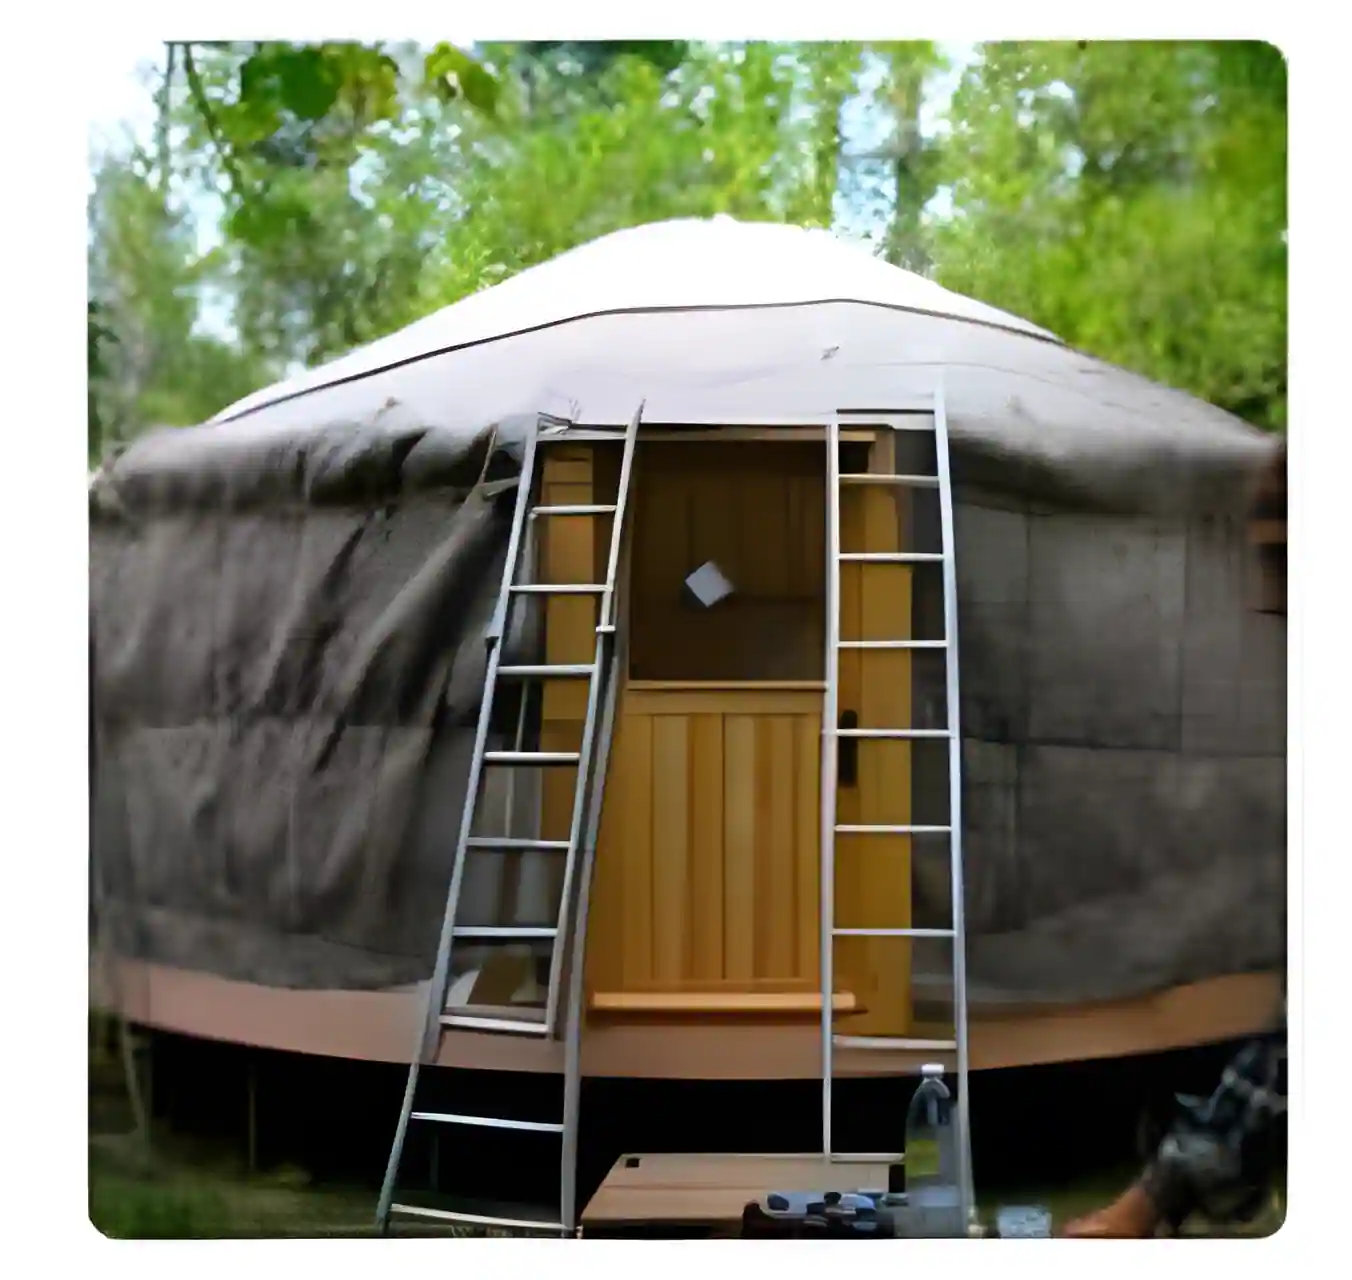
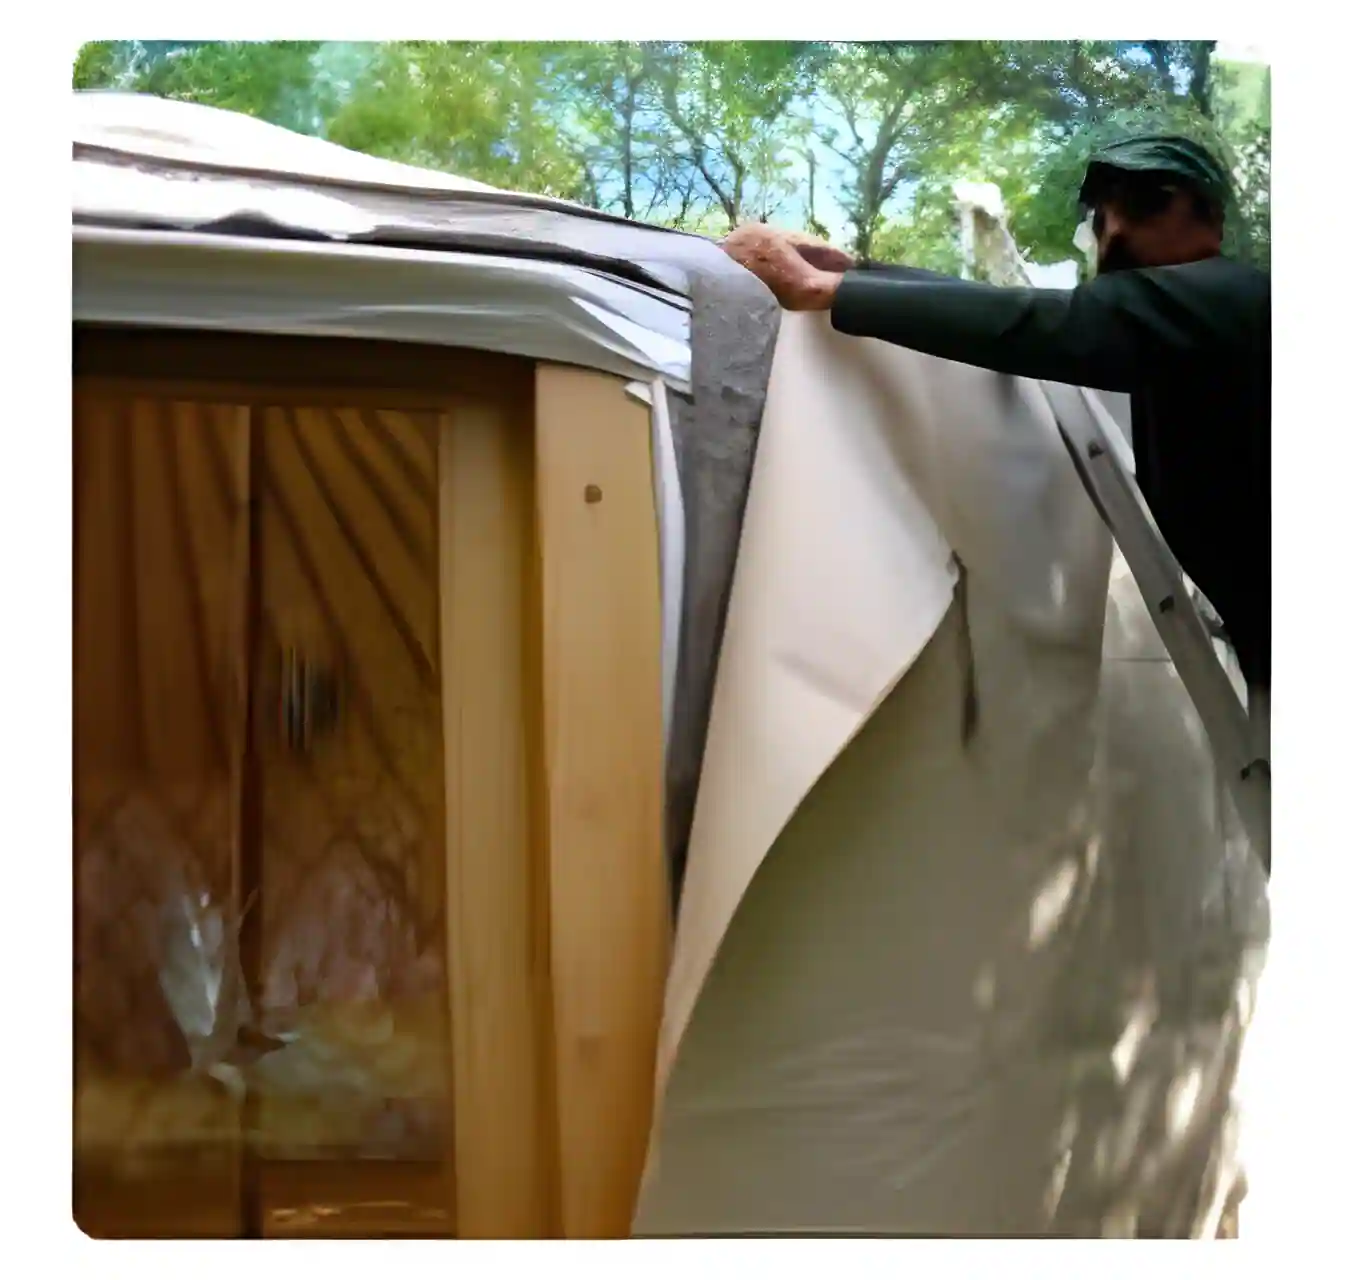
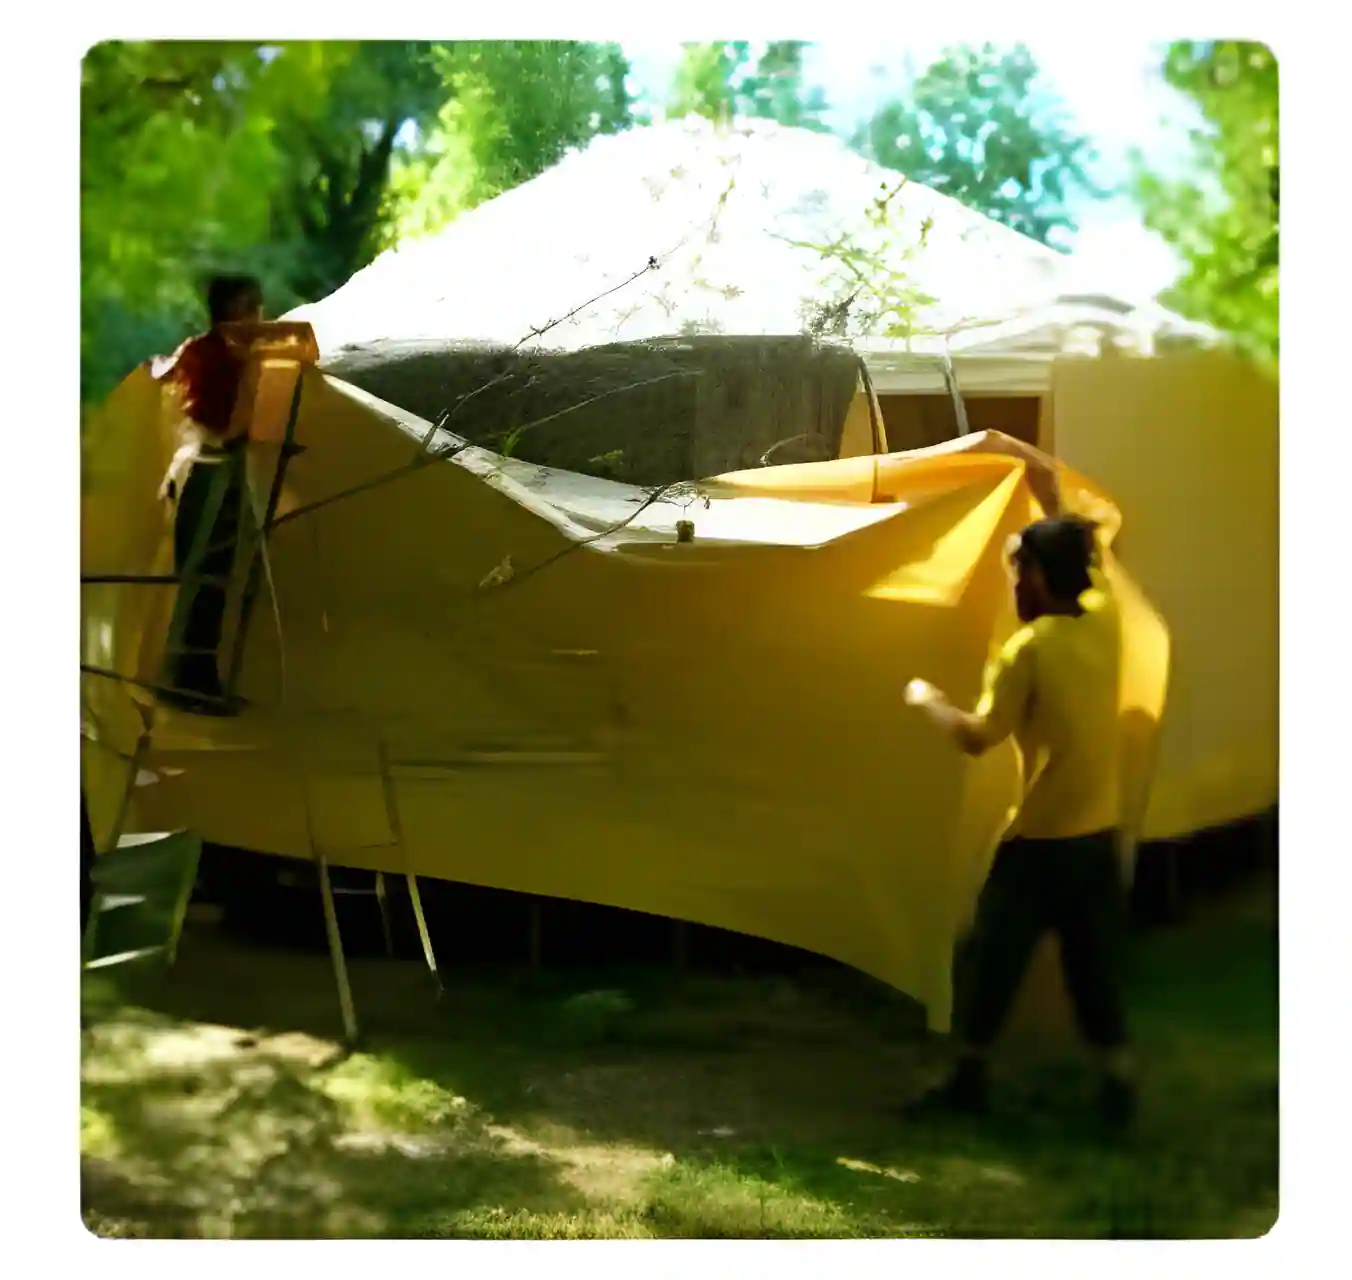
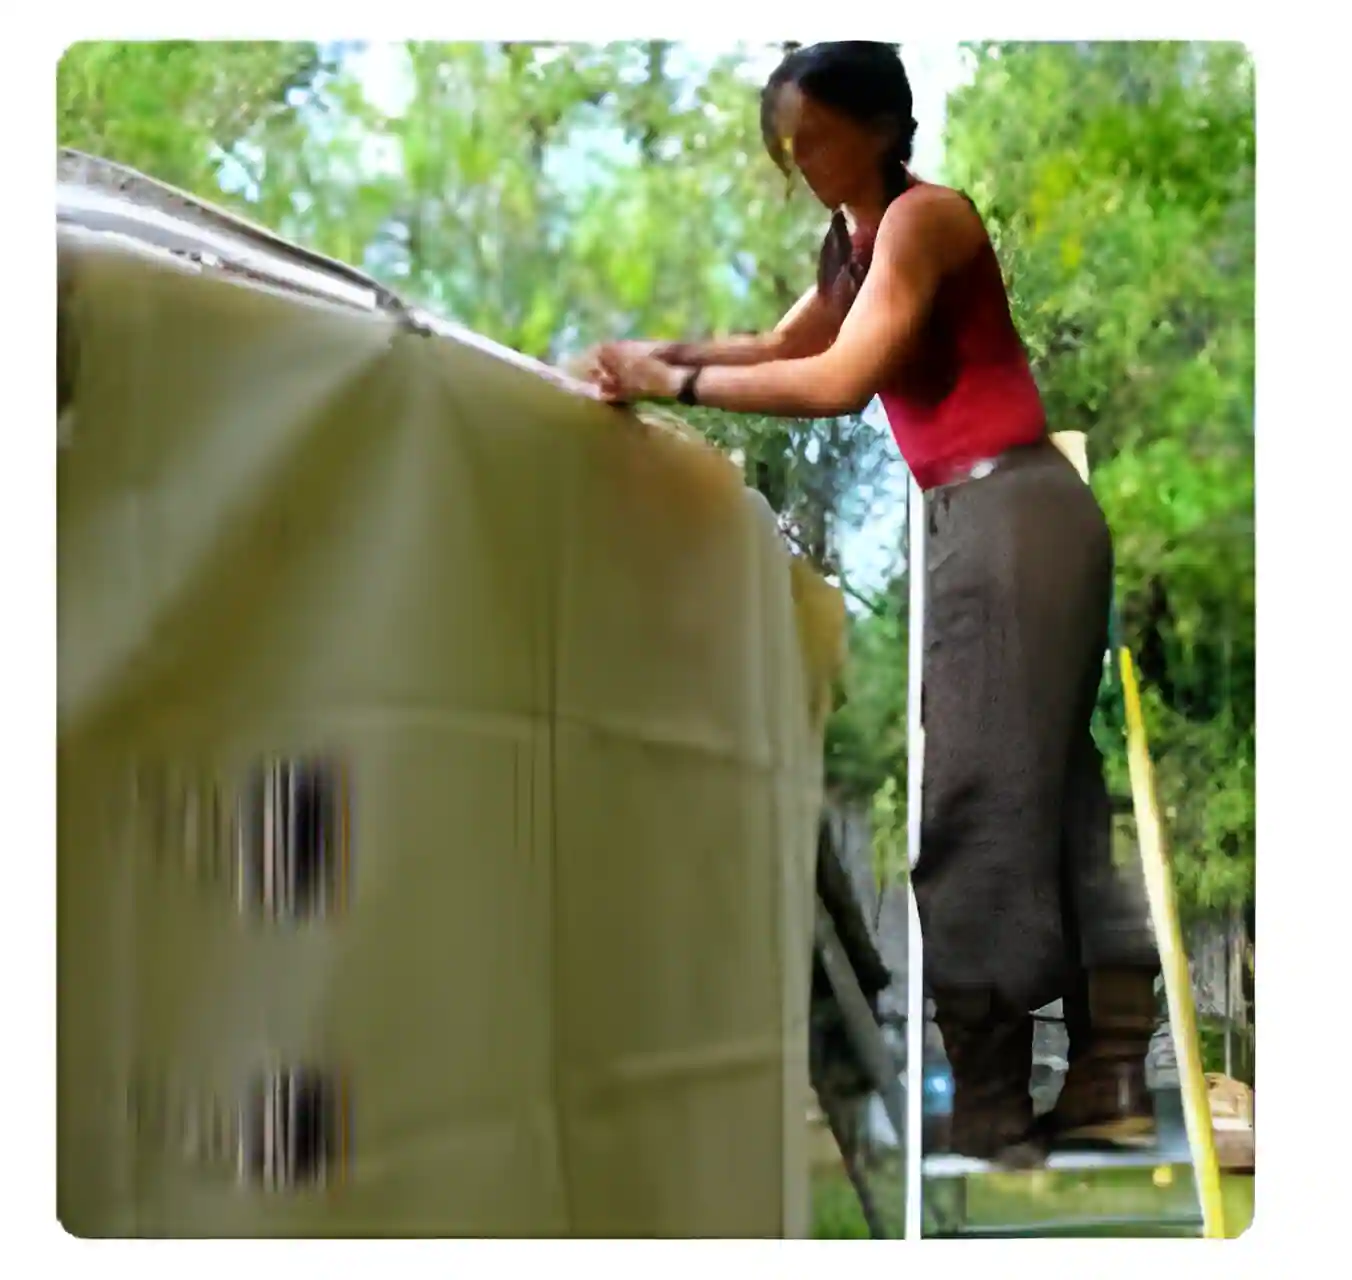
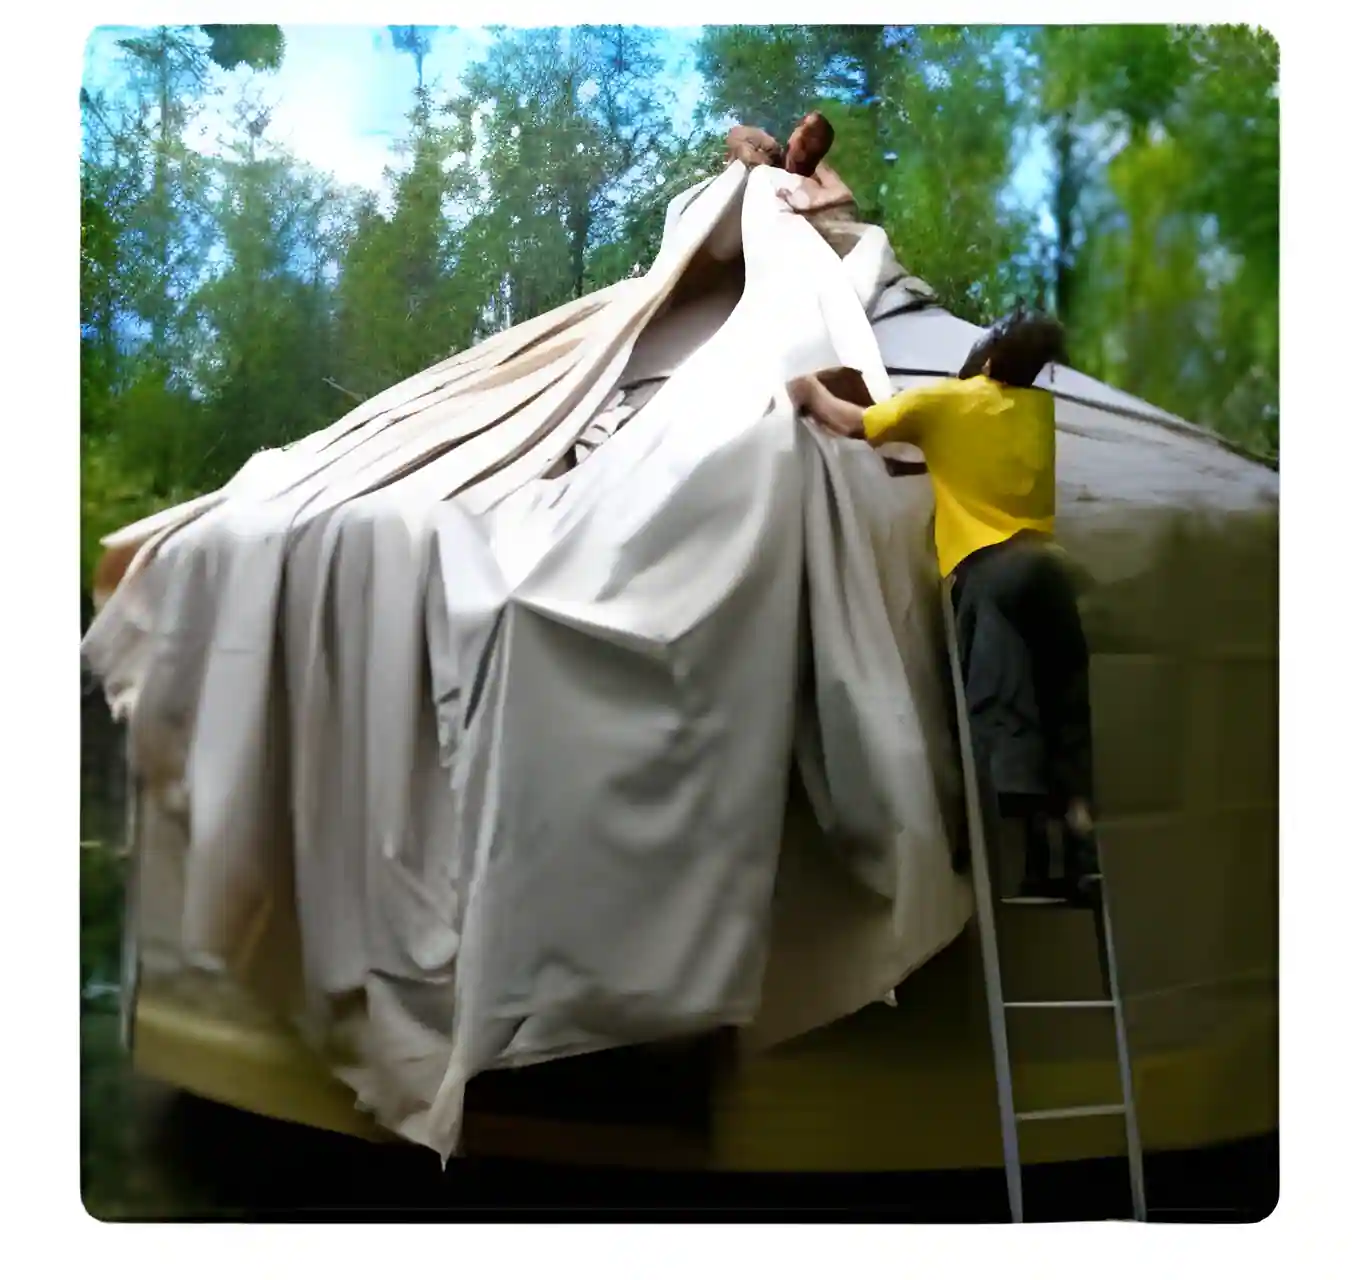
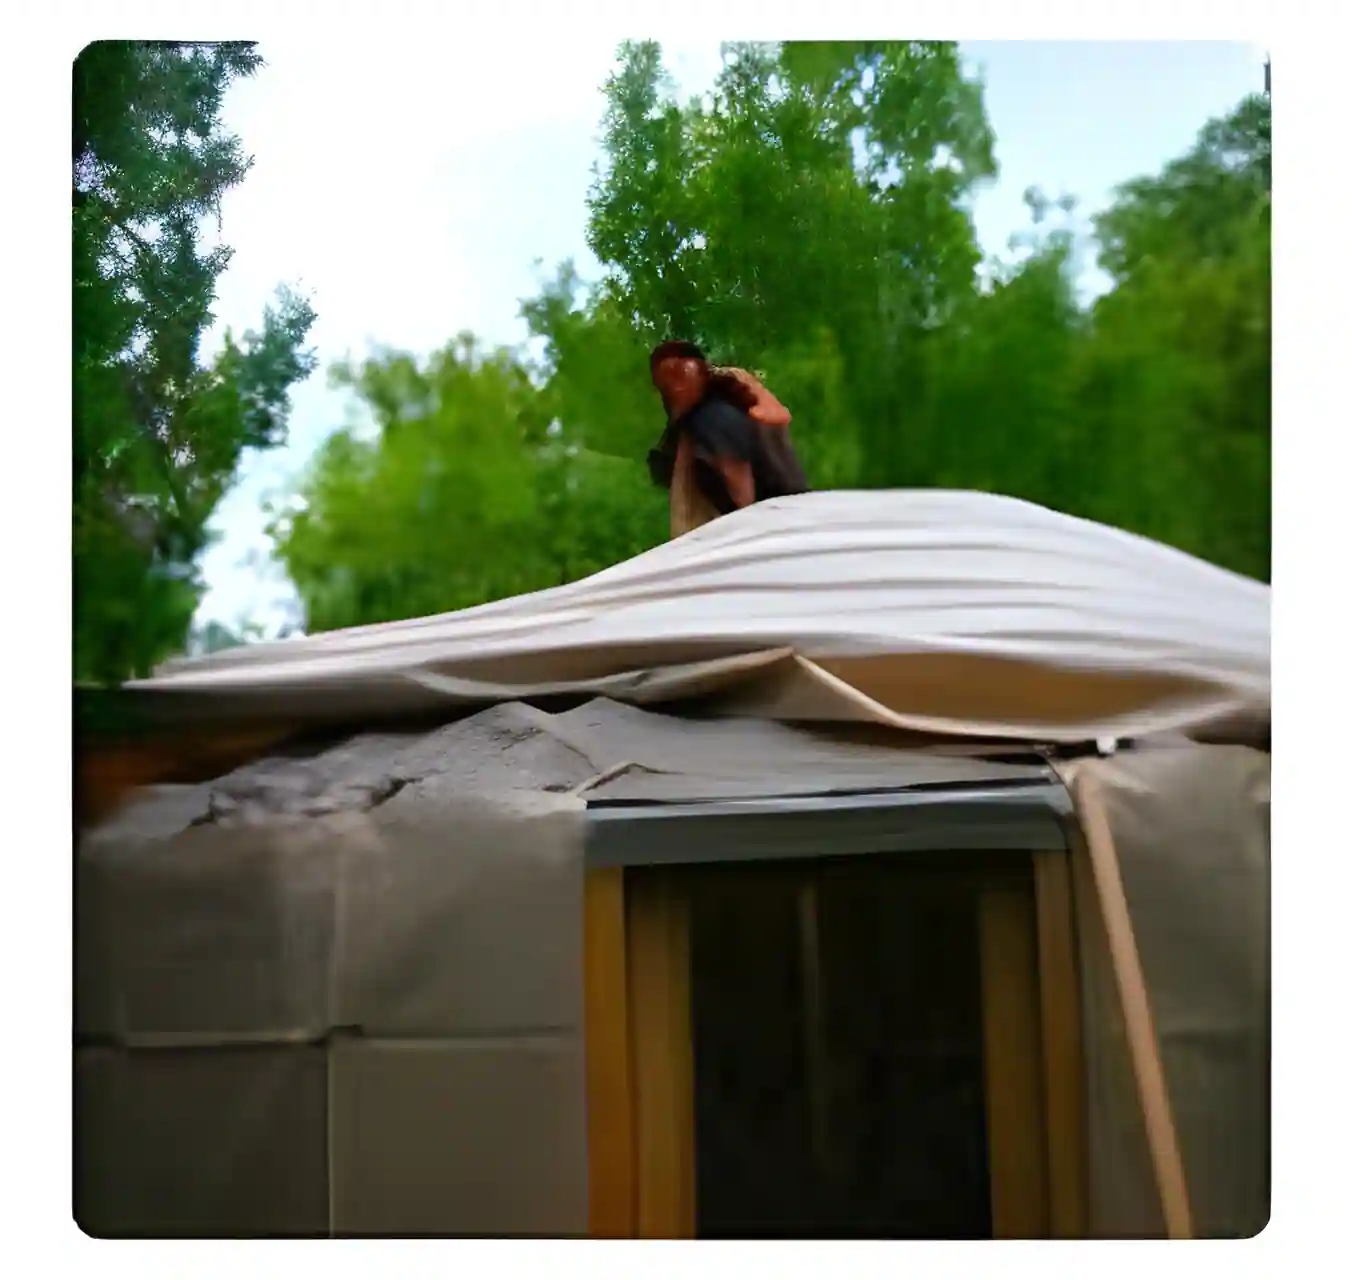
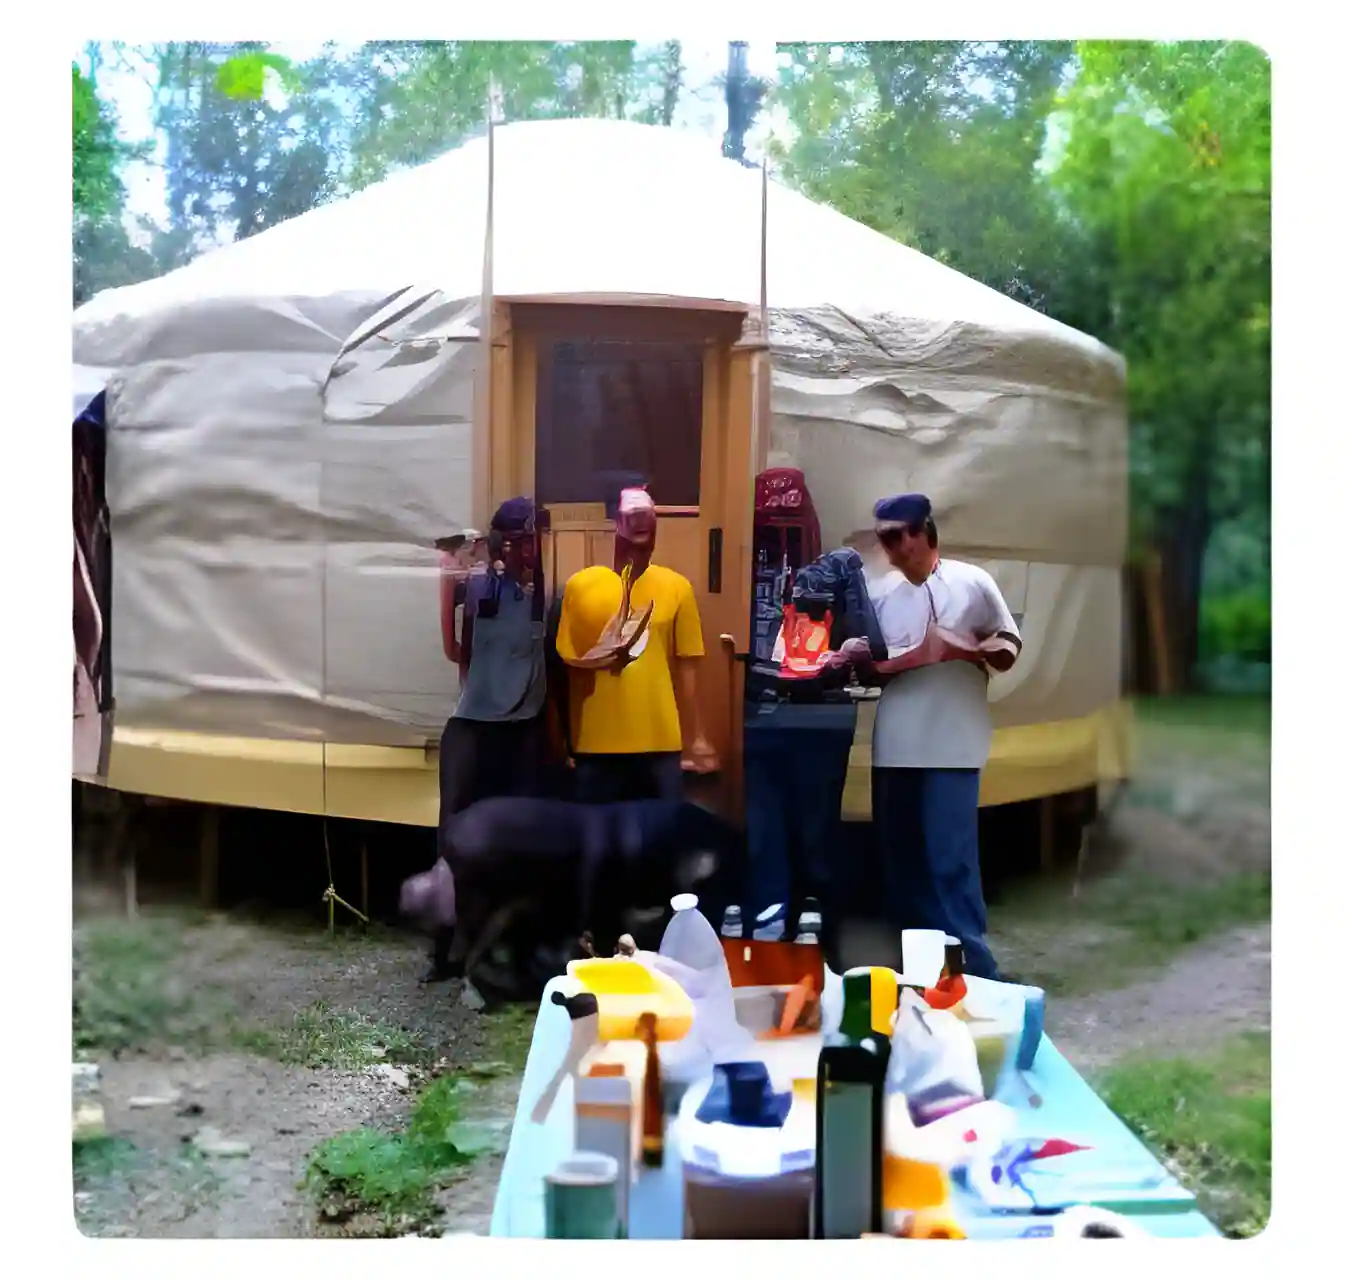
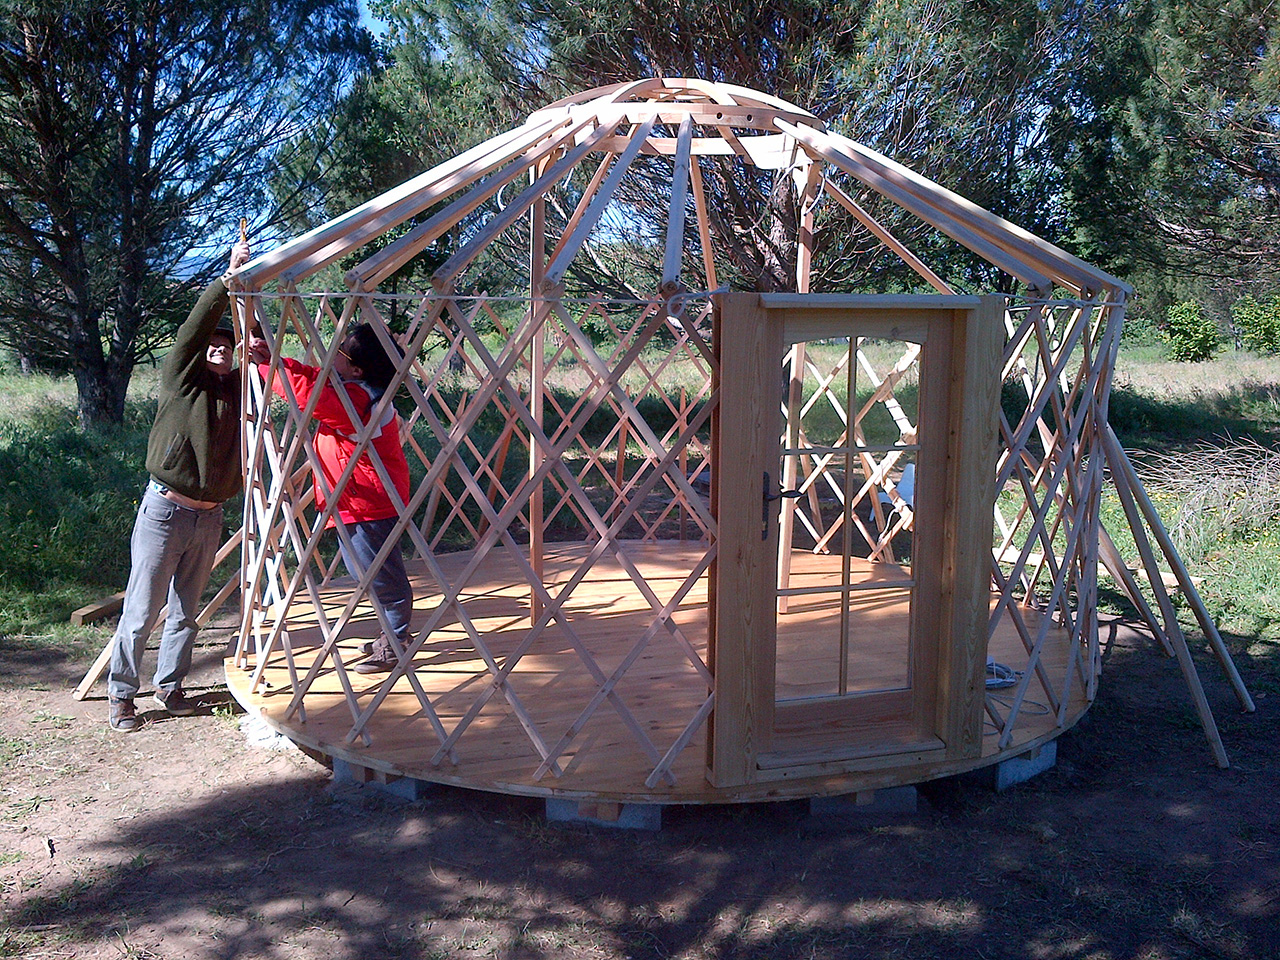
Assembling a yurt is an adventure that generally takes just one day, with the help of our experienced team and a few volunteer friends, in a festive and friendly atmosphere.
How is editing carried out?
Assembly team
We provide a team of 2 experienced editors to guide and assist you throughout the process.
Involving friends
New owners are invited to get a few friends together to learn the basics of live editing.
Duration
Set-up starts in the morning and finishes in the afternoon, although the duration may vary depending on the model of yurt.
Assemble your yurt yourself
You can assemble your yurt yourself without any help from us, thanks to our detailed assembly guide, explanatory photos and telephone assistance if you need it.
Assembly assistance
The team’s role
Our team is there to train and structure the assembly, but the help of the participants is essential for a successful participative site.
Safety
For safety reasons, children are not allowed on the assembly site.
Site preparation
- Levelling: Prepare the site in advance to allow the earth to settle.
- Ground surface: Allow at least 1 metre of clearance around the perimeter of the yurt.
- Gravel: To stabilise the ground and prevent mud, cover the area with gravel.
- Access: Provide an access road for delivery vehicles and make sure the site is clear for assembly.
Weather and liability
Weather conditions
The set-up date depends on a favourable weather report. In the event of unfavourable weather, set-up may be postponed.
Liability
The customer is responsible for storing the yurt in the event of postponement.
