Materials, Manufacture
and Assembly
of our Yurts

Our yurts, made from the finest materials, offer a warm, comfortable and bright home adapted to the European climate. They are ethically sound and blend harmoniously into their natural surroundings.

Features, materials and finishes

5 diameters to choose from

We offer yurts with a floor diameter of:

  • 4m (giving a floor area of 12.5m²),
  • 5m (19.6m²),
  • 6m (28.2m²),
  • 7m (38.5m²) and
  • 8m (50.3m²)

offering the right solution for most needs.

Do you need more space for your project?
Have you thought about semi-detached yurts?

In any case, don’t hesitate to contact us.

2 wall heights

Classic

With a lattice height of 160cm, the maximum total height is 320cm*.

Raised

The 180cm height of the trellises, for a maximum height of 340cm*, makes for a more comfortable living space, with the possibility of accommodating activities that require high ceilings, such as workshops, areas dedicated to yoga or other physical exercises.

*for a model with a floor diameter of 8m.
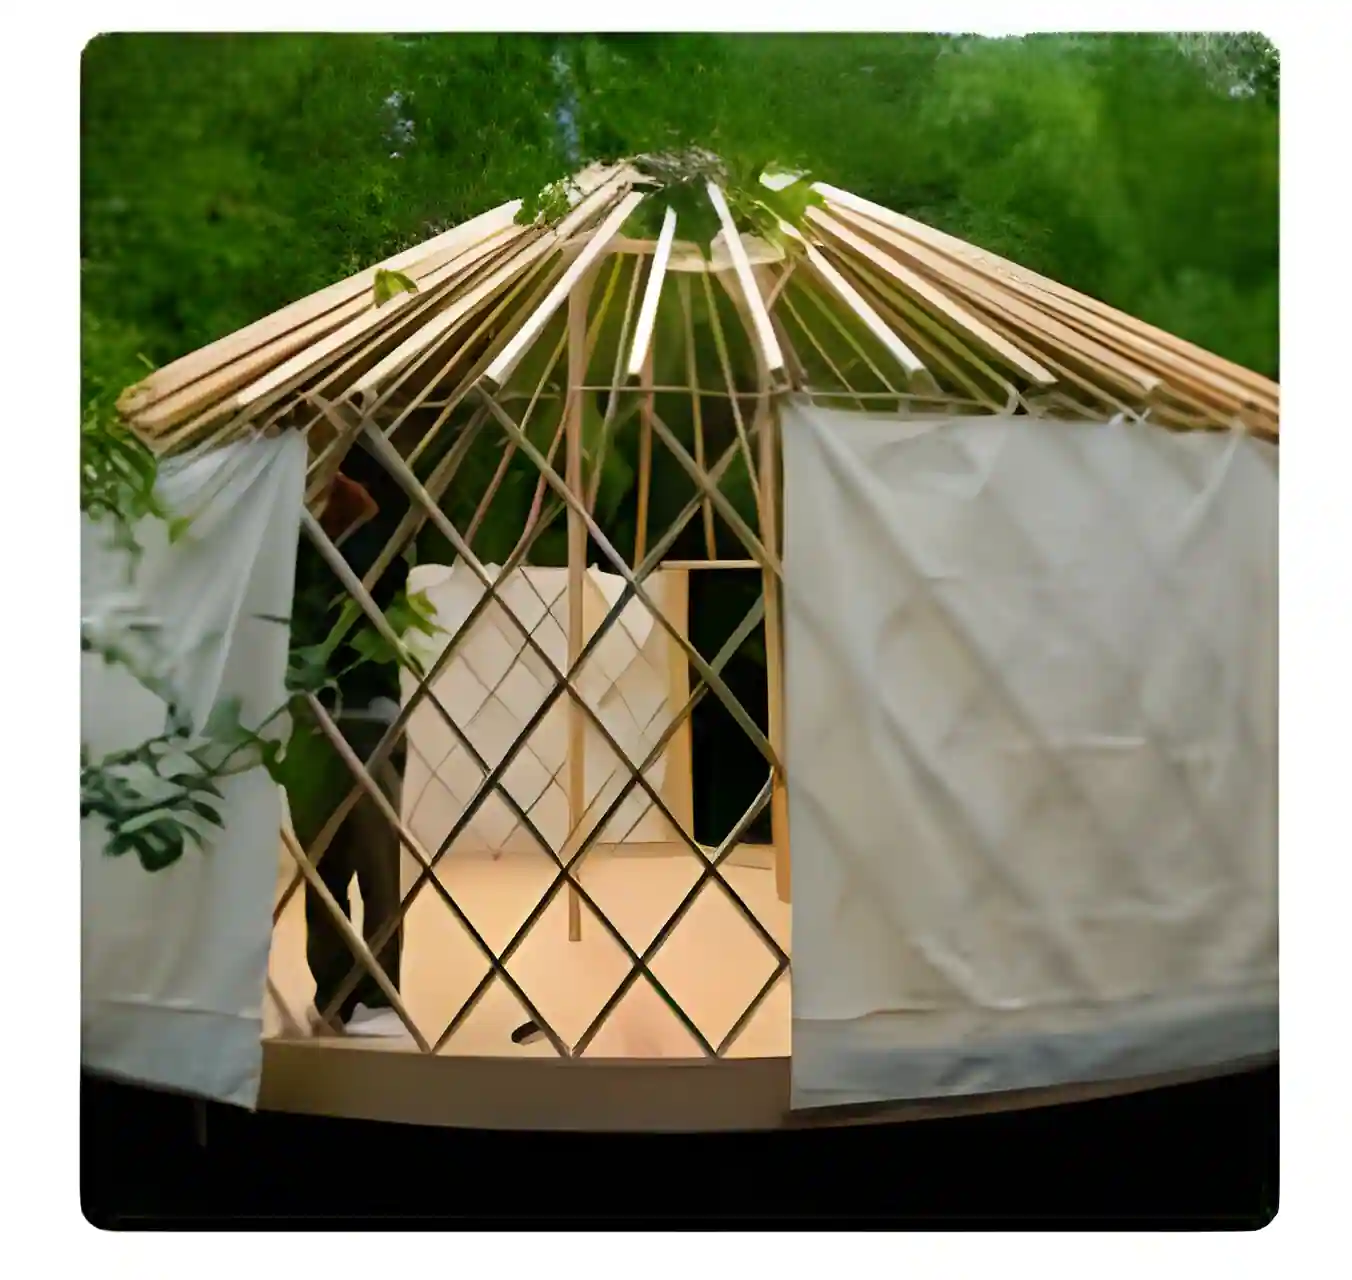
Montage yourte 4m ossature
Ossature yourte 6m
Yourte 8m rehaussée avec mezzanine

Natural materials

Our ‘breathable’ natural canvas and insulation limit the formation of condensation, even in prolonged periods of rain.

Outdoor canvas

100% nautical grade acrylic, UV and mould resistant, Oeko-tex certified.
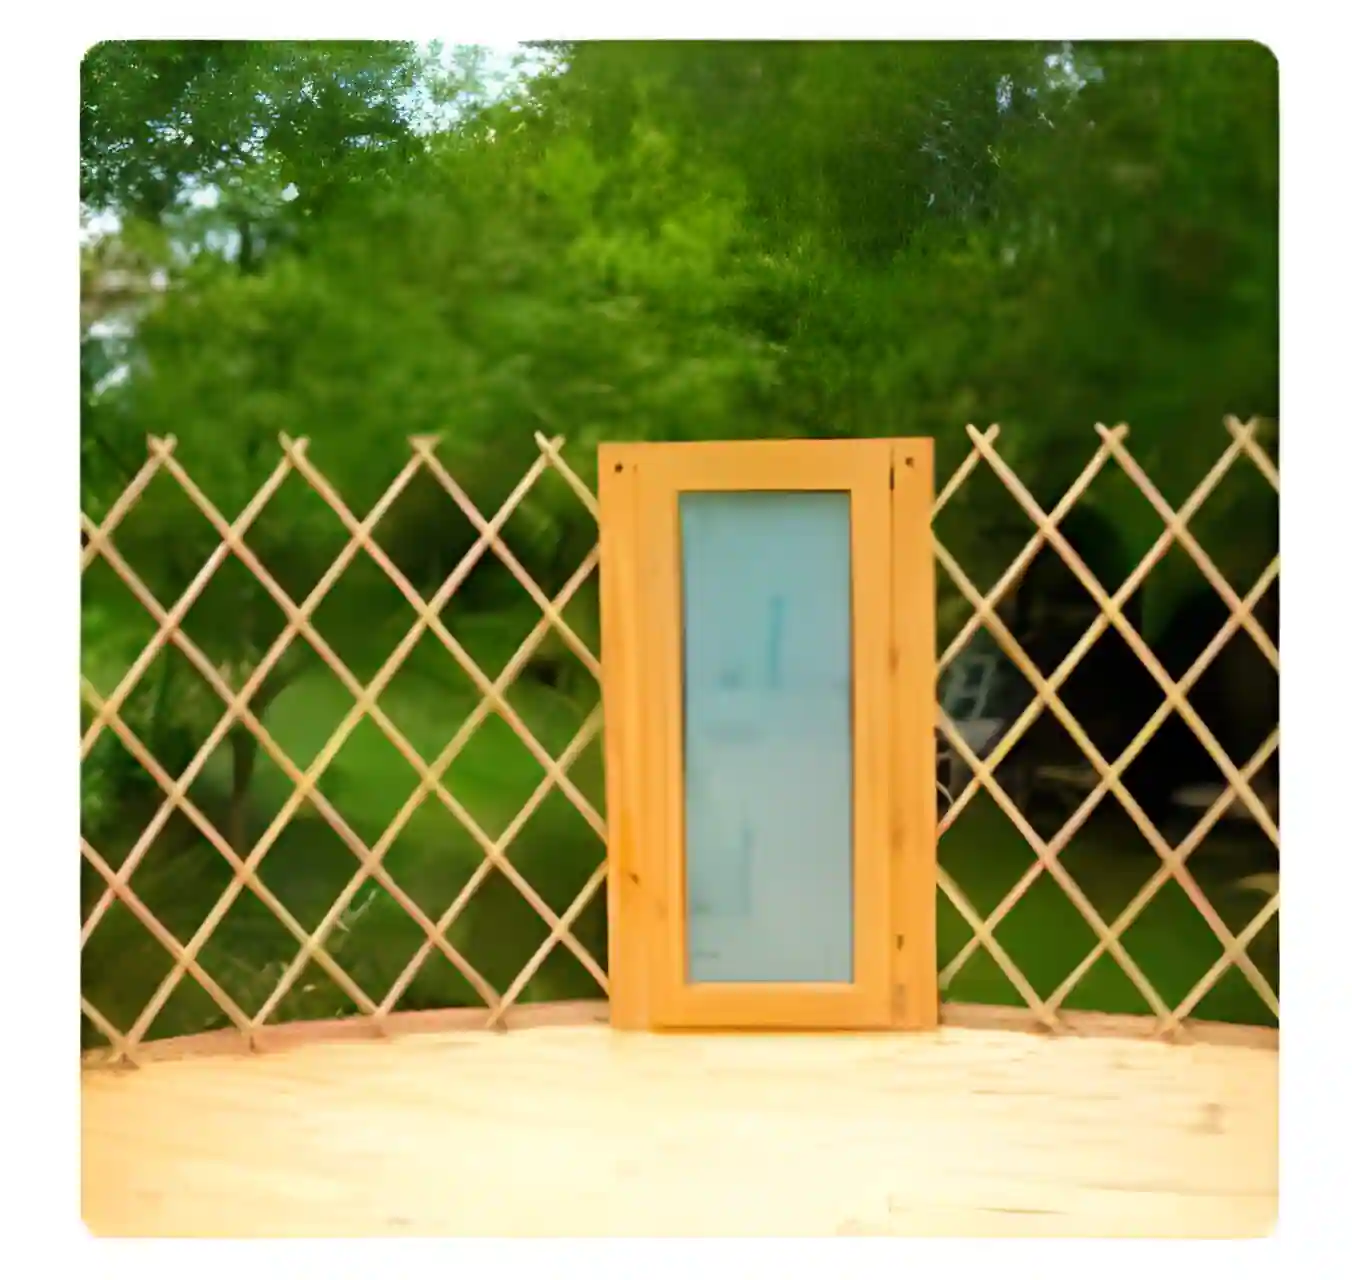
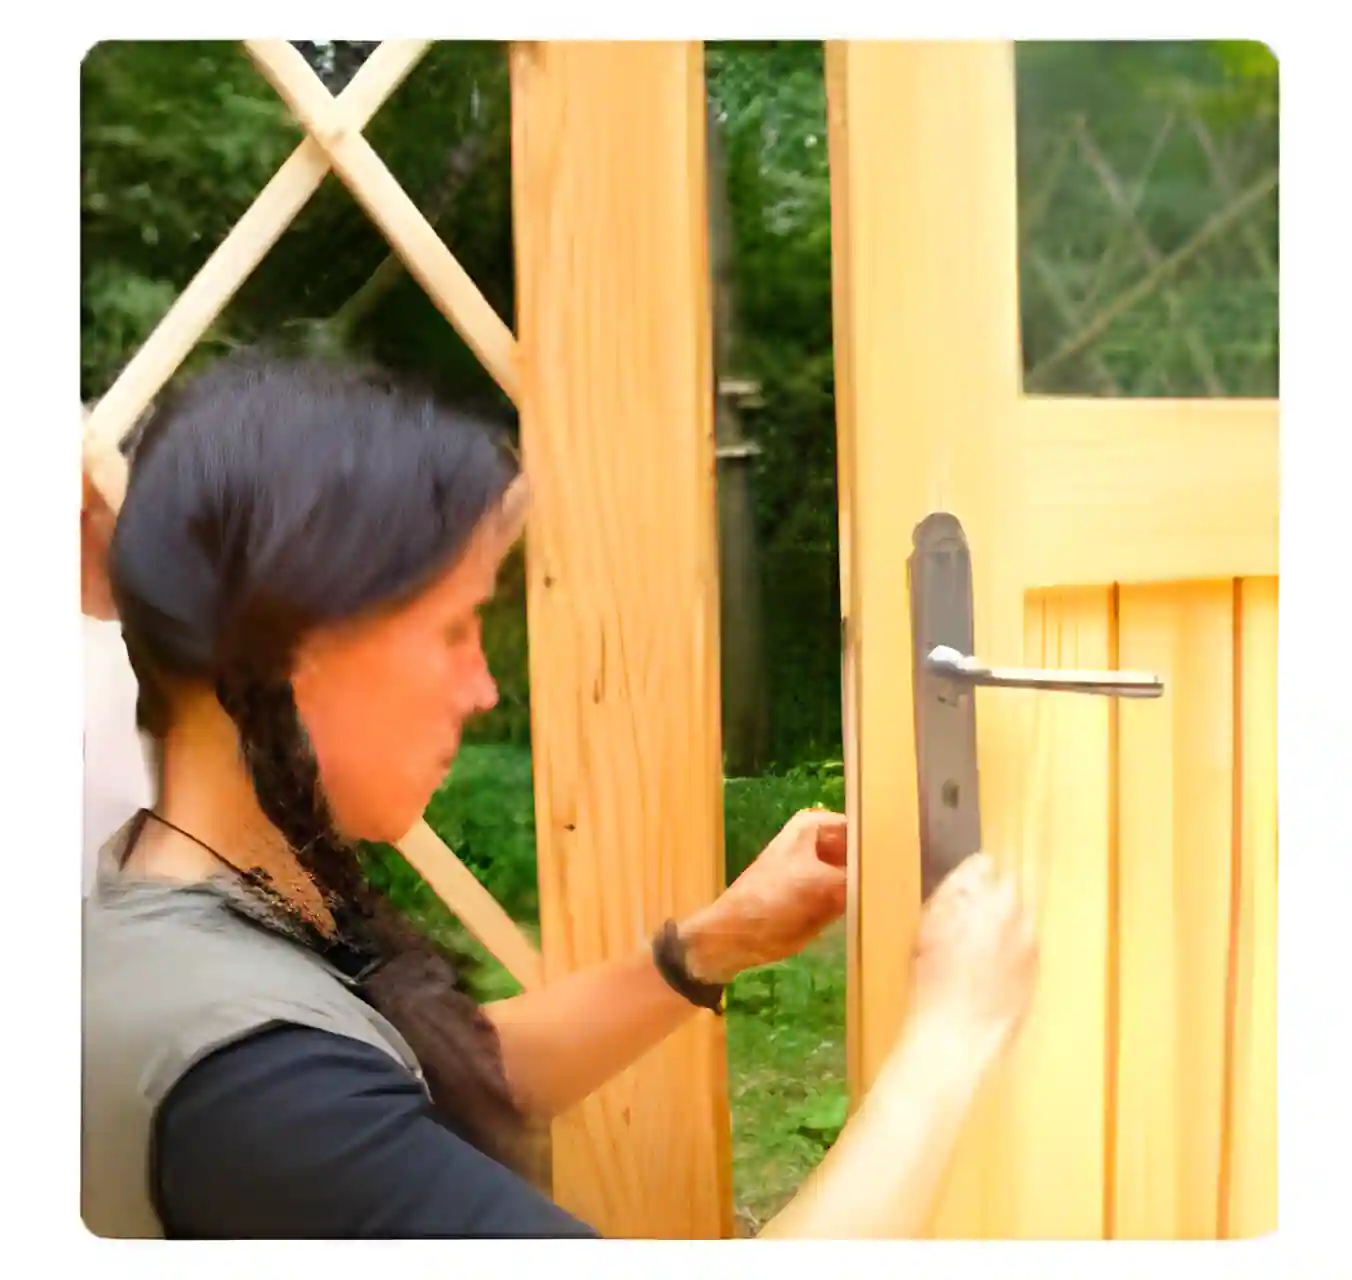
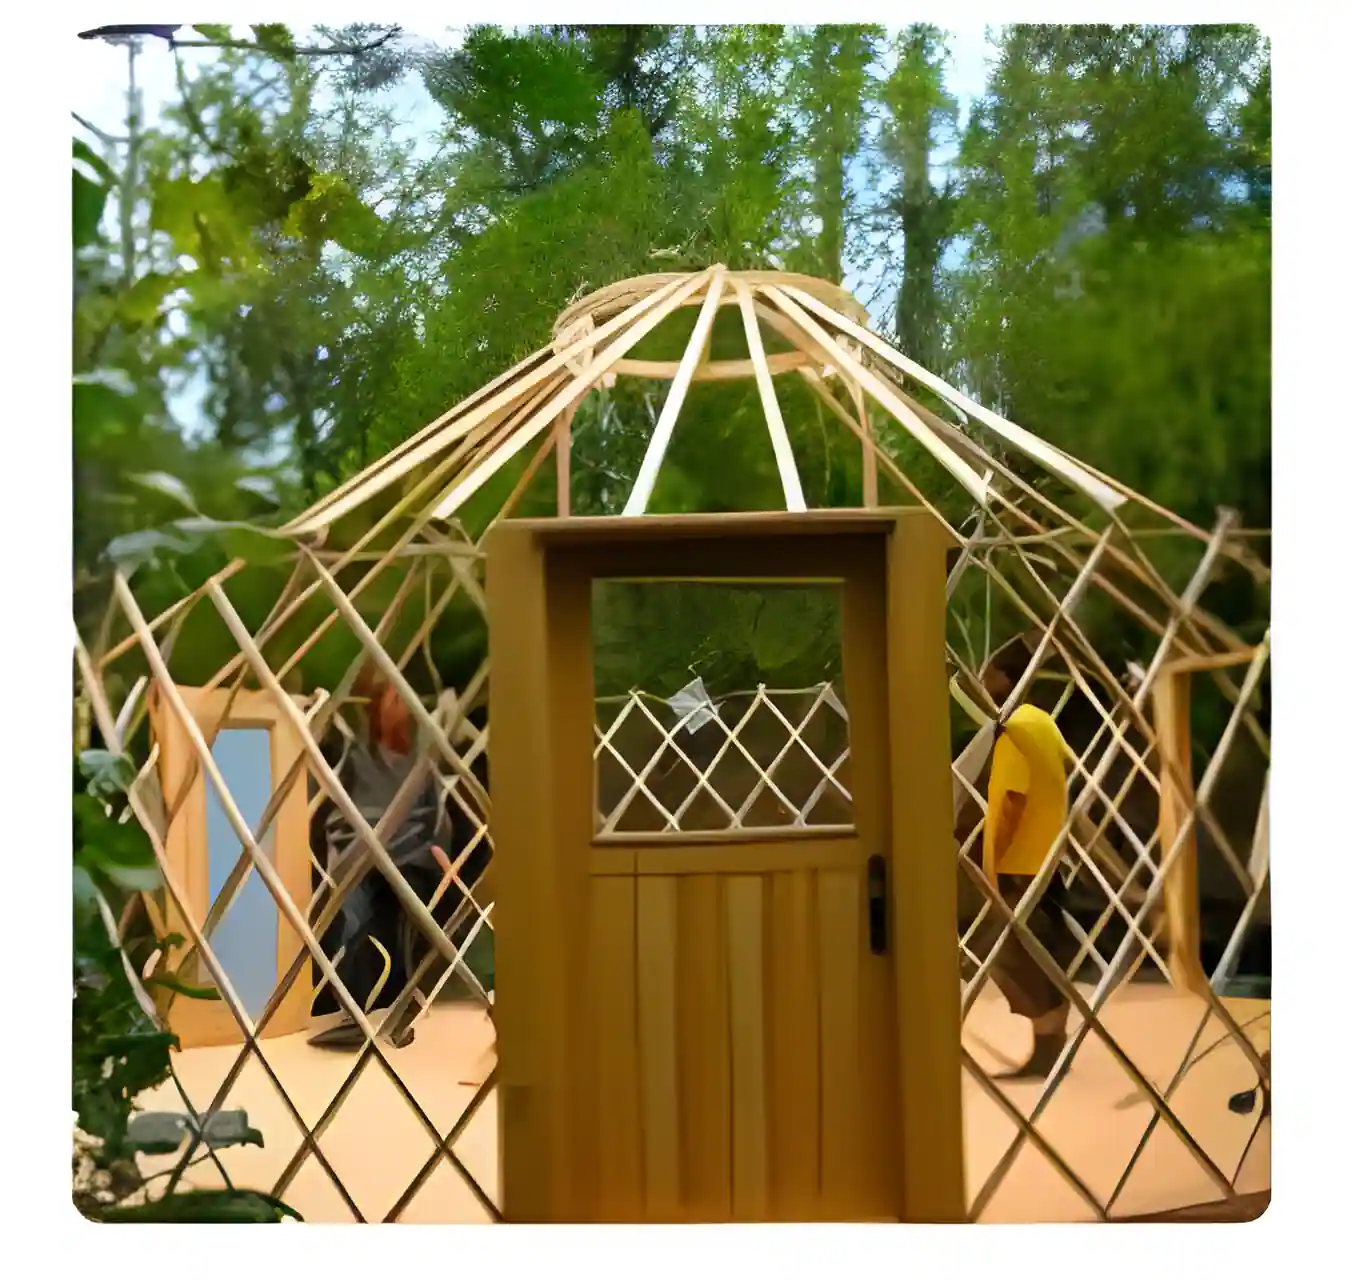
Windows and doors

Larch, double-glazed or plexiglass, impact-resistant.
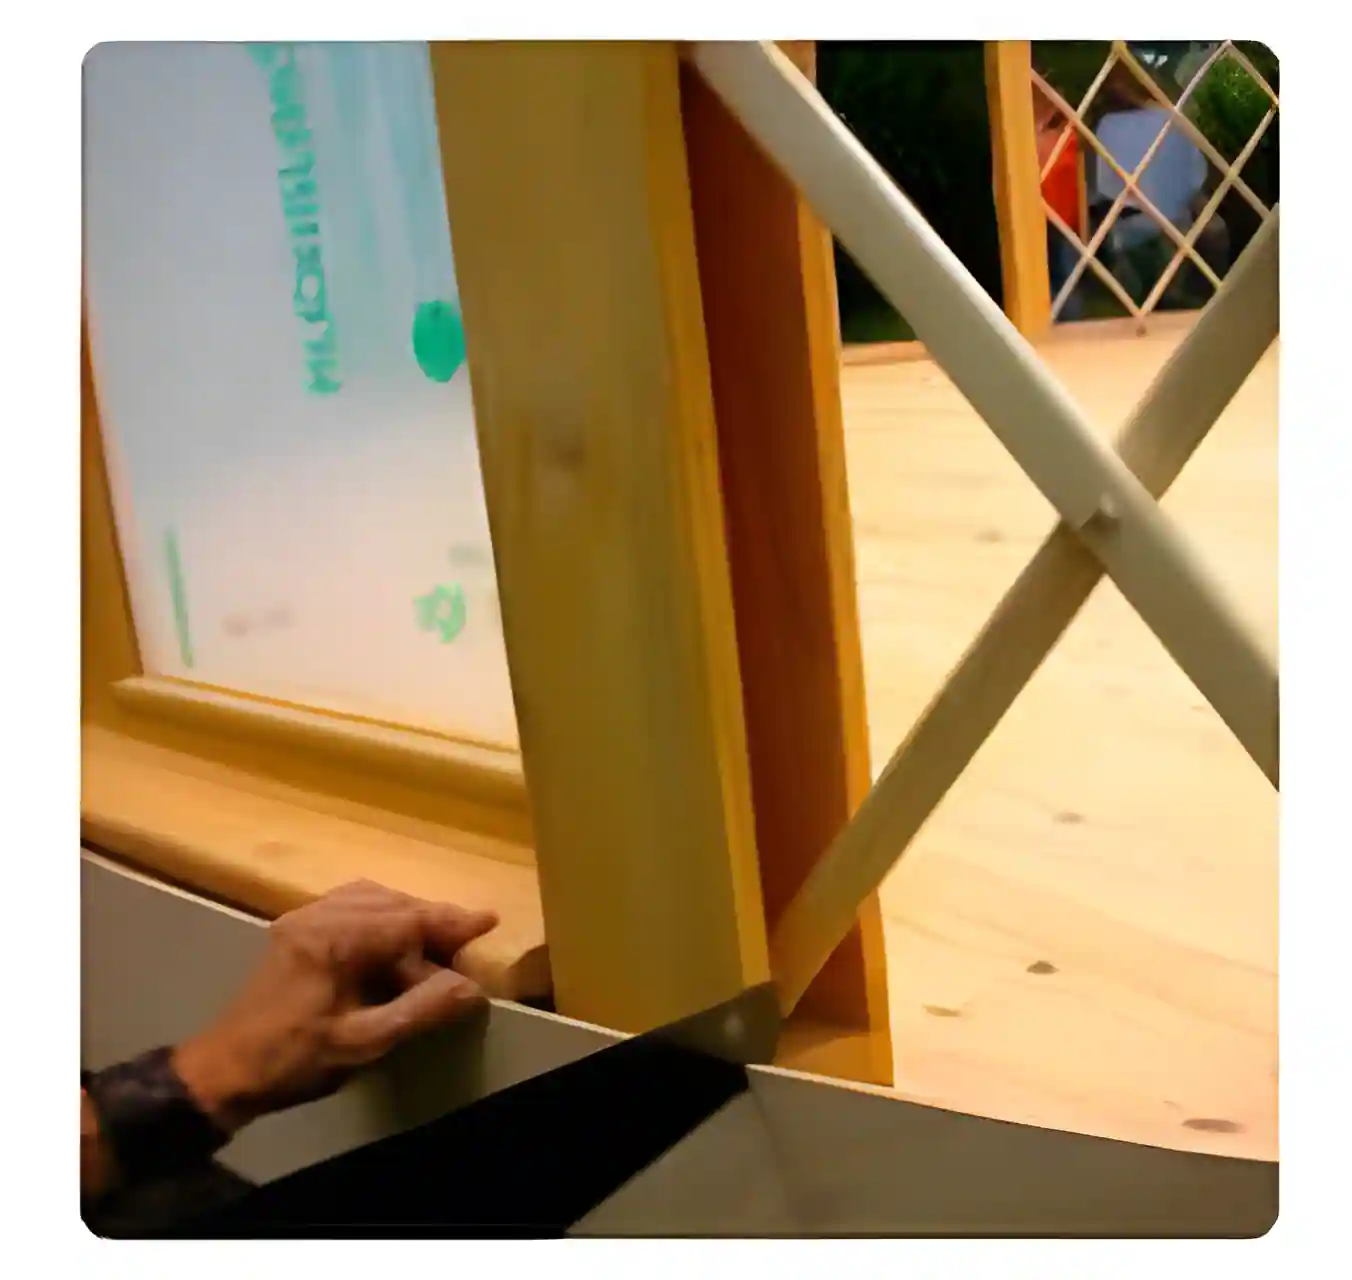
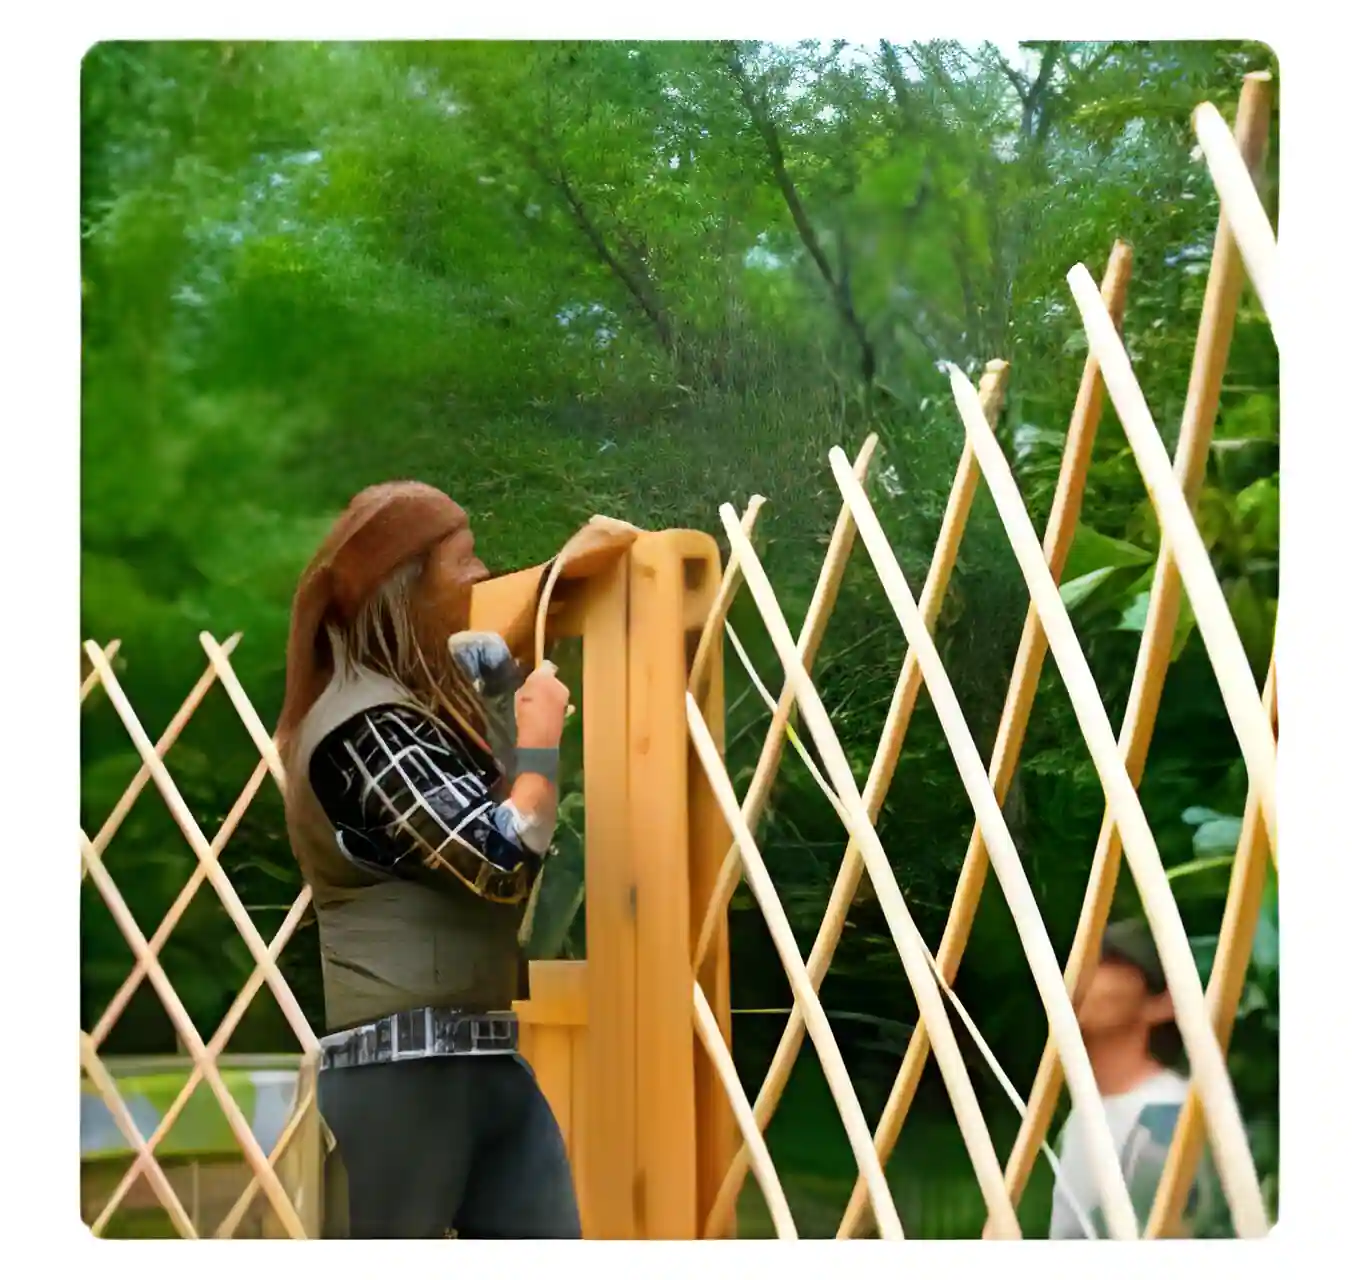
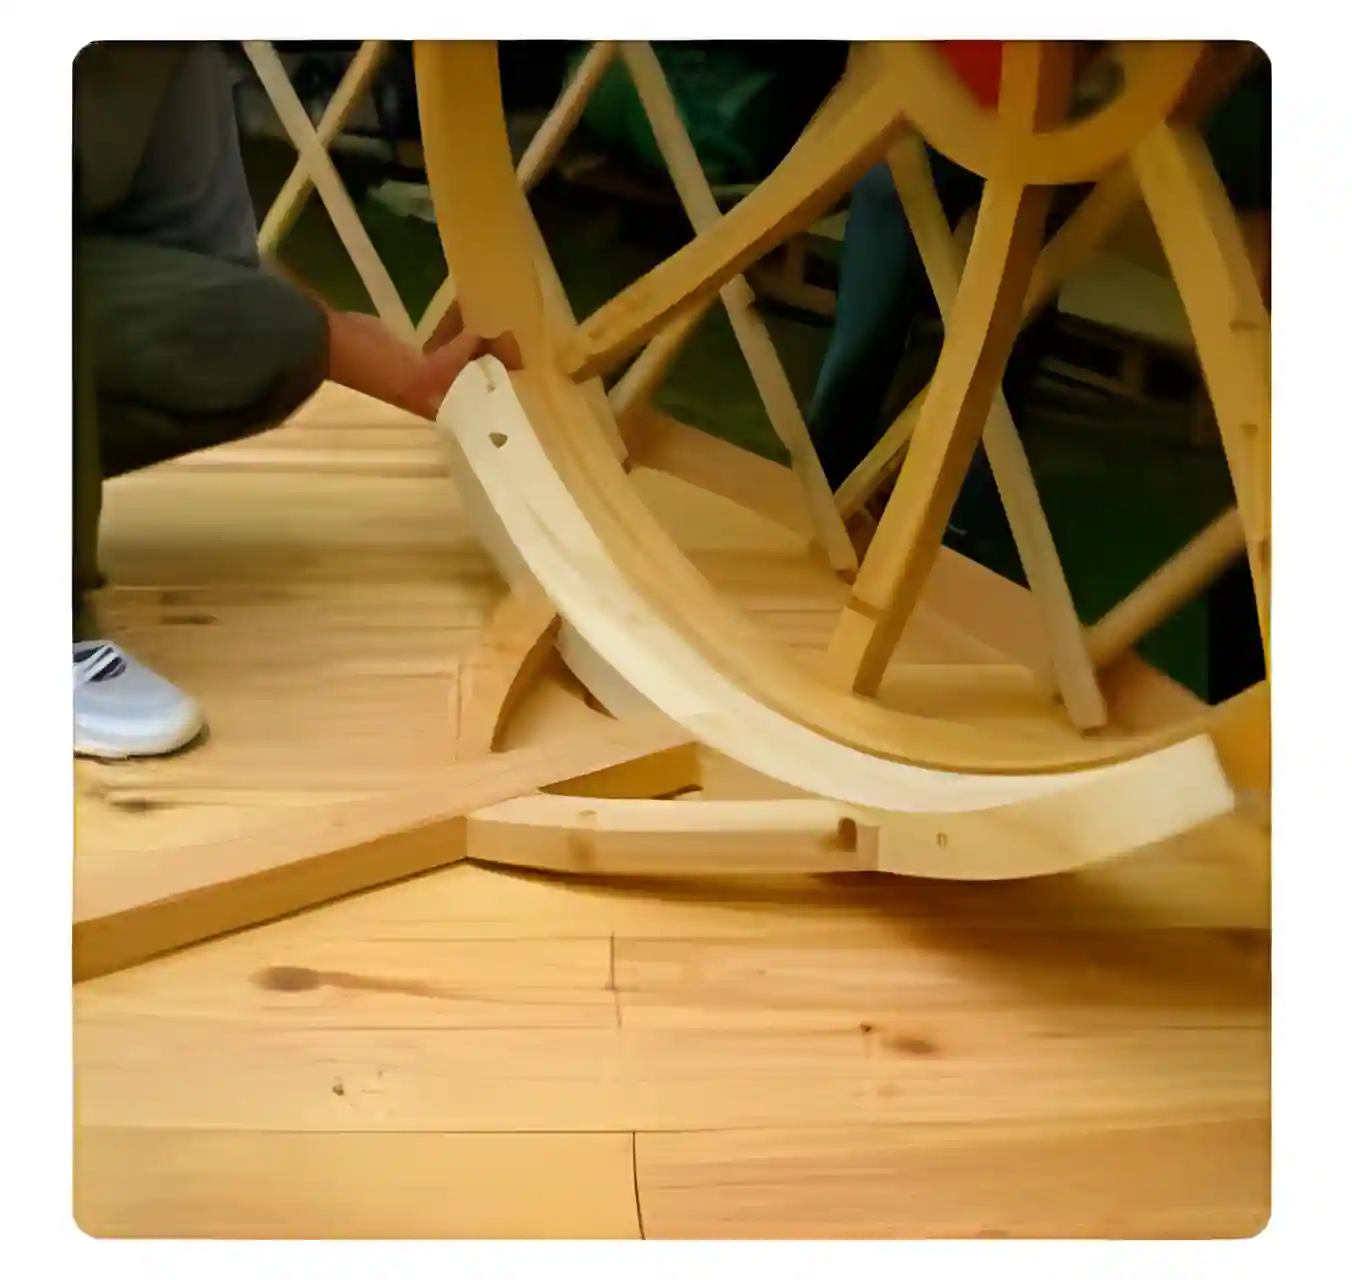
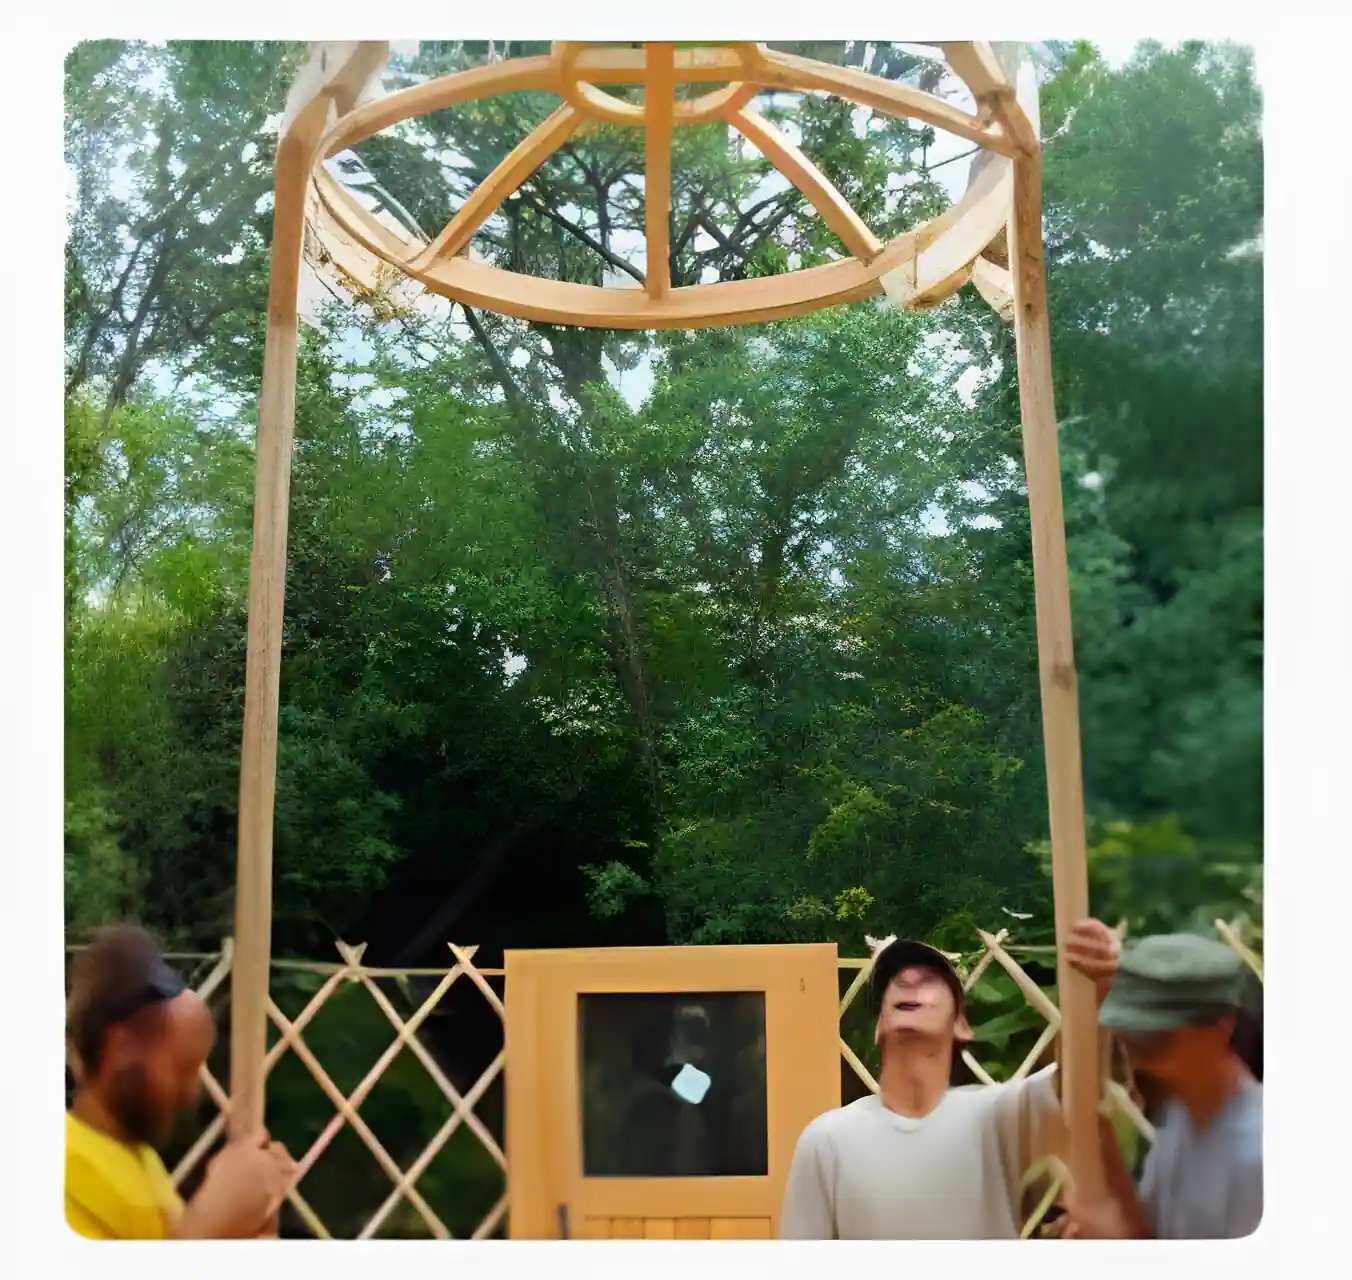
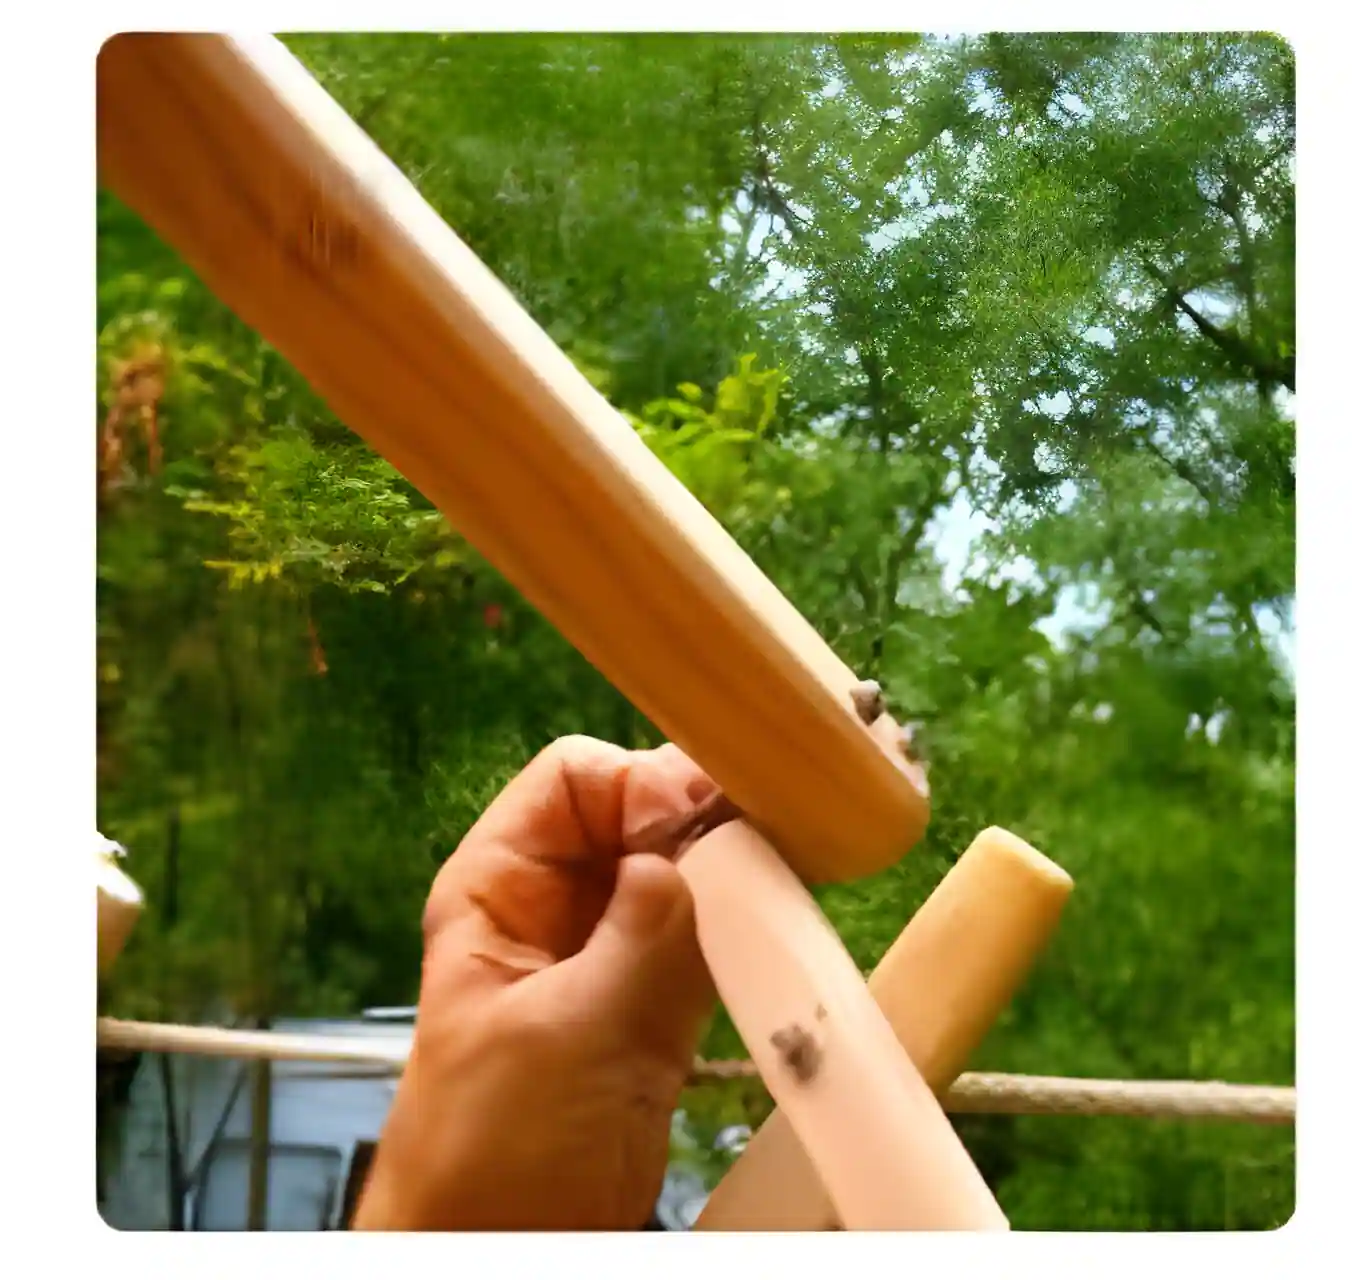
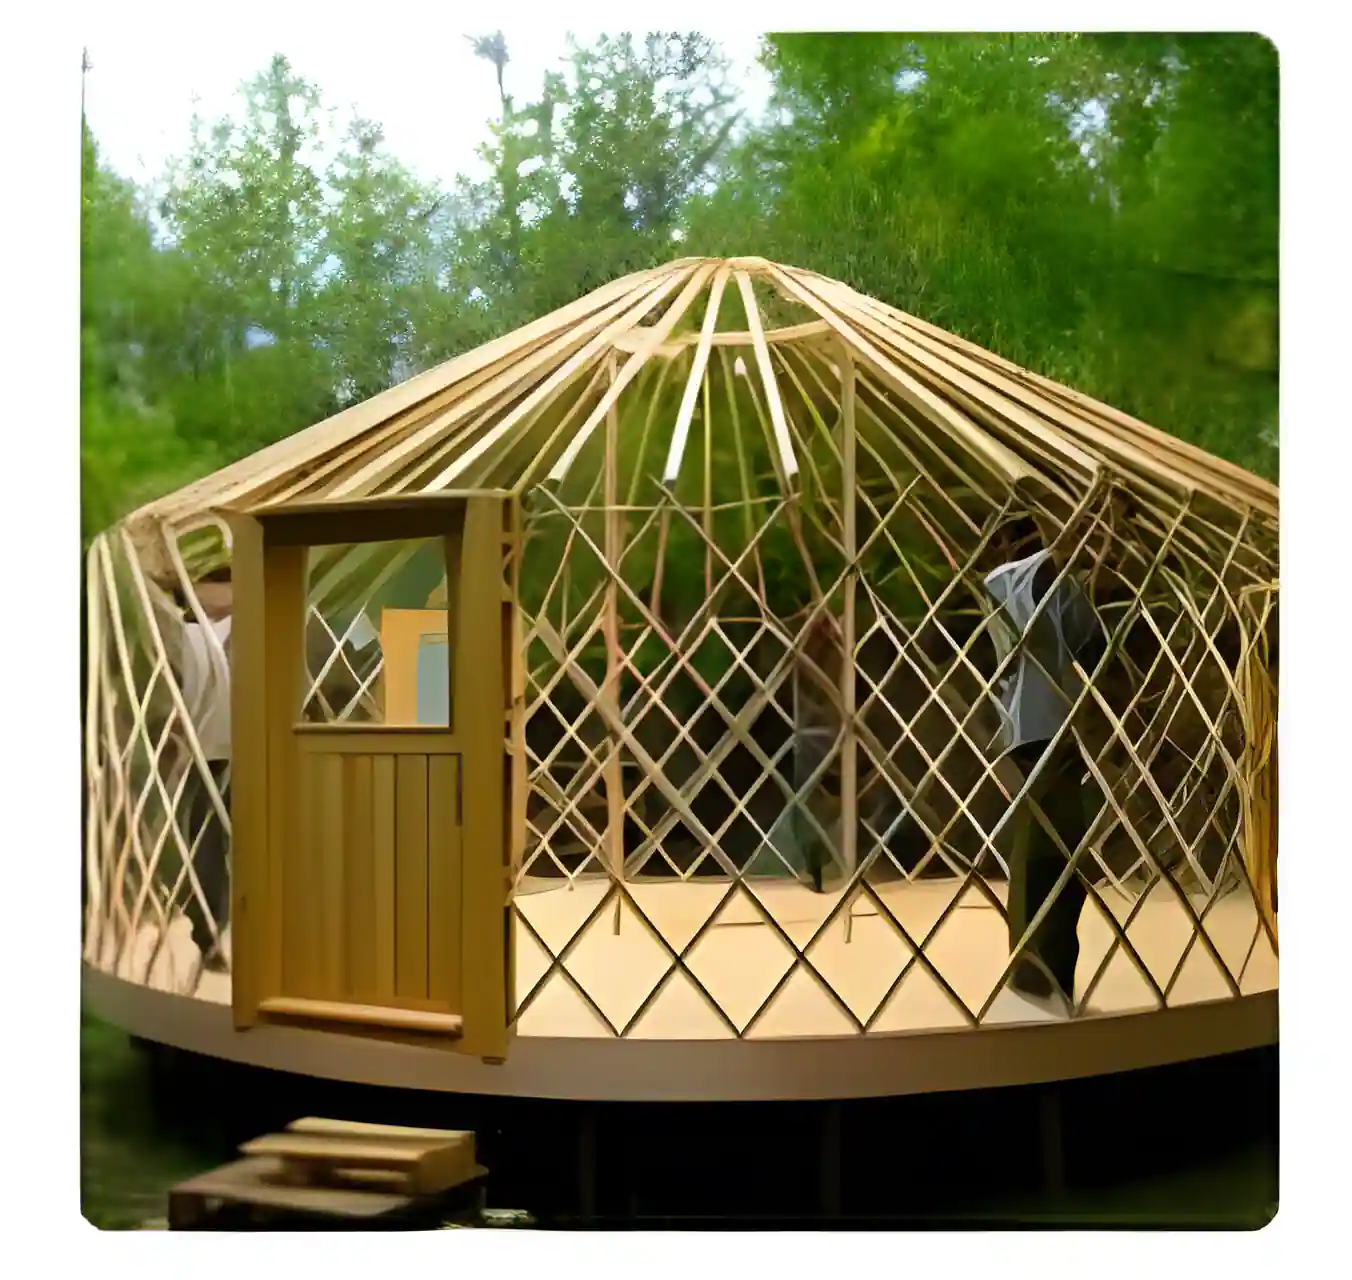
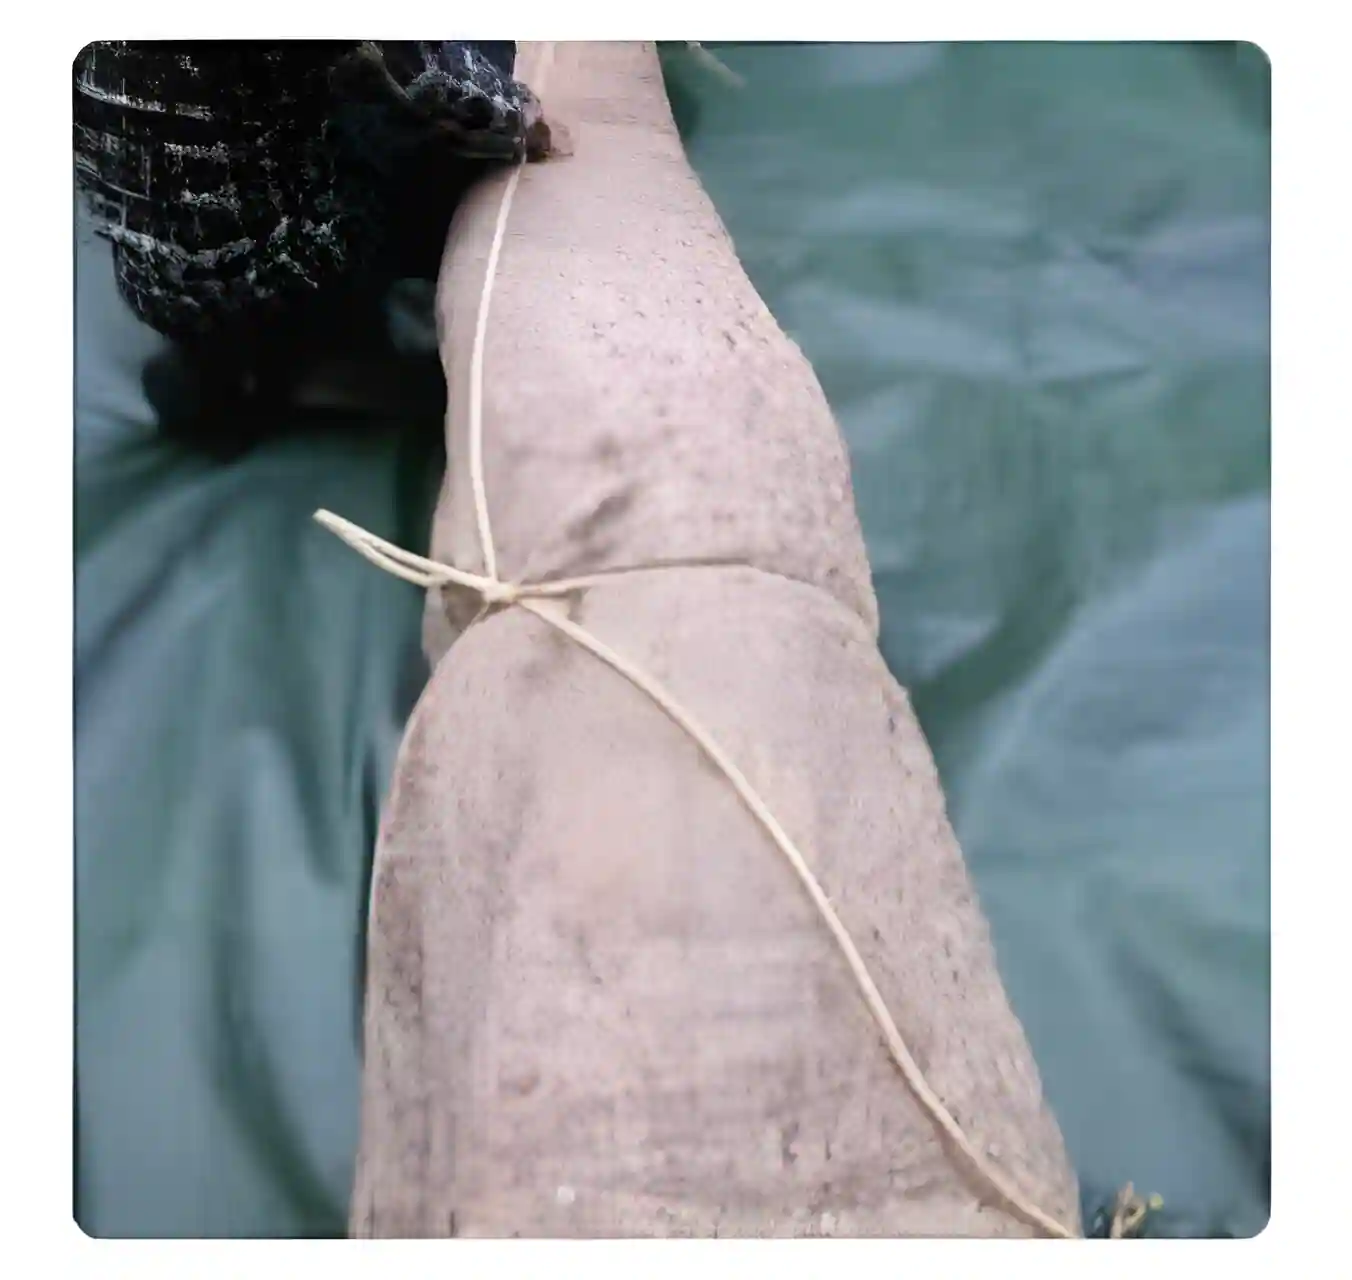
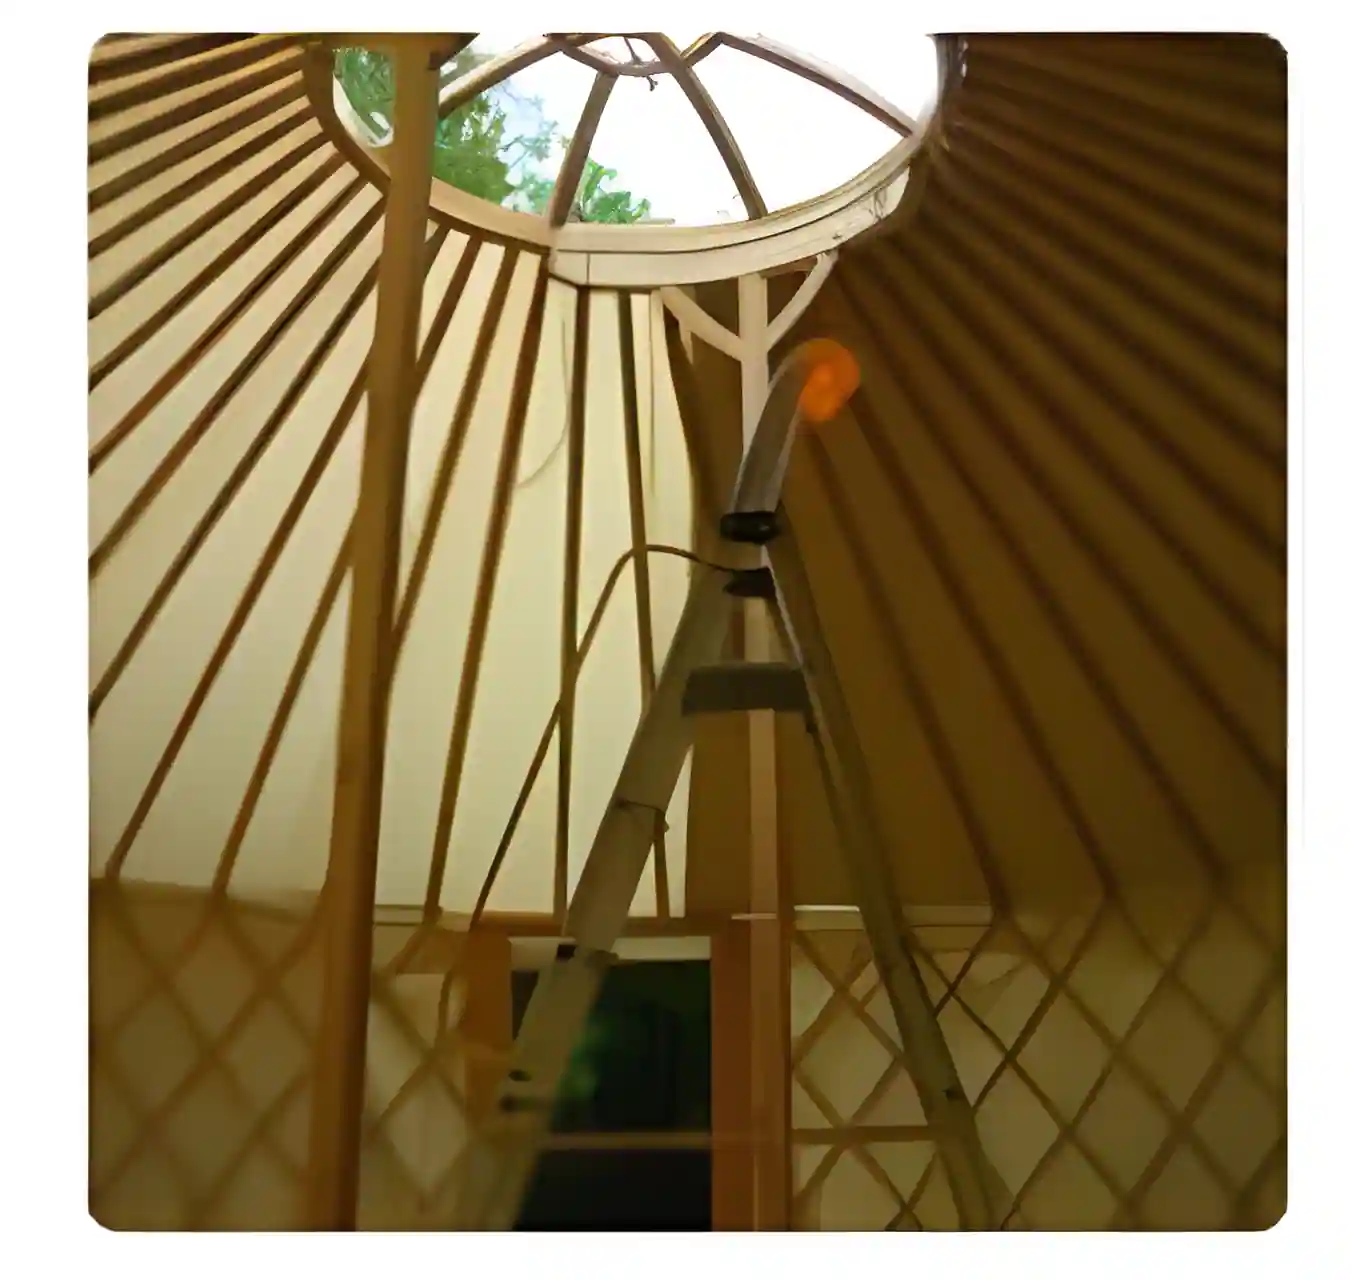
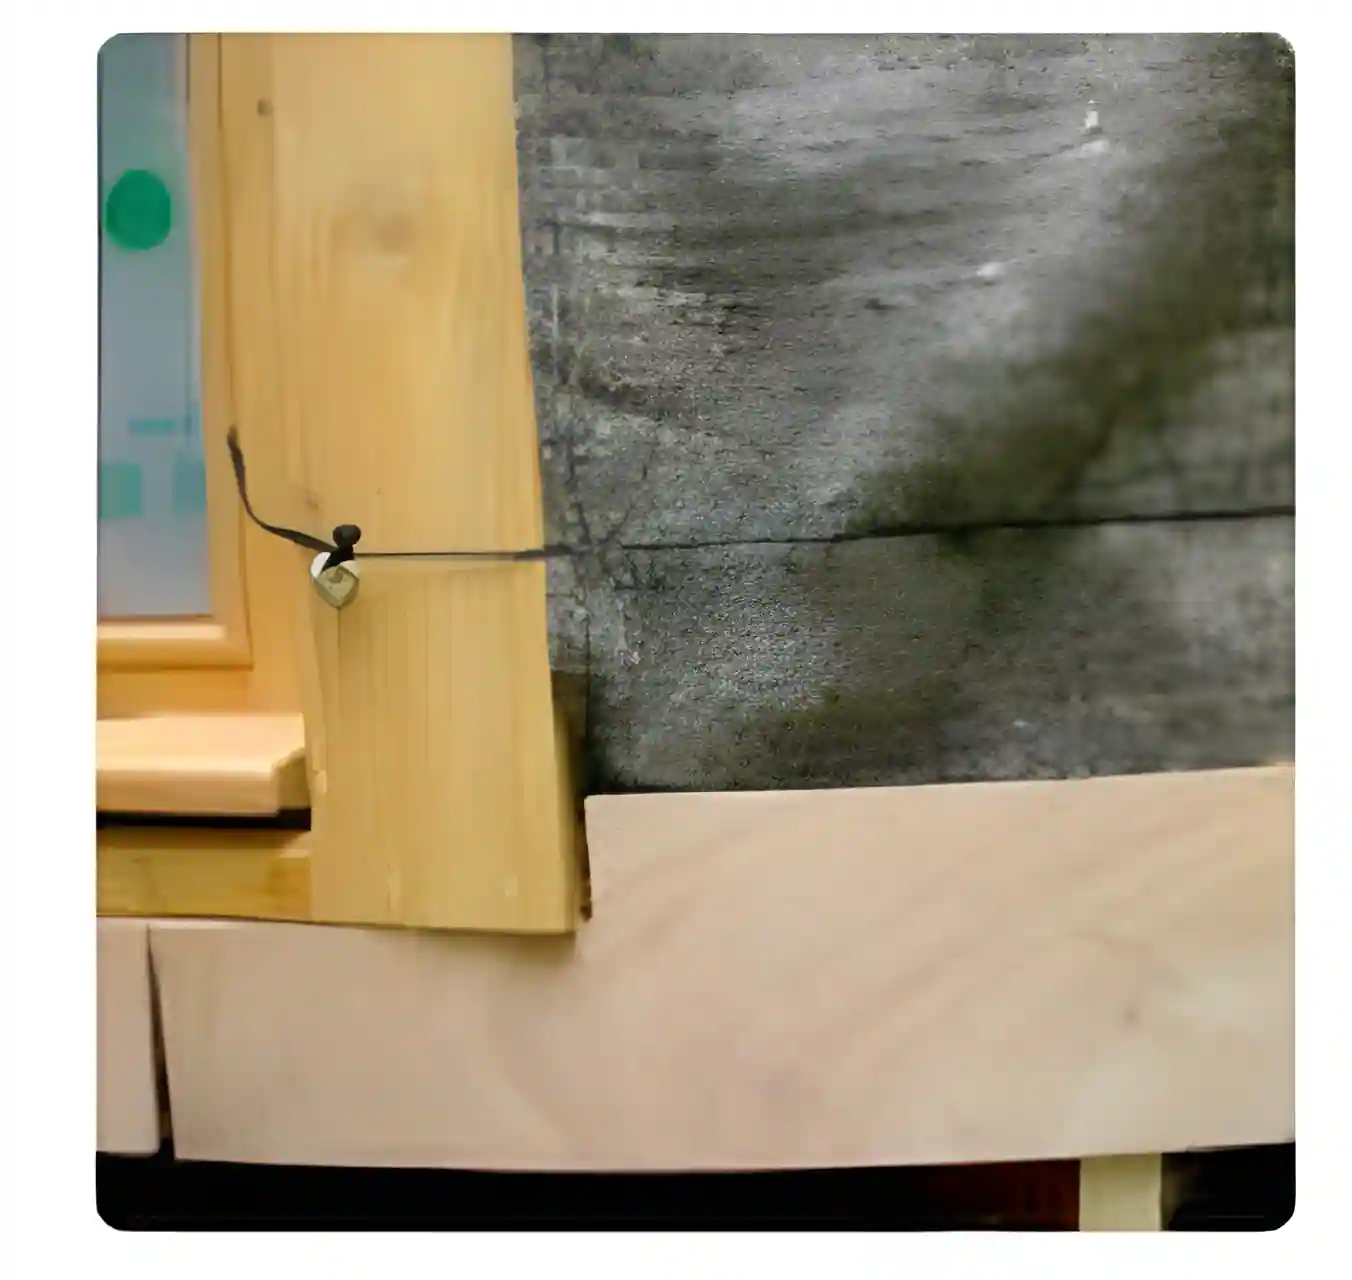
Structure

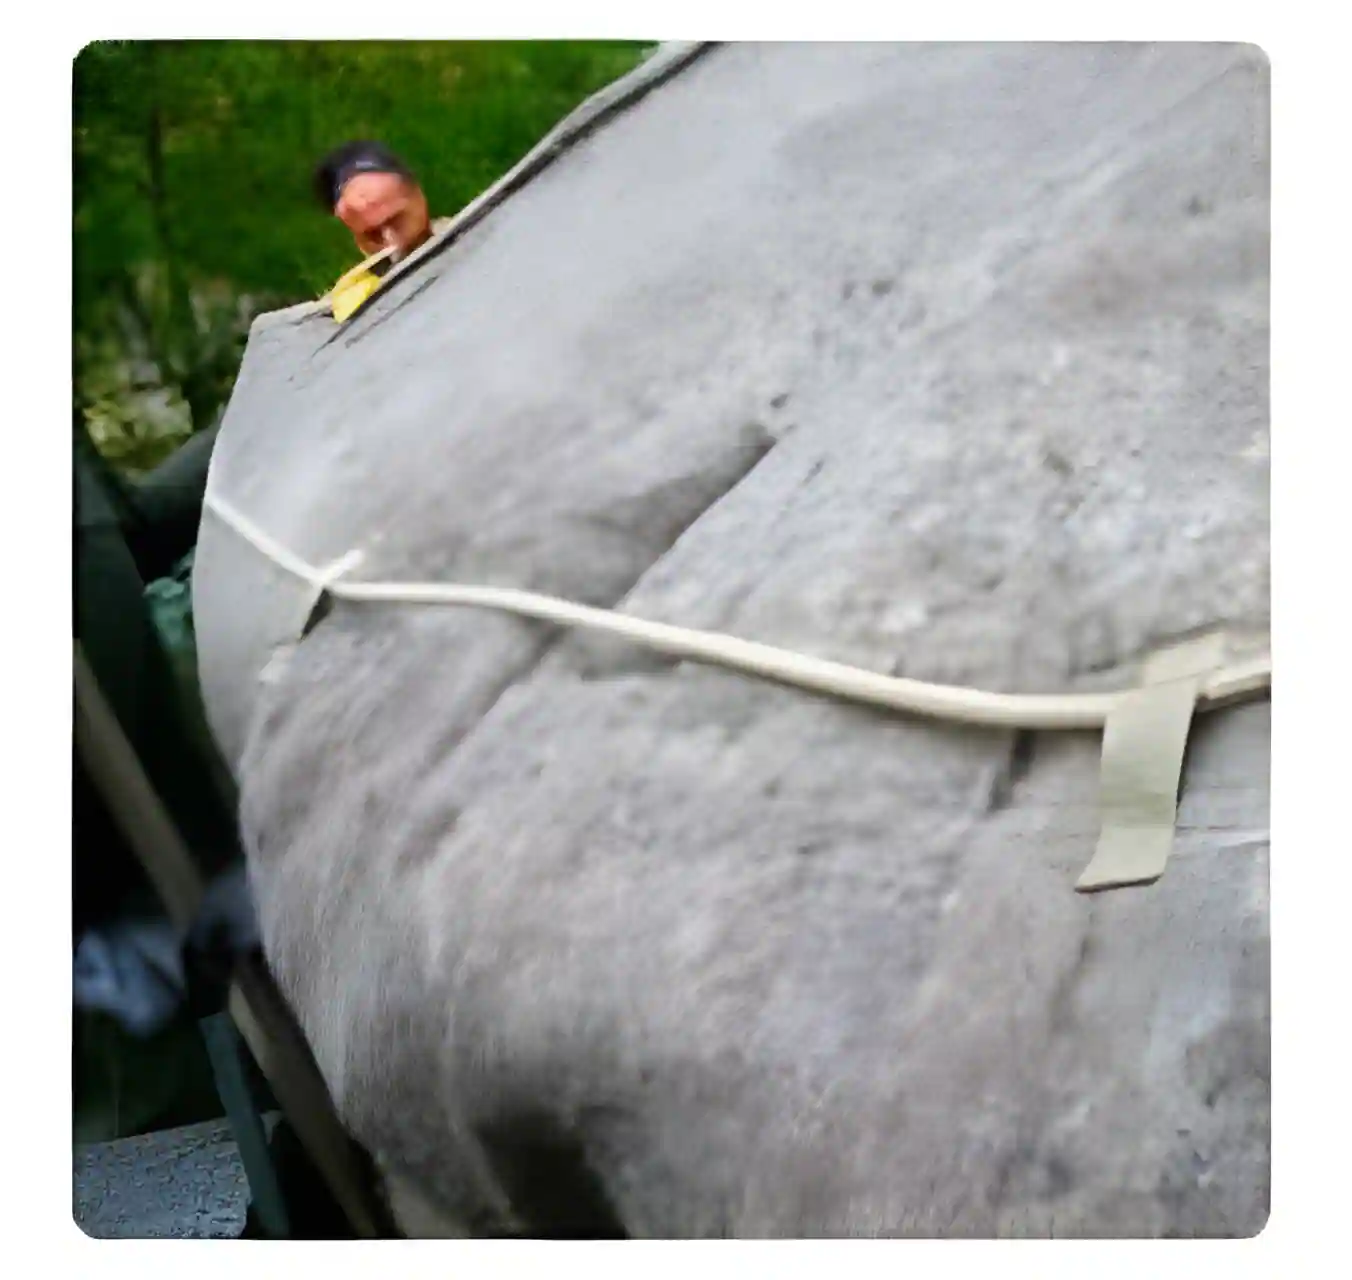
Solid larch wood frame, assembled with flexible halyard fasteners.
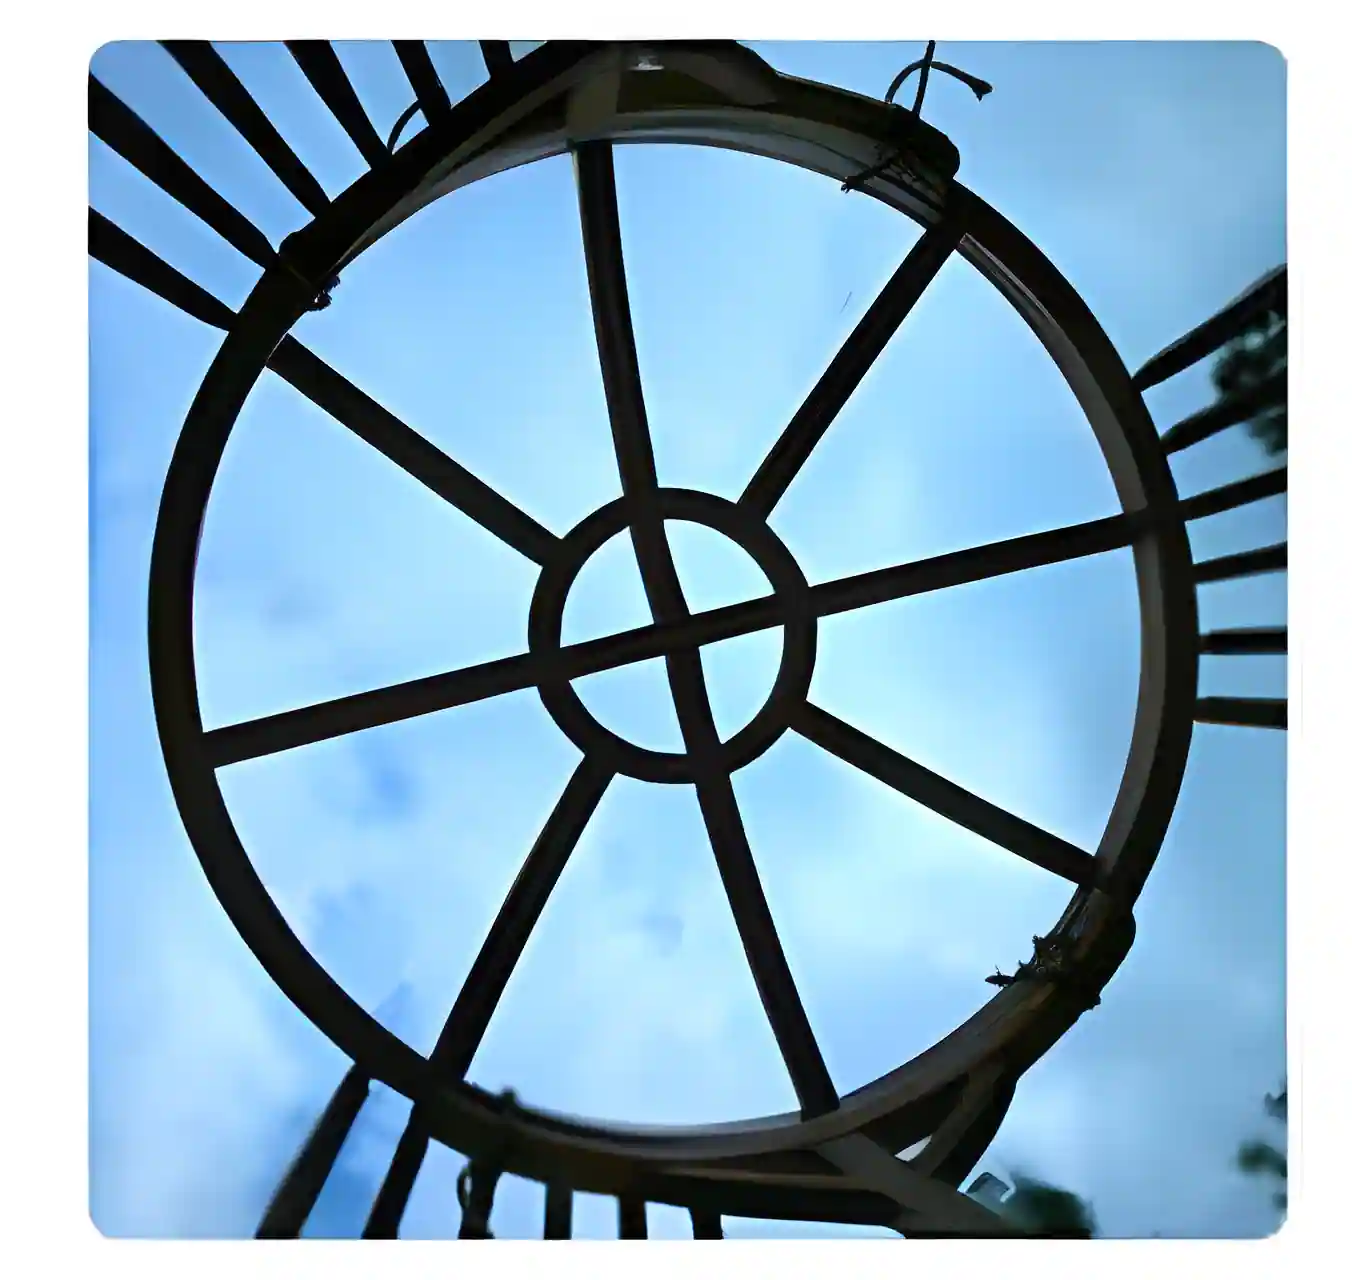
Crystal cap

In flexible plexiglass PVC, for optimum ventilation and a central skylight.

Montage yourte détail porte et treillis

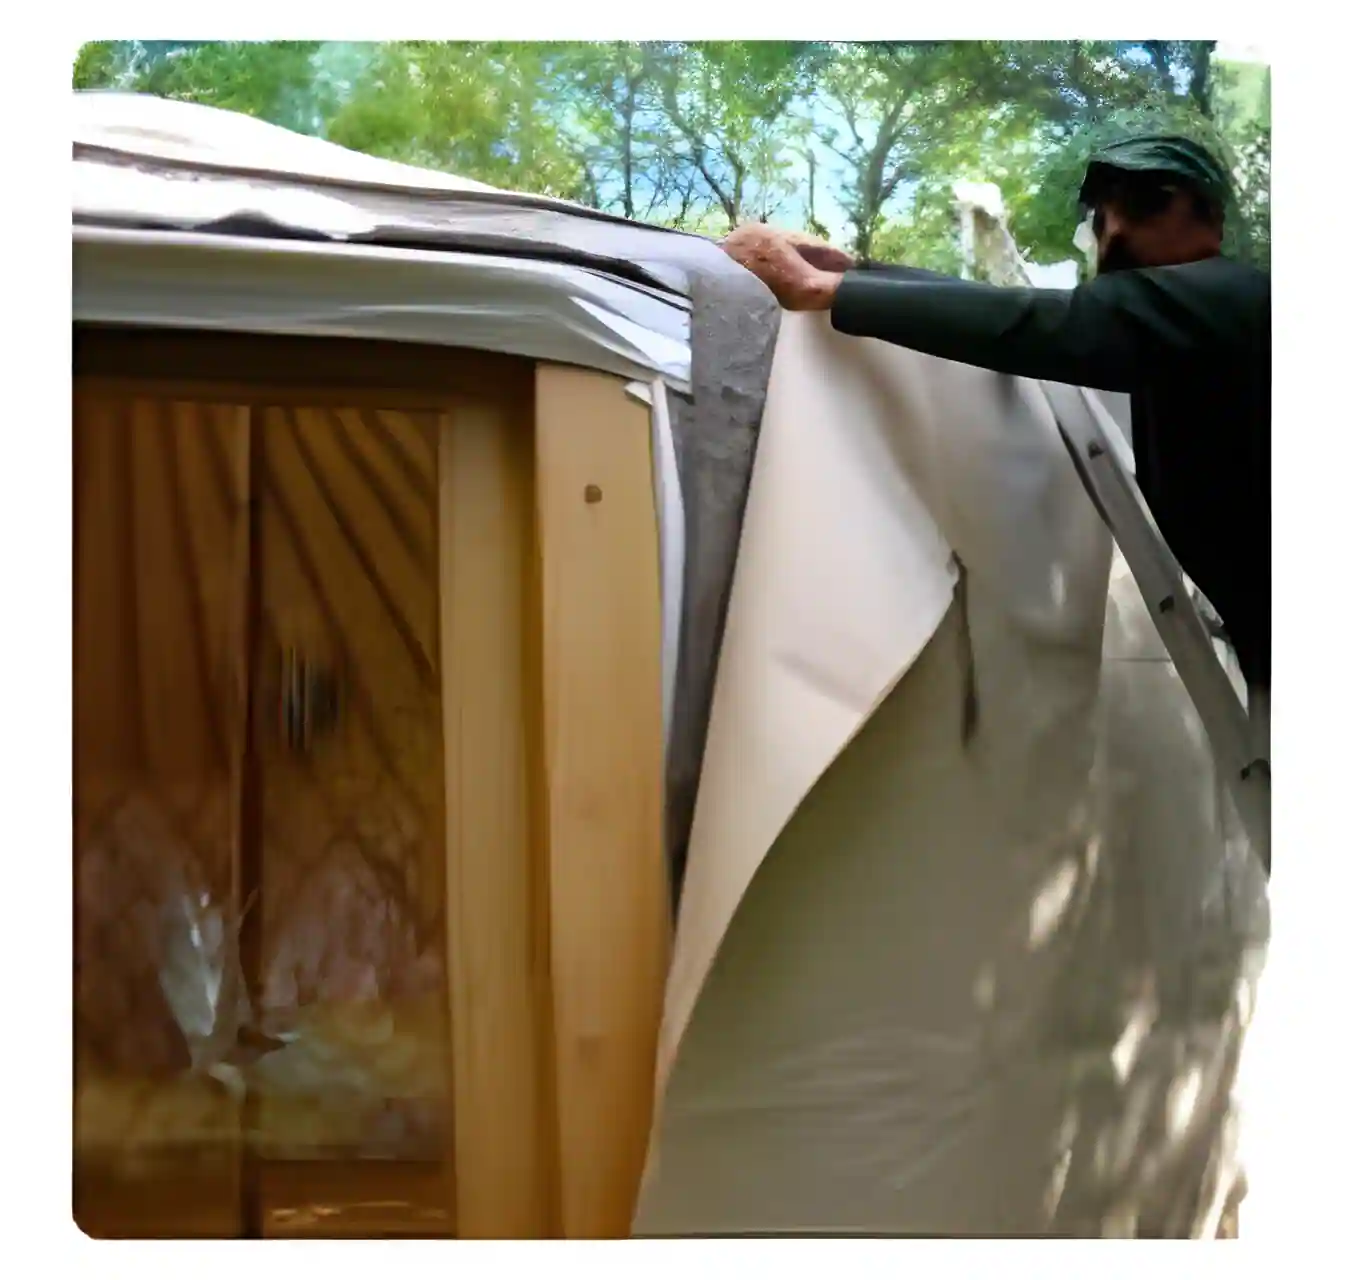
Insulation and comfort

Natural insulation

High-quality sheep’s wool felt (900g/m²) keeps you warm in winter and cool in summer, creating a cosy cocoon in all seasons.

Decorative inner lining

The off-white polycotton (290gr/m²) lining limits condensation, keeps the dust out while brightening up the interior.


Heating options

Central stove pipe outlet

For centralised heating and optimum heat distribution.

Side stove pipe outlet

For specific installations, with a frame integrated into the yurt trellis.

Sortie de poêle murale
Sortie de poêle centrale

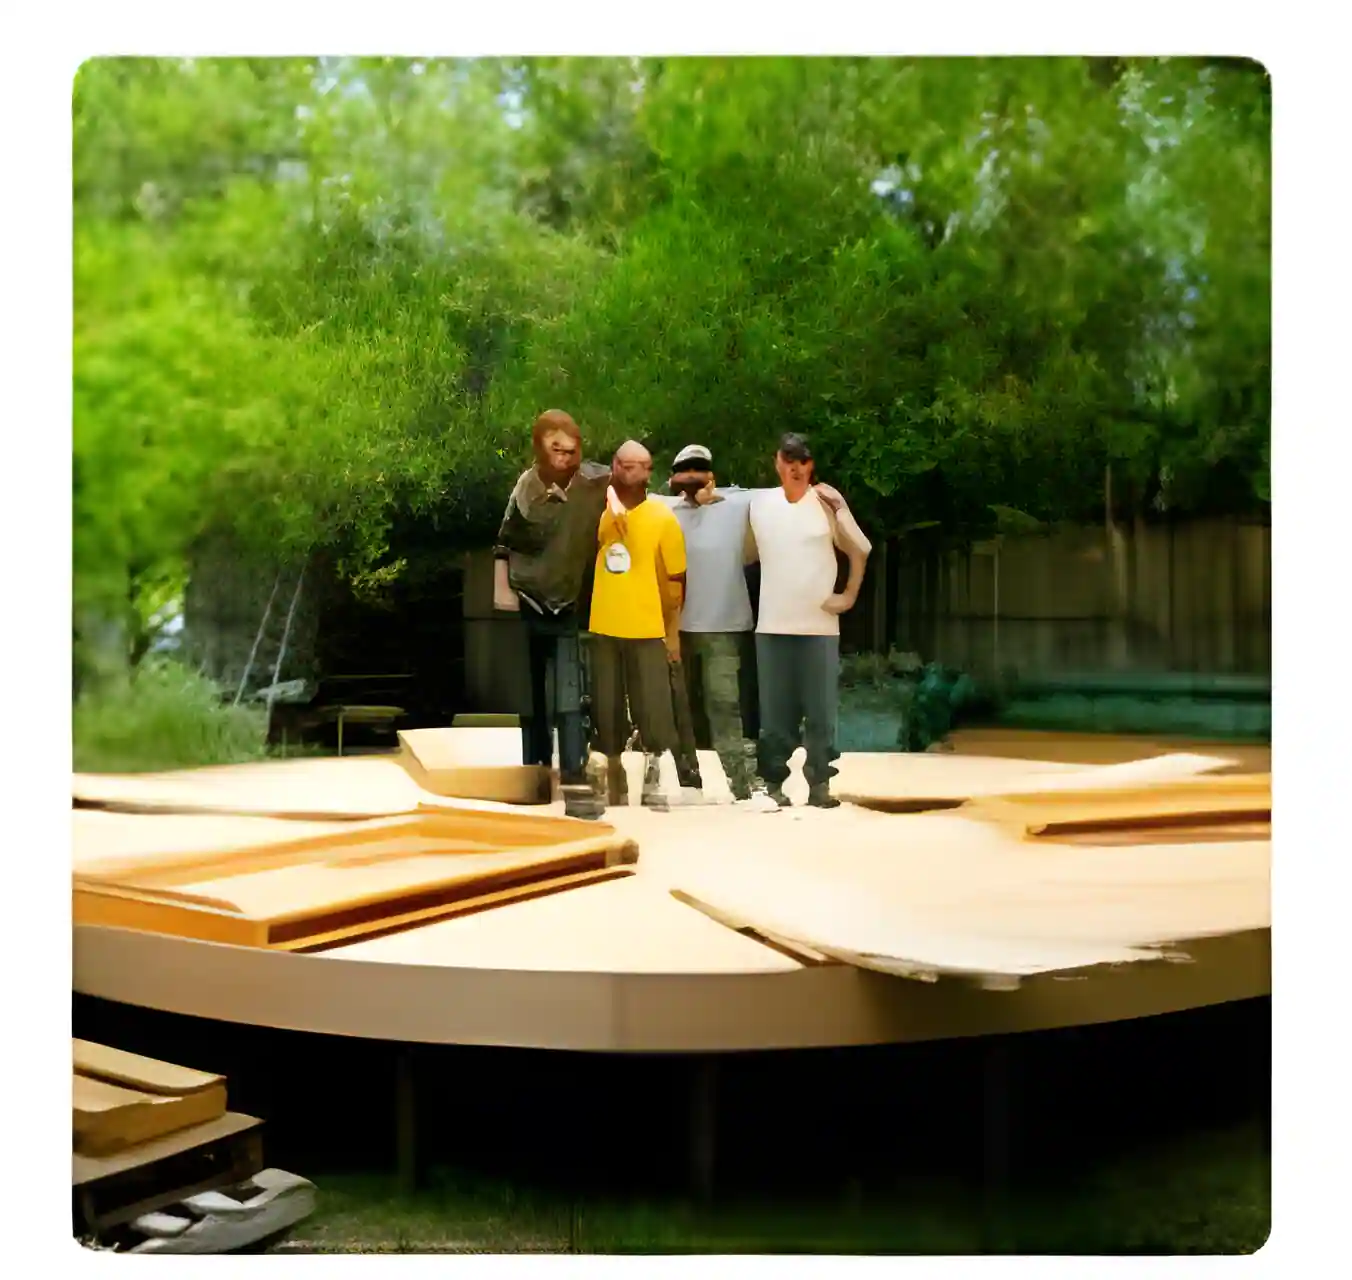
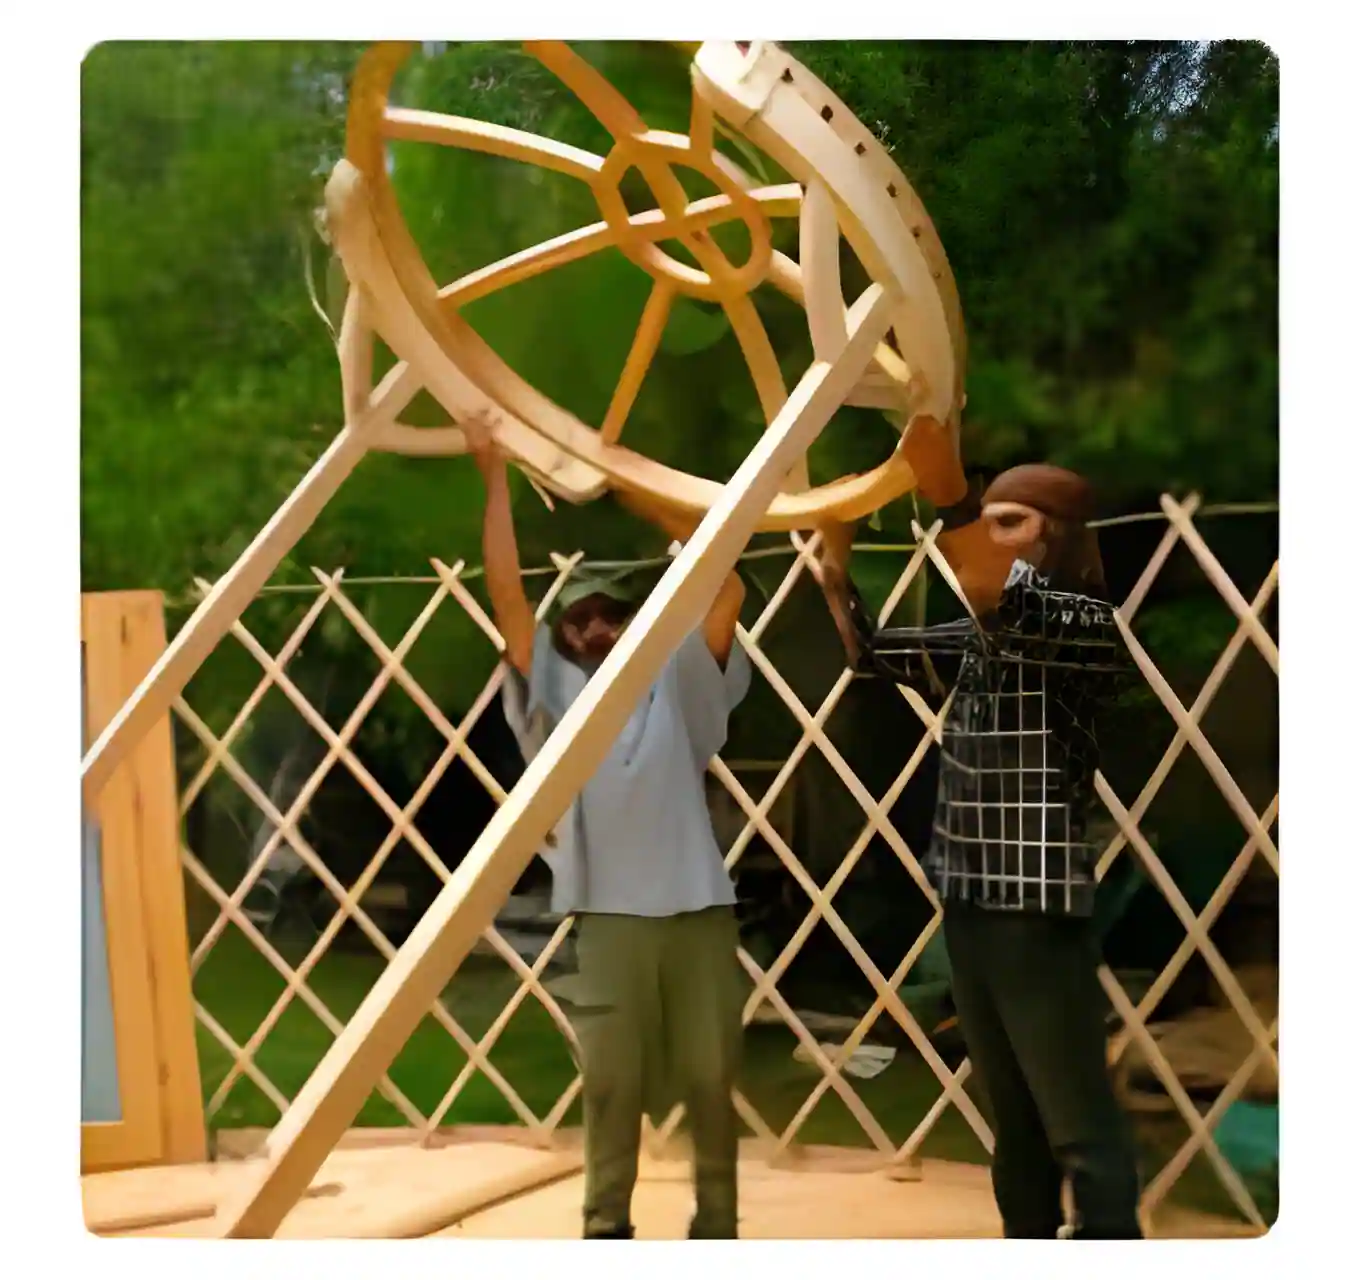
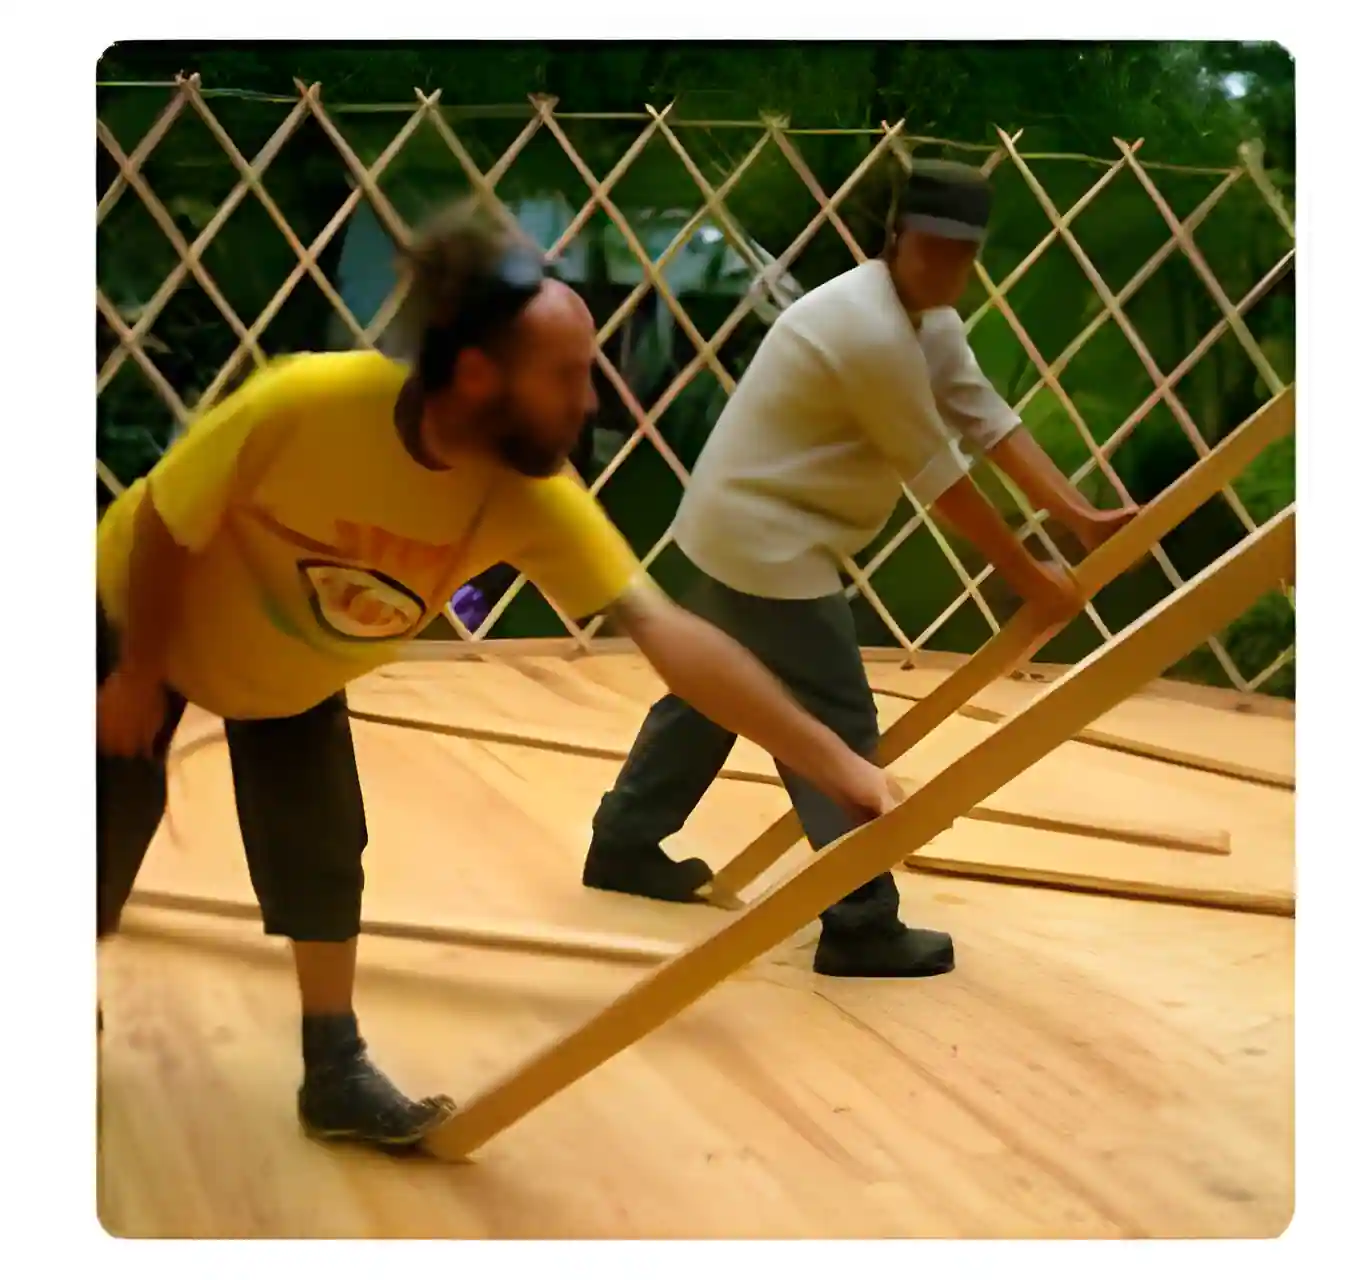
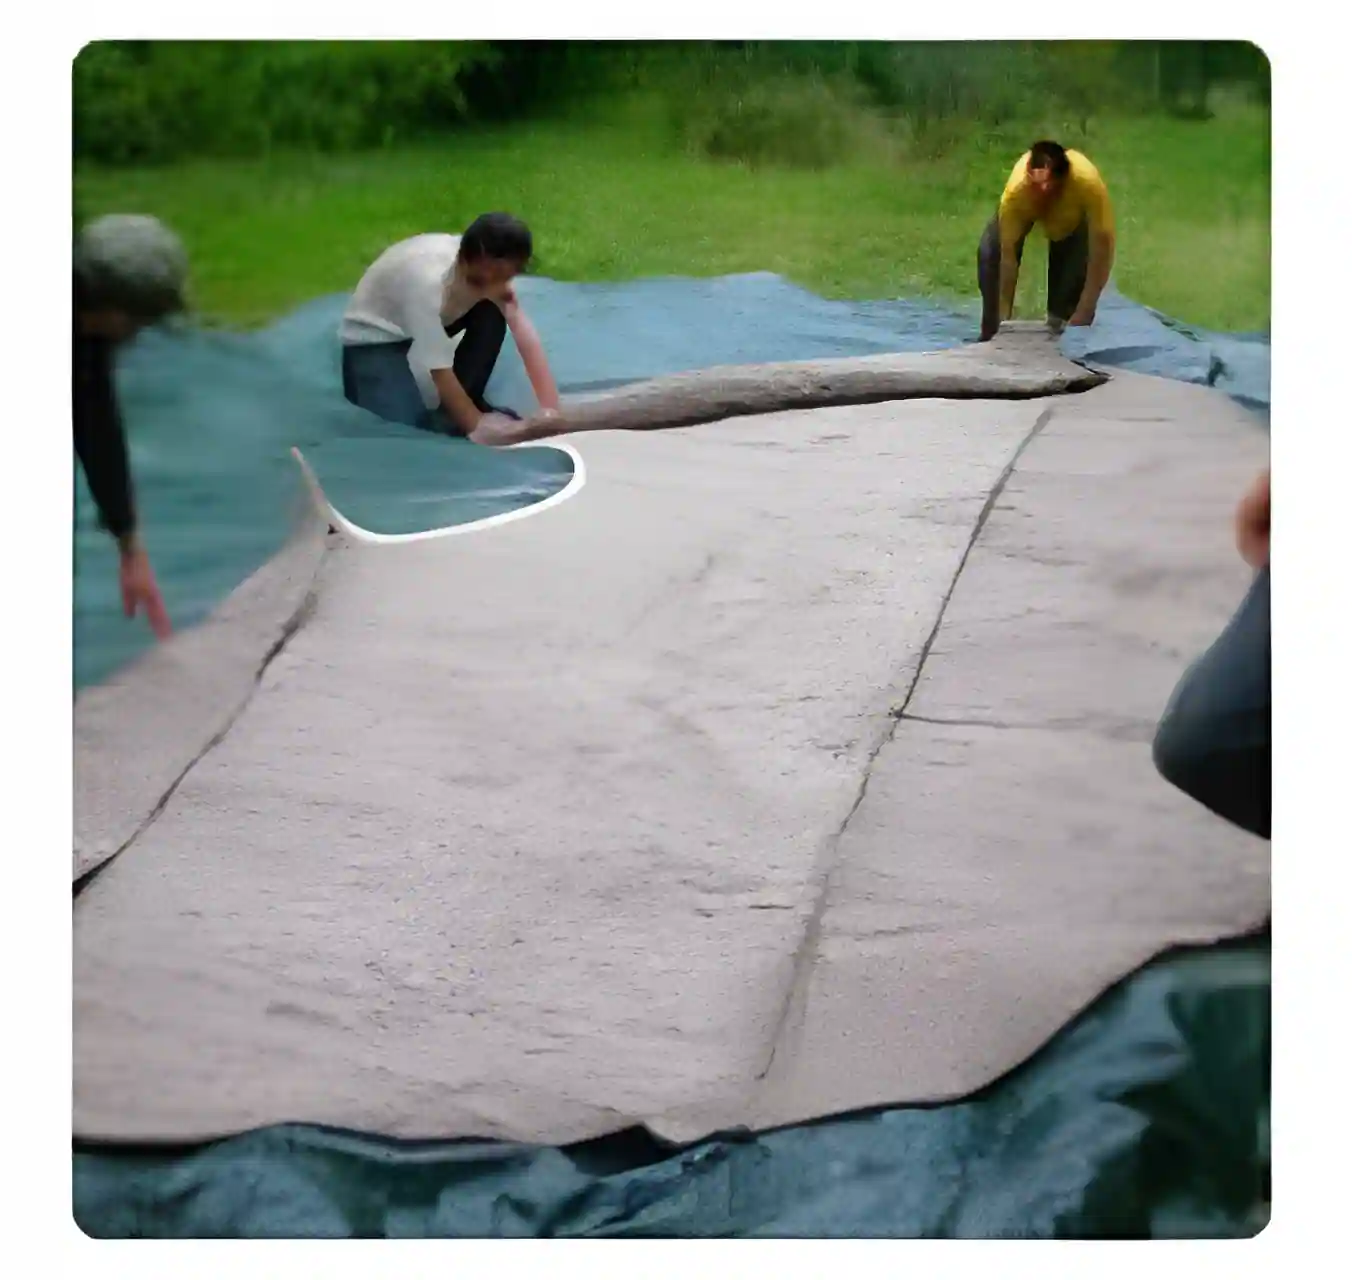
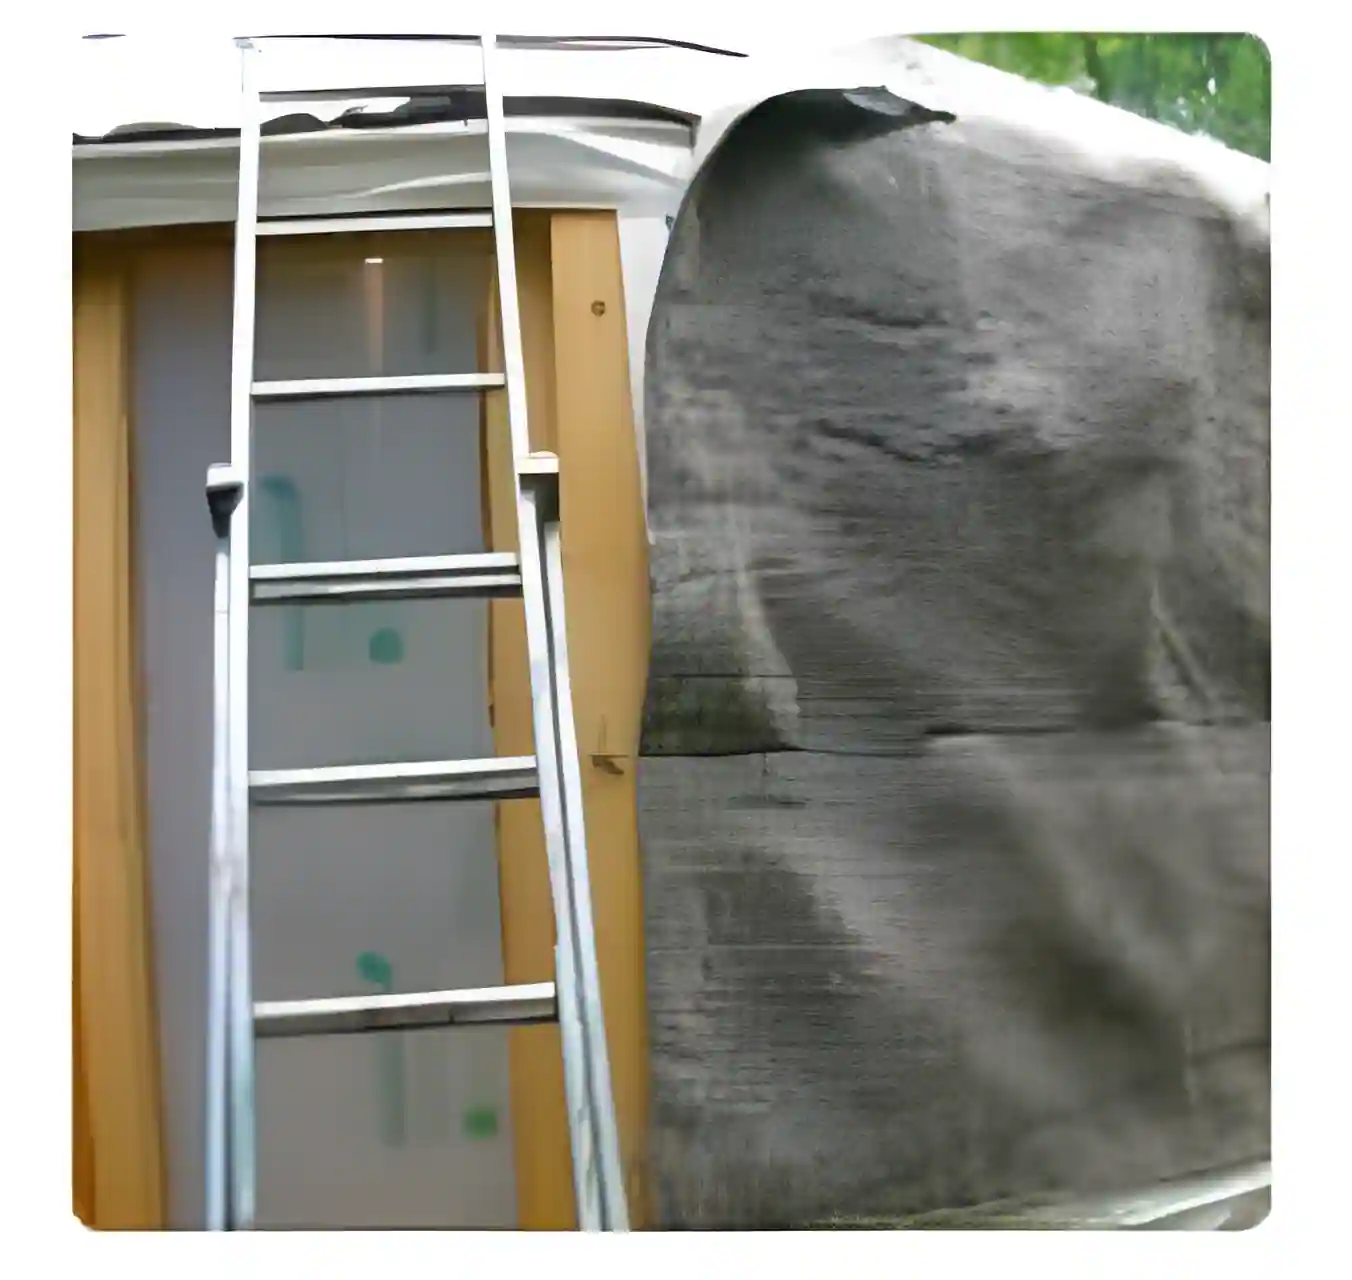
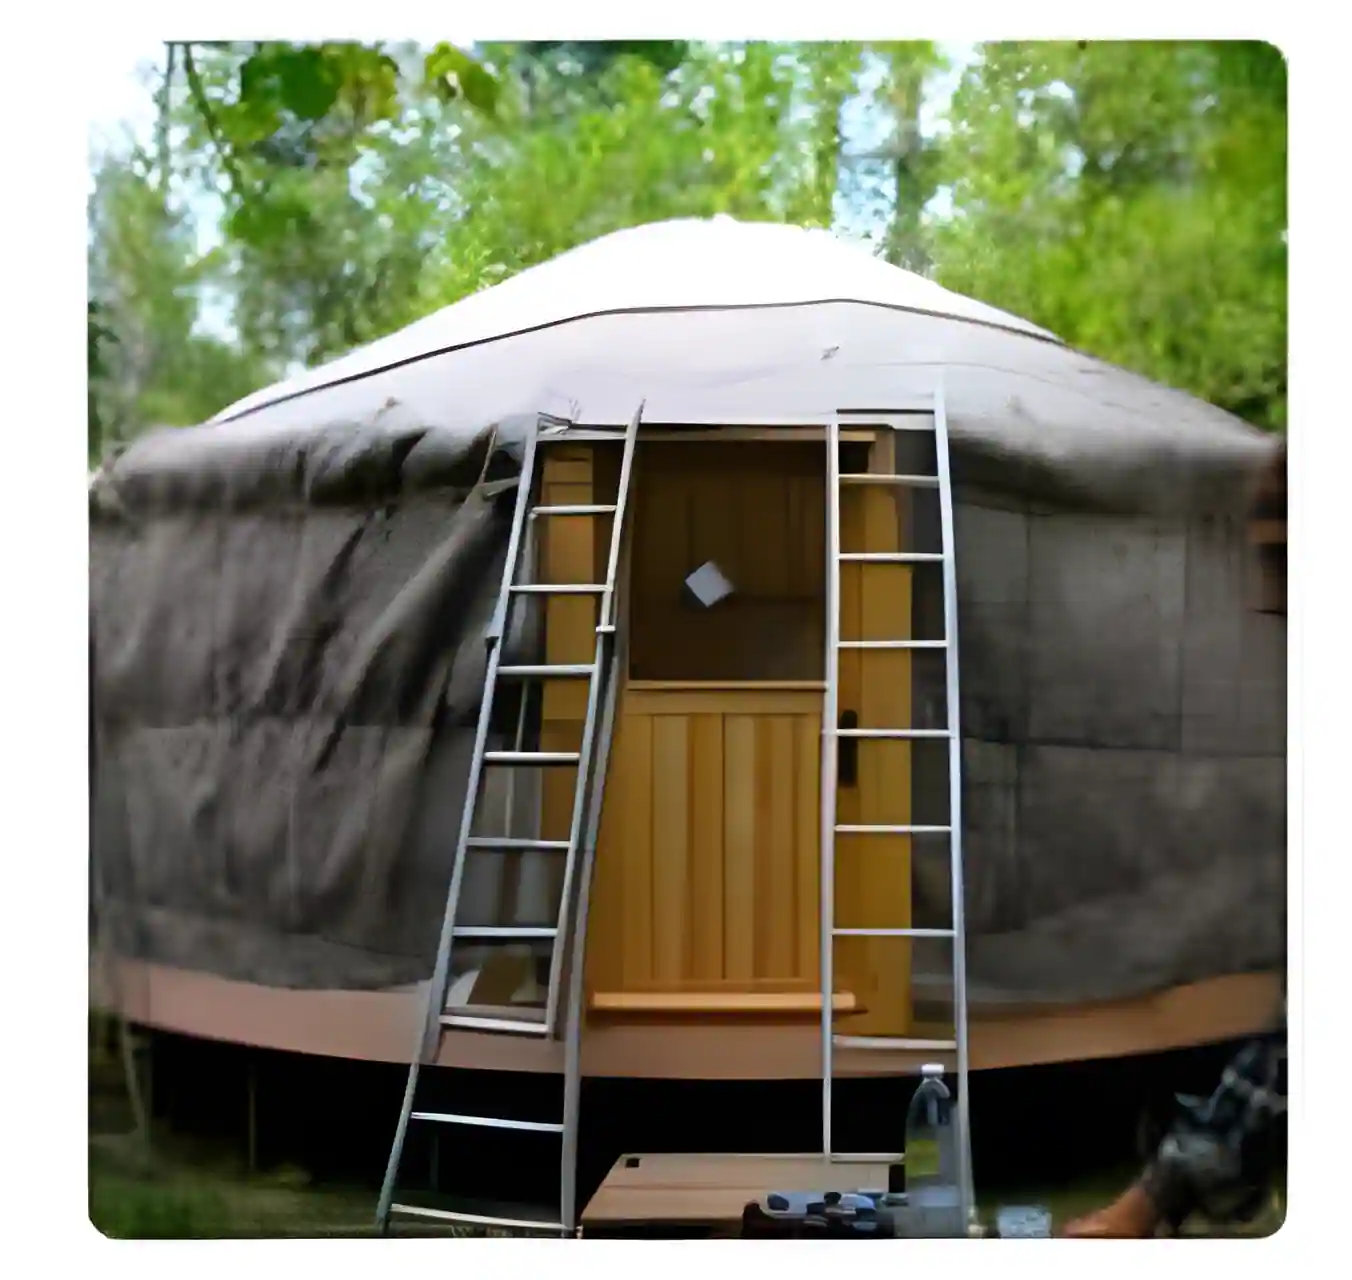
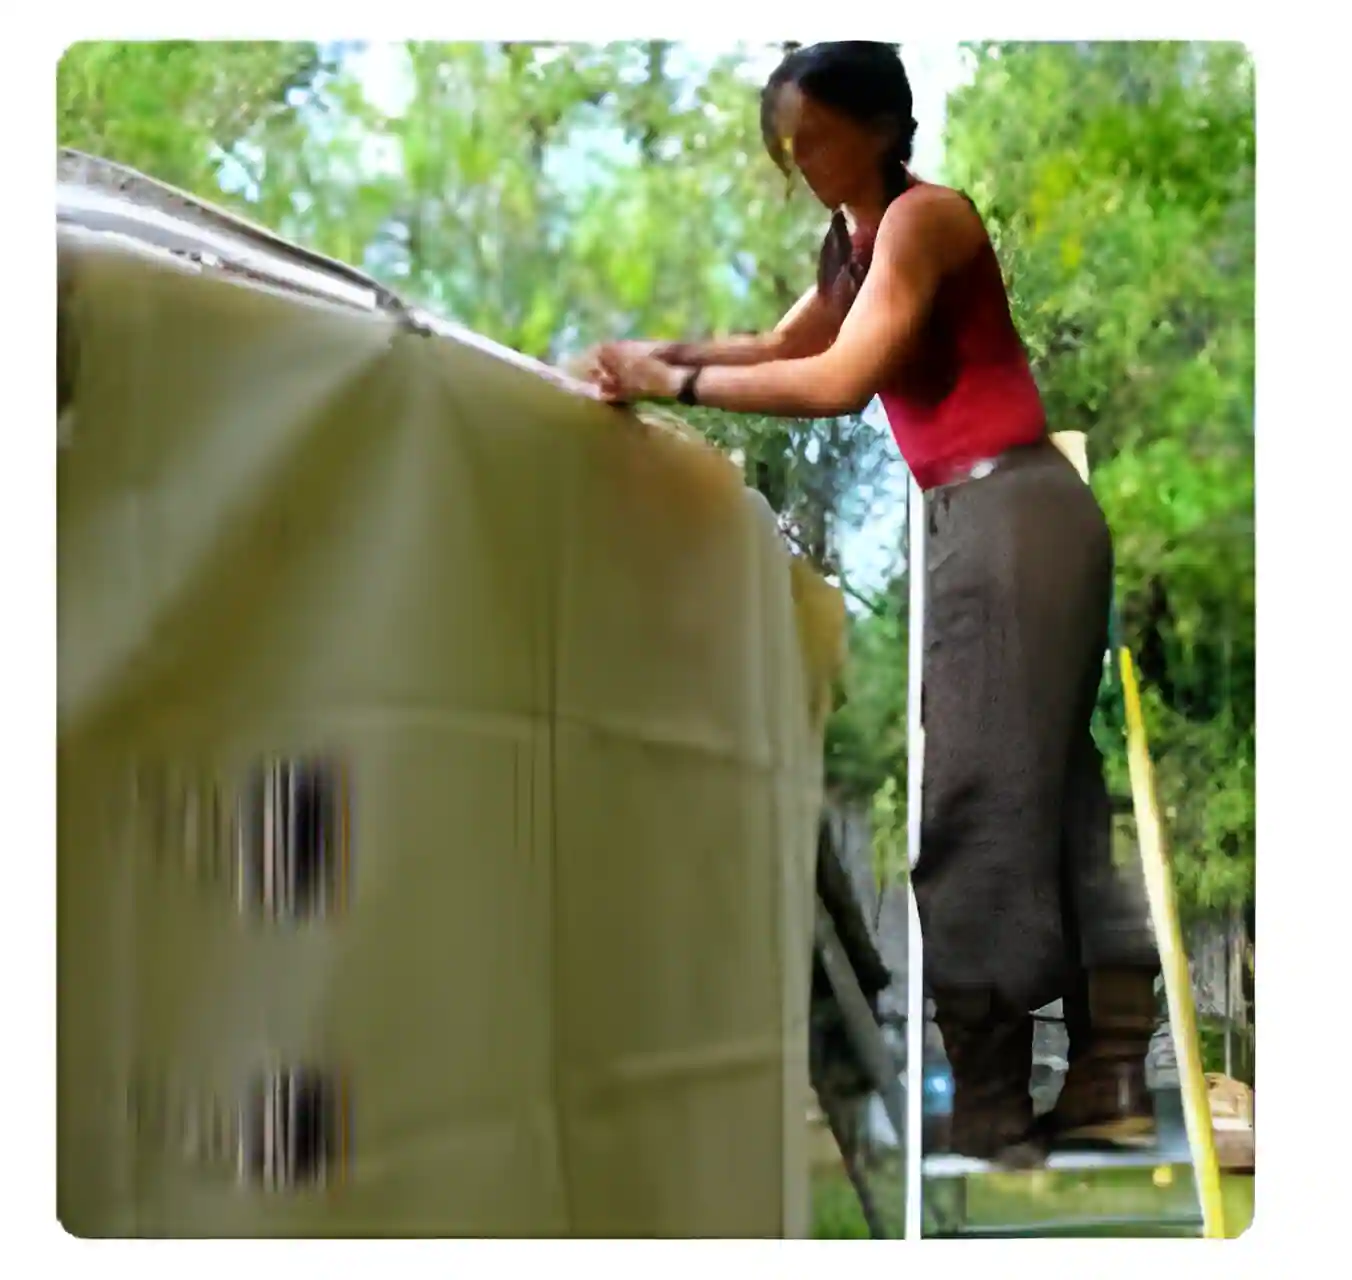
Assembling your yurt:
A convivial experience

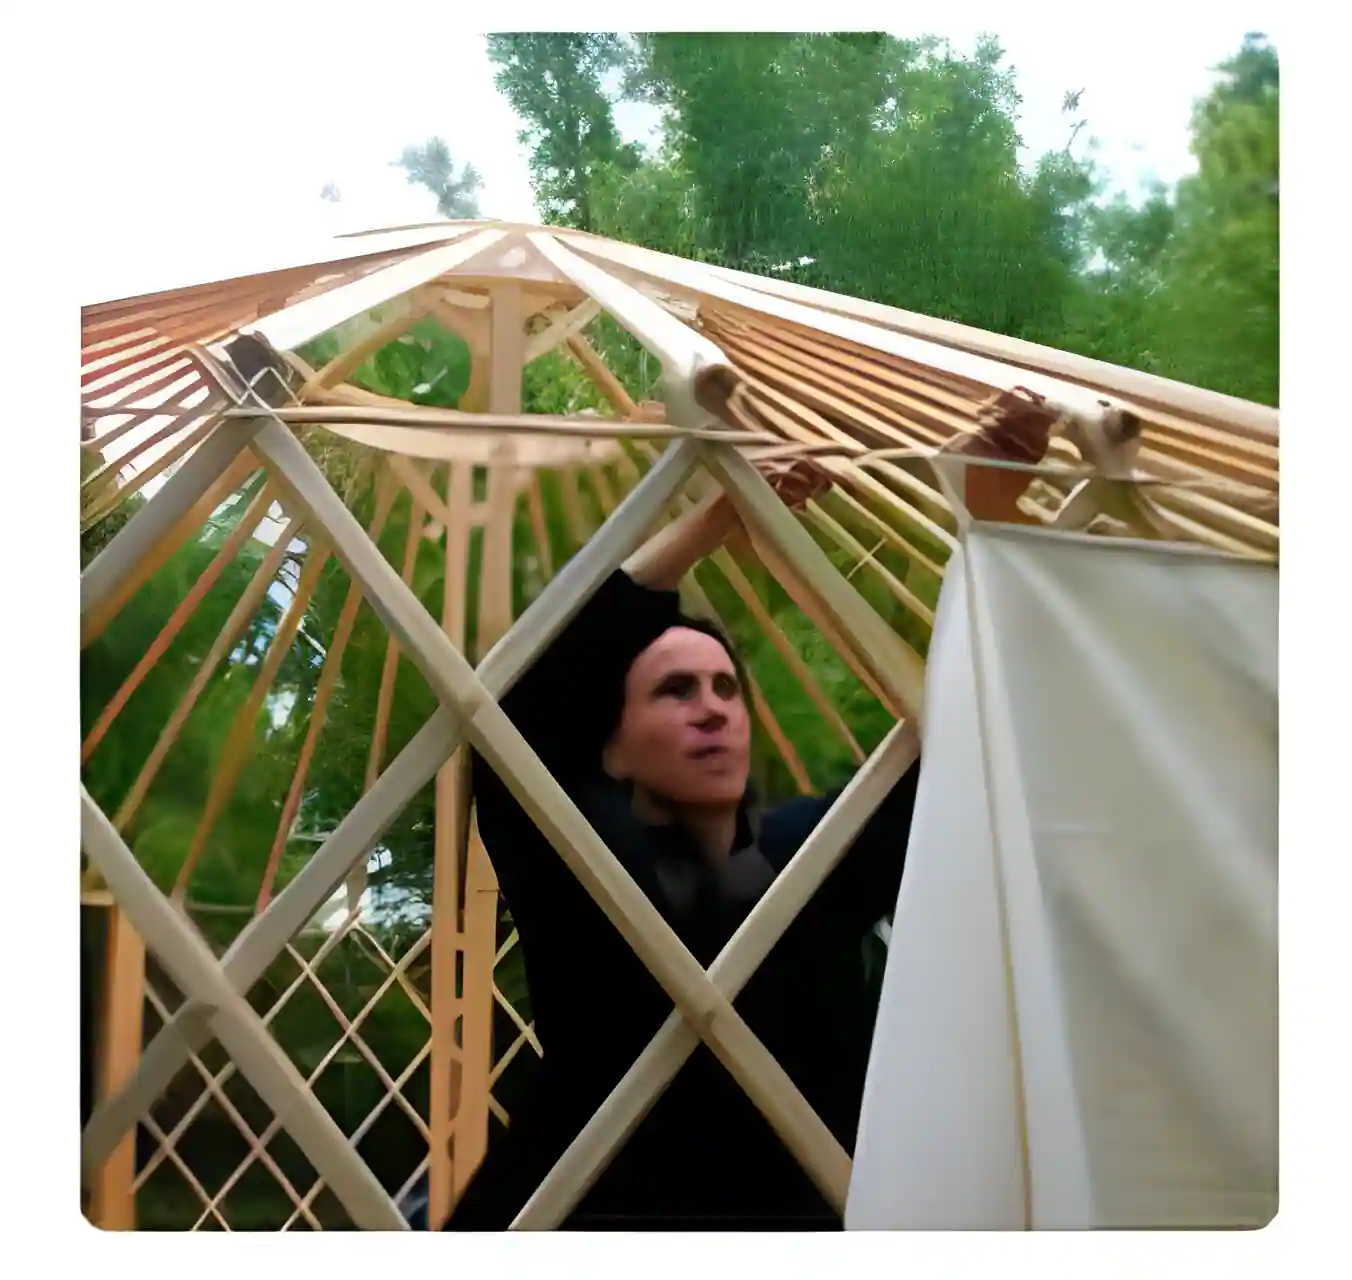
Assembling a yurt is an adventure that generally takes just one day, with the help of our experienced team and a few volunteer friends, in a festive and friendly atmosphere.

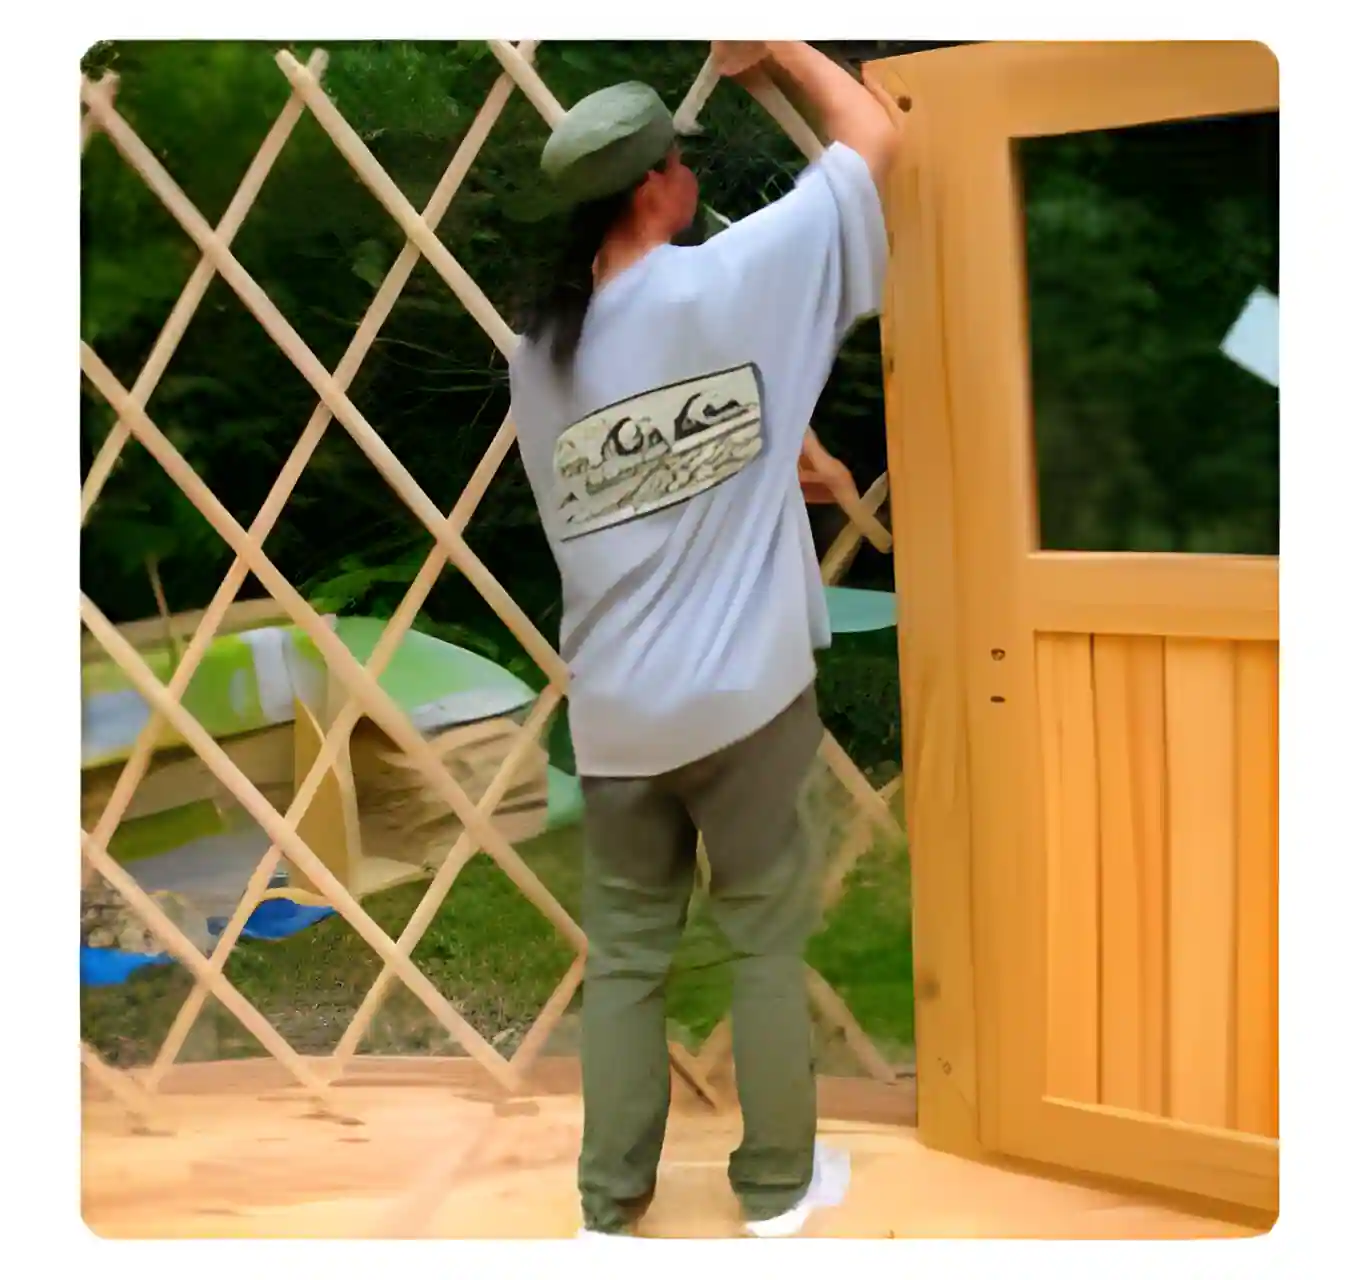
How is editing carried out?
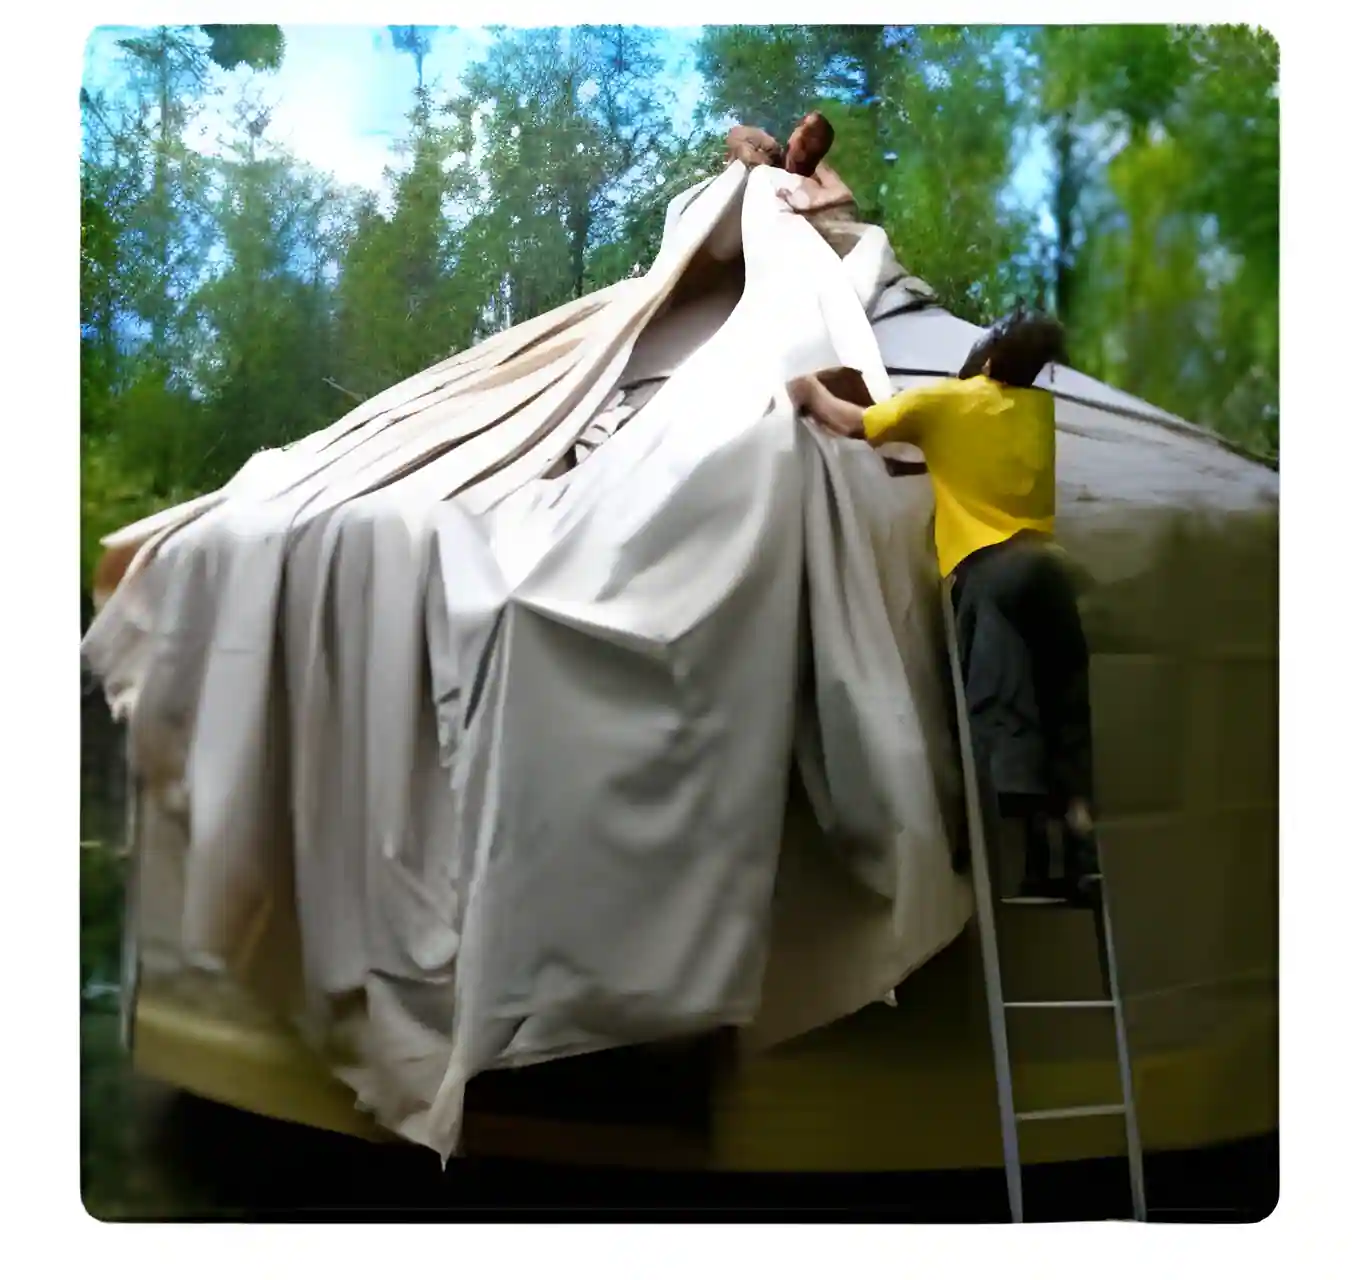
Assembly team

We provide a team of 2 experienced editors to guide and assist you throughout the process.
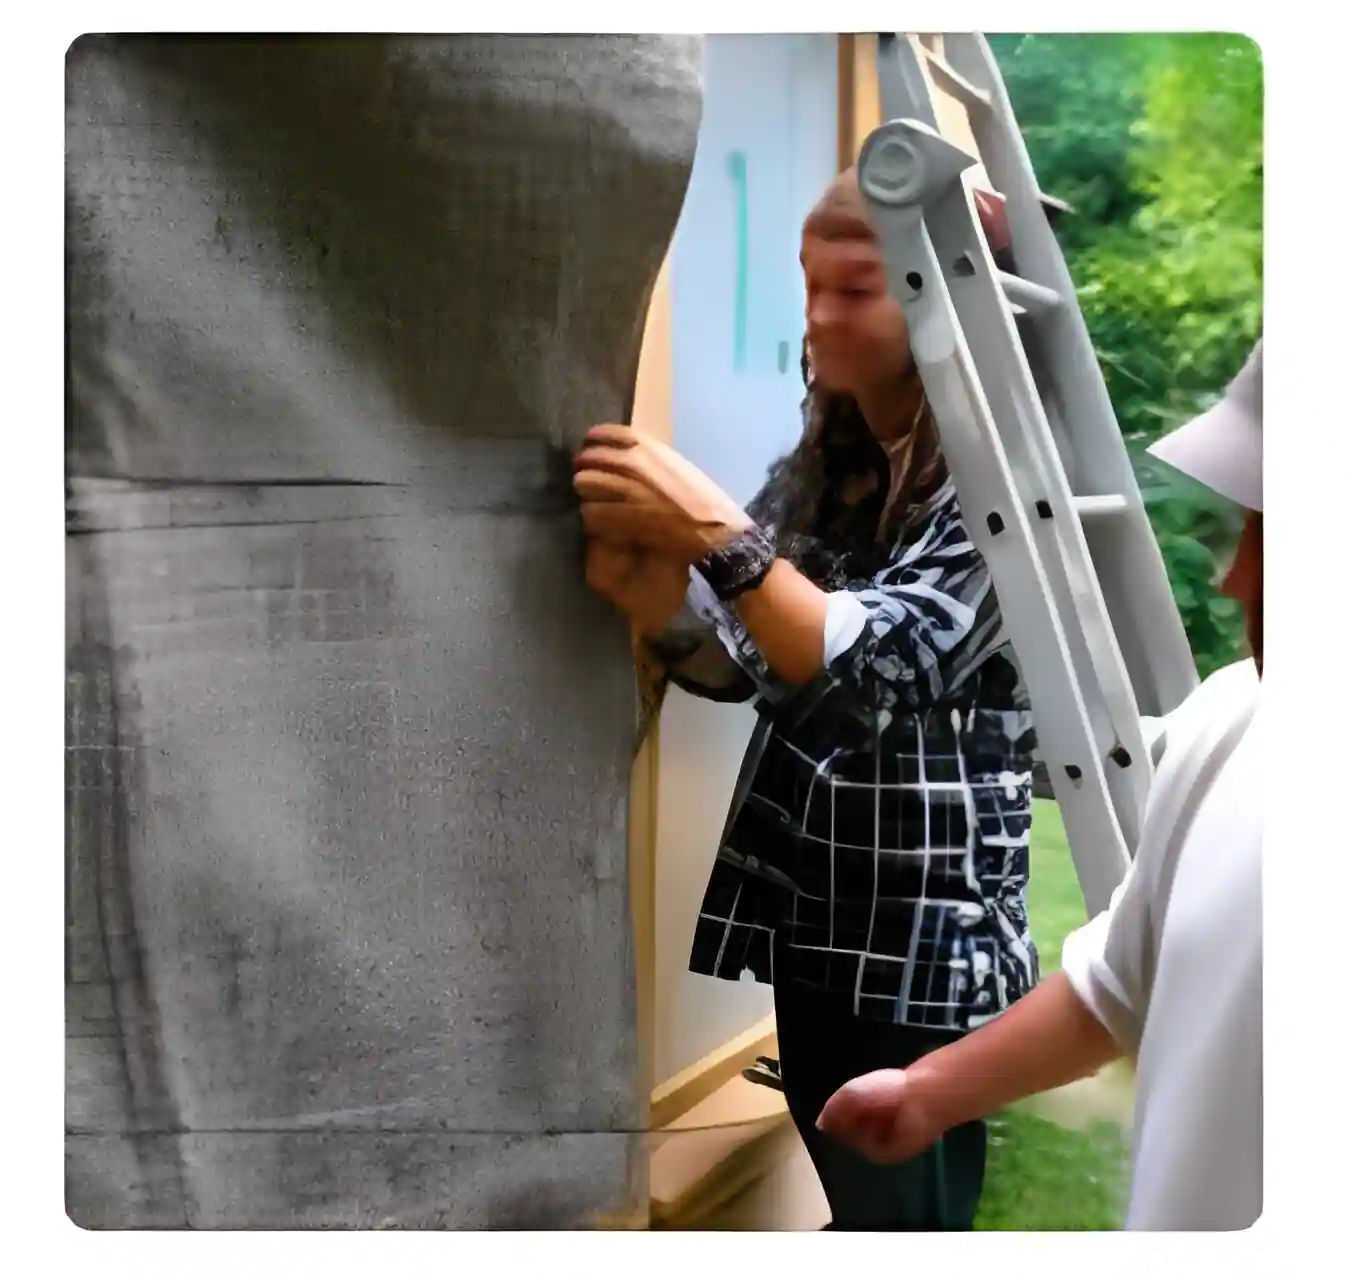
Involving friends

New owners are invited to get a few friends together to learn the basics of live editing.
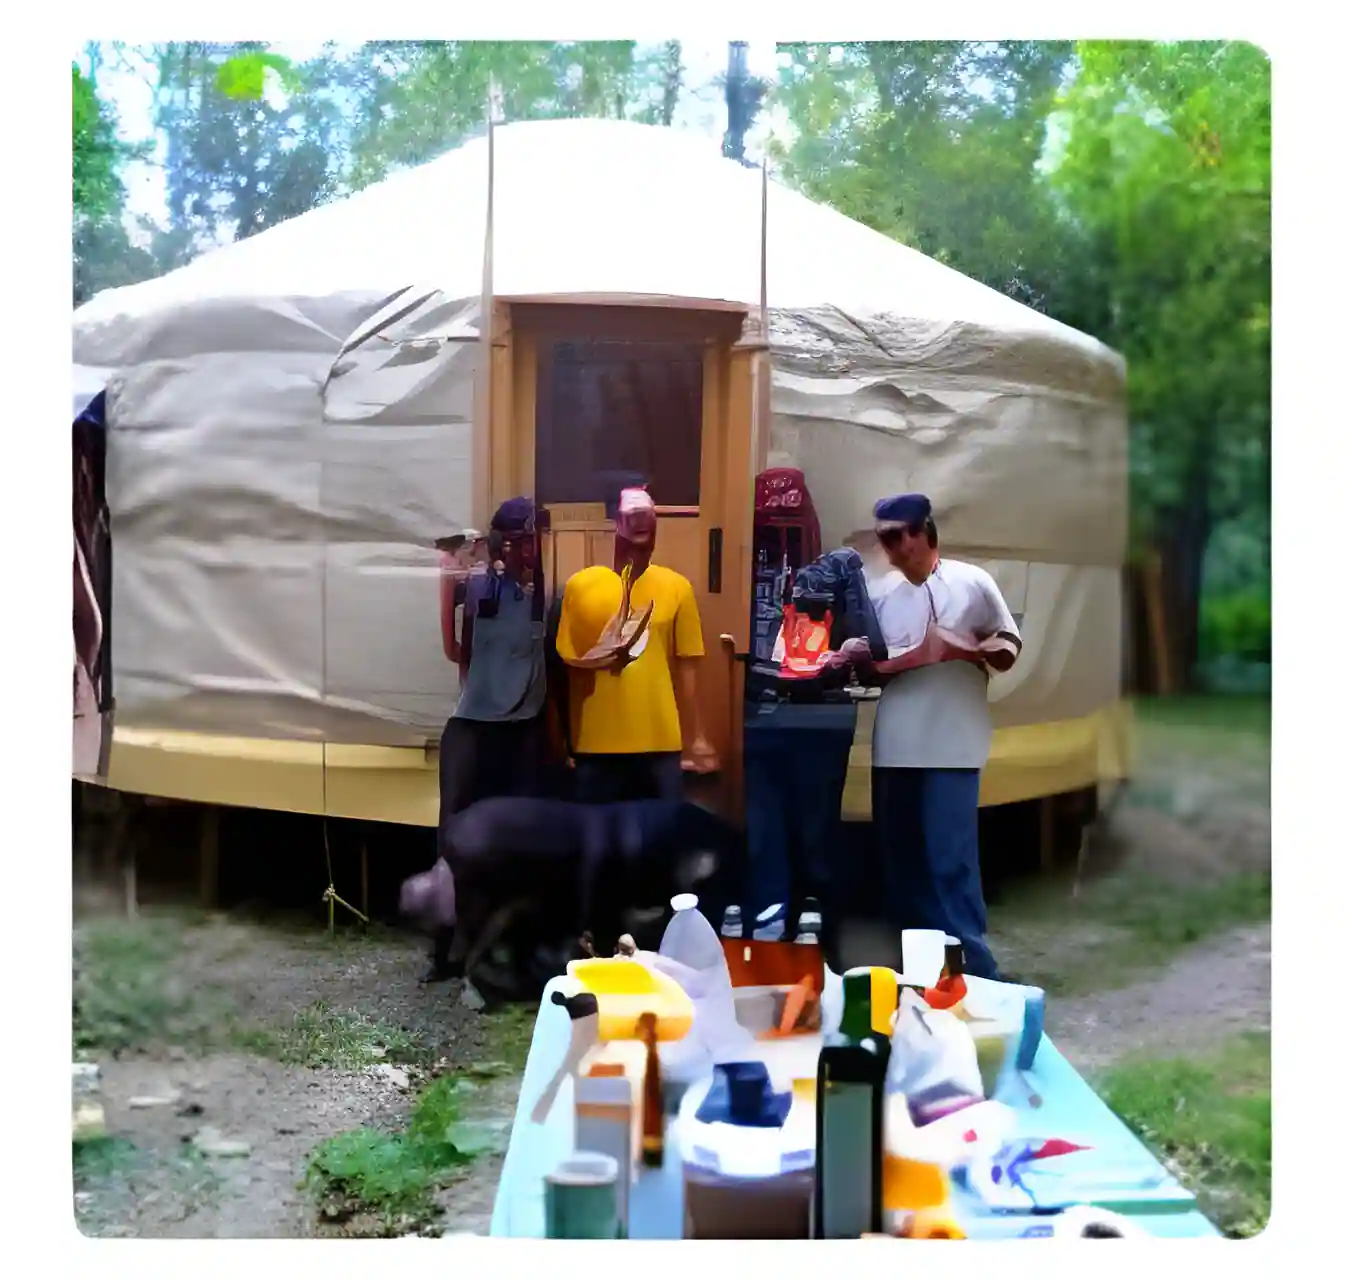
Duration

Set-up starts in the morning and finishes in the afternoon, although the duration may vary depending on the model of yurt.

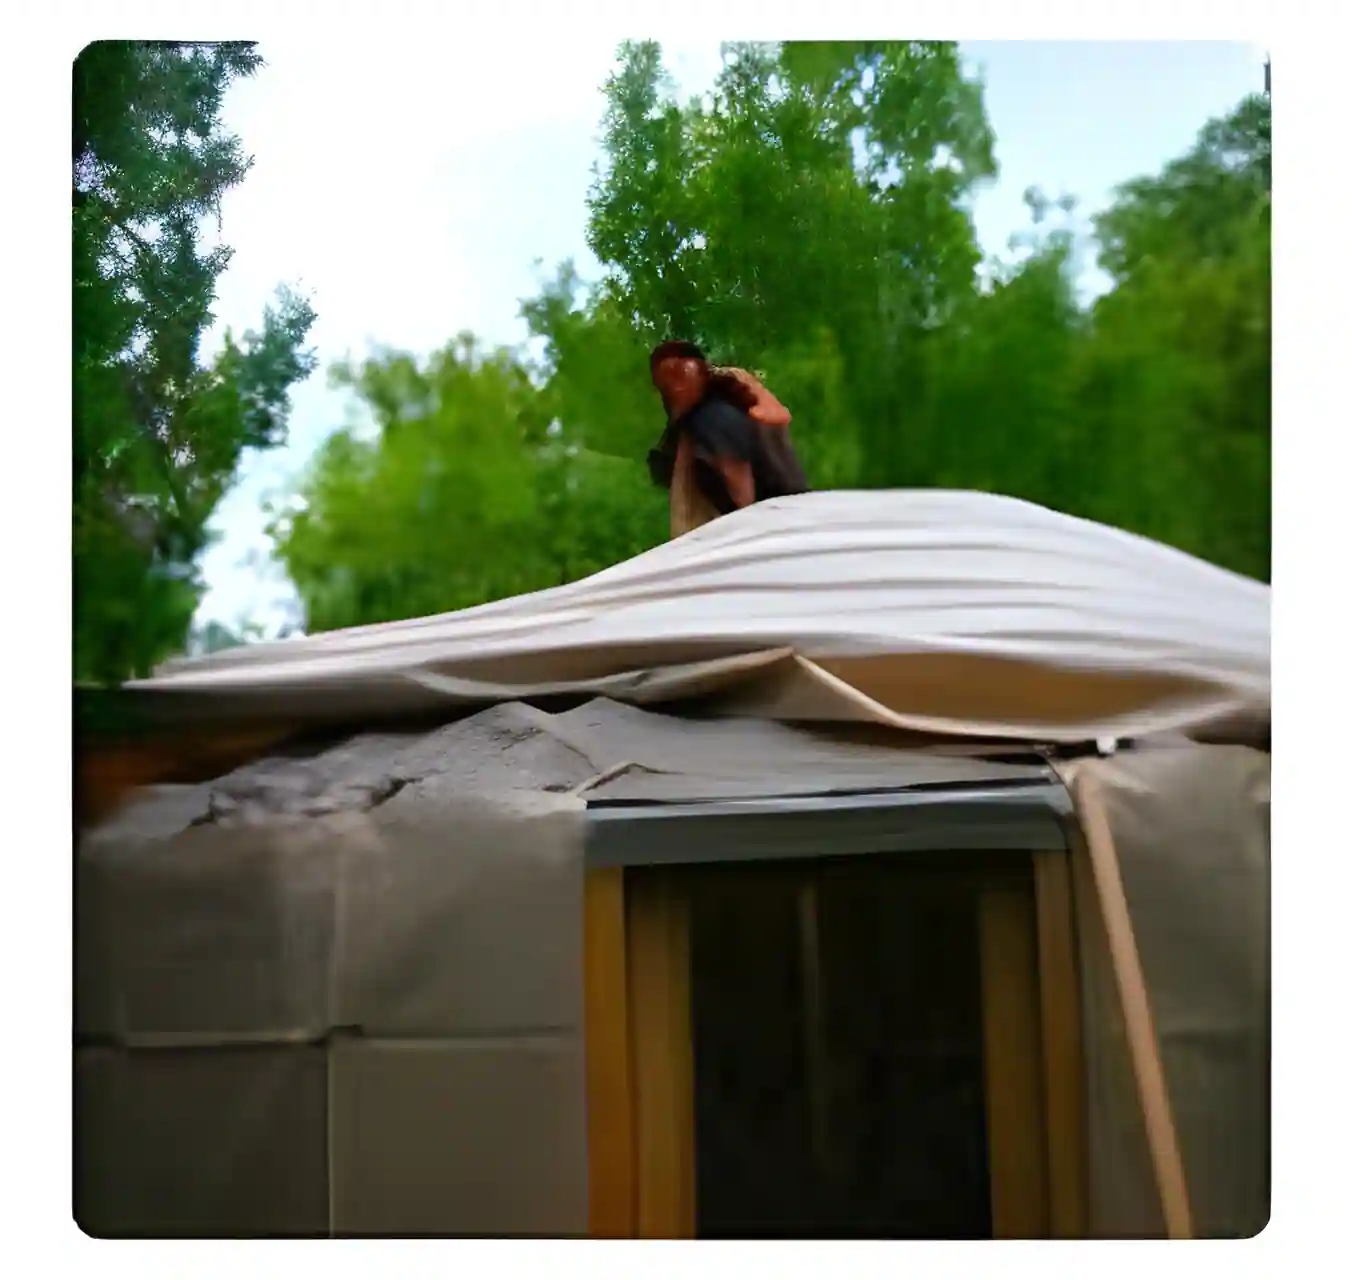
Assemble your yurt yourself

You can assemble your yurt yourself without any help from us, thanks to our detailed assembly guide, explanatory photos and telephone assistance if you need it.
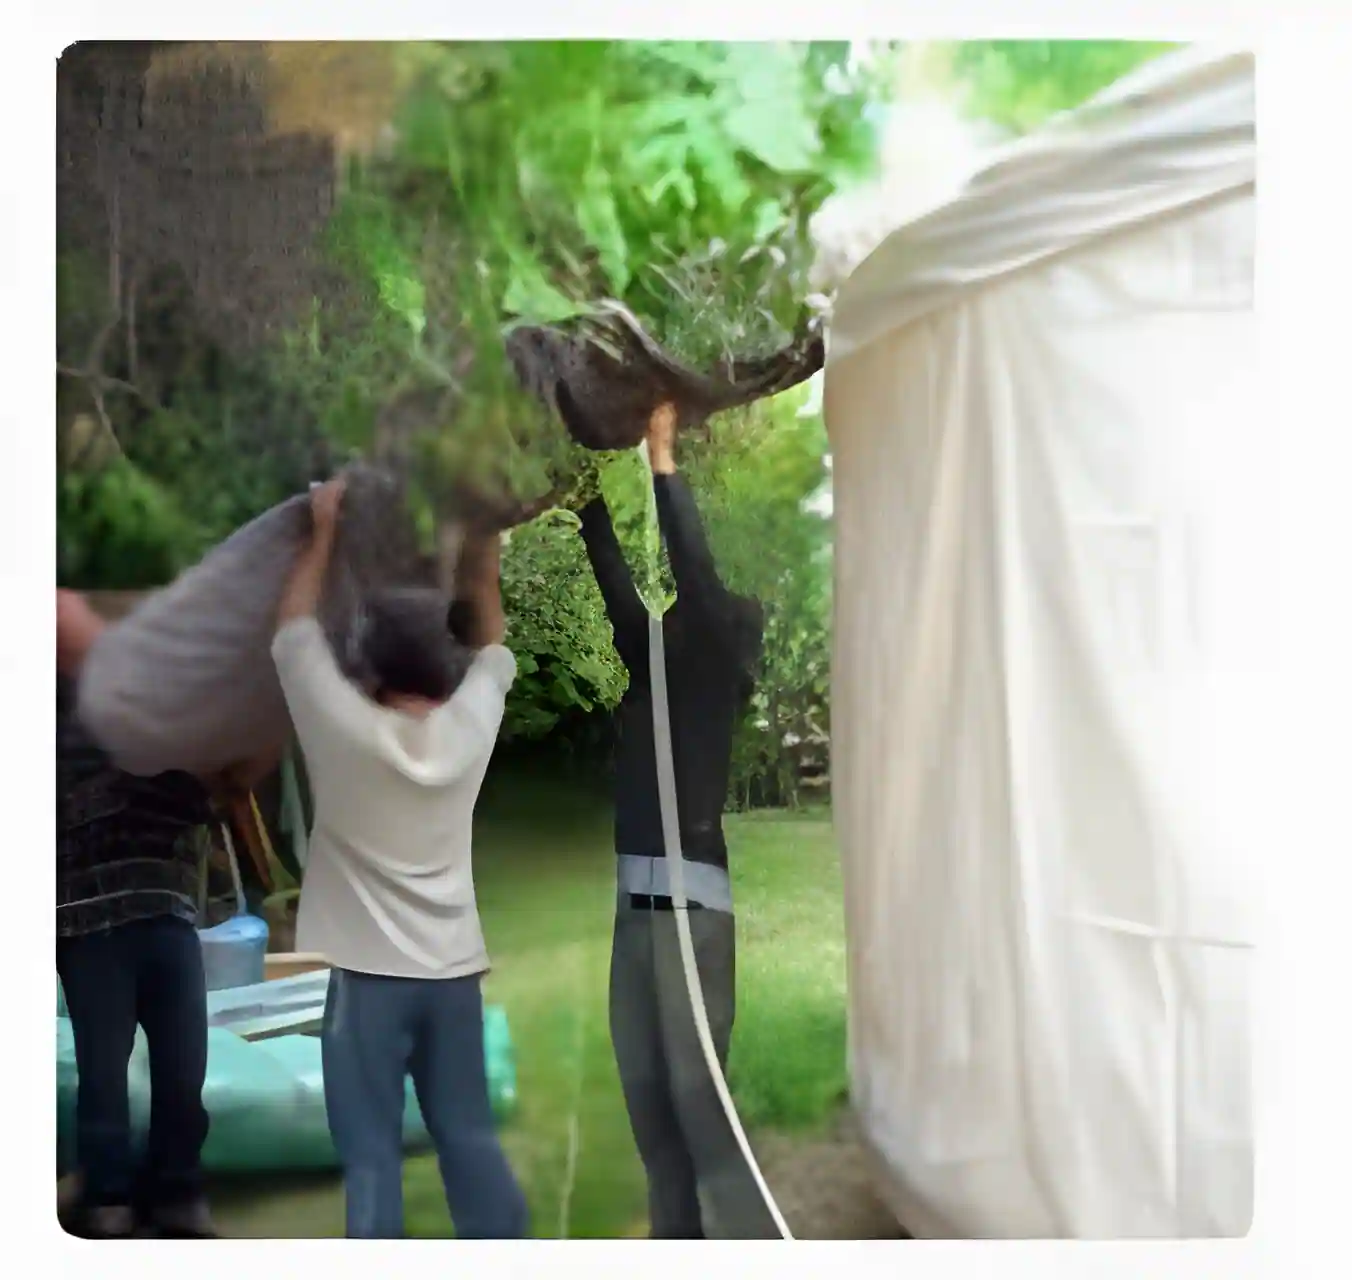
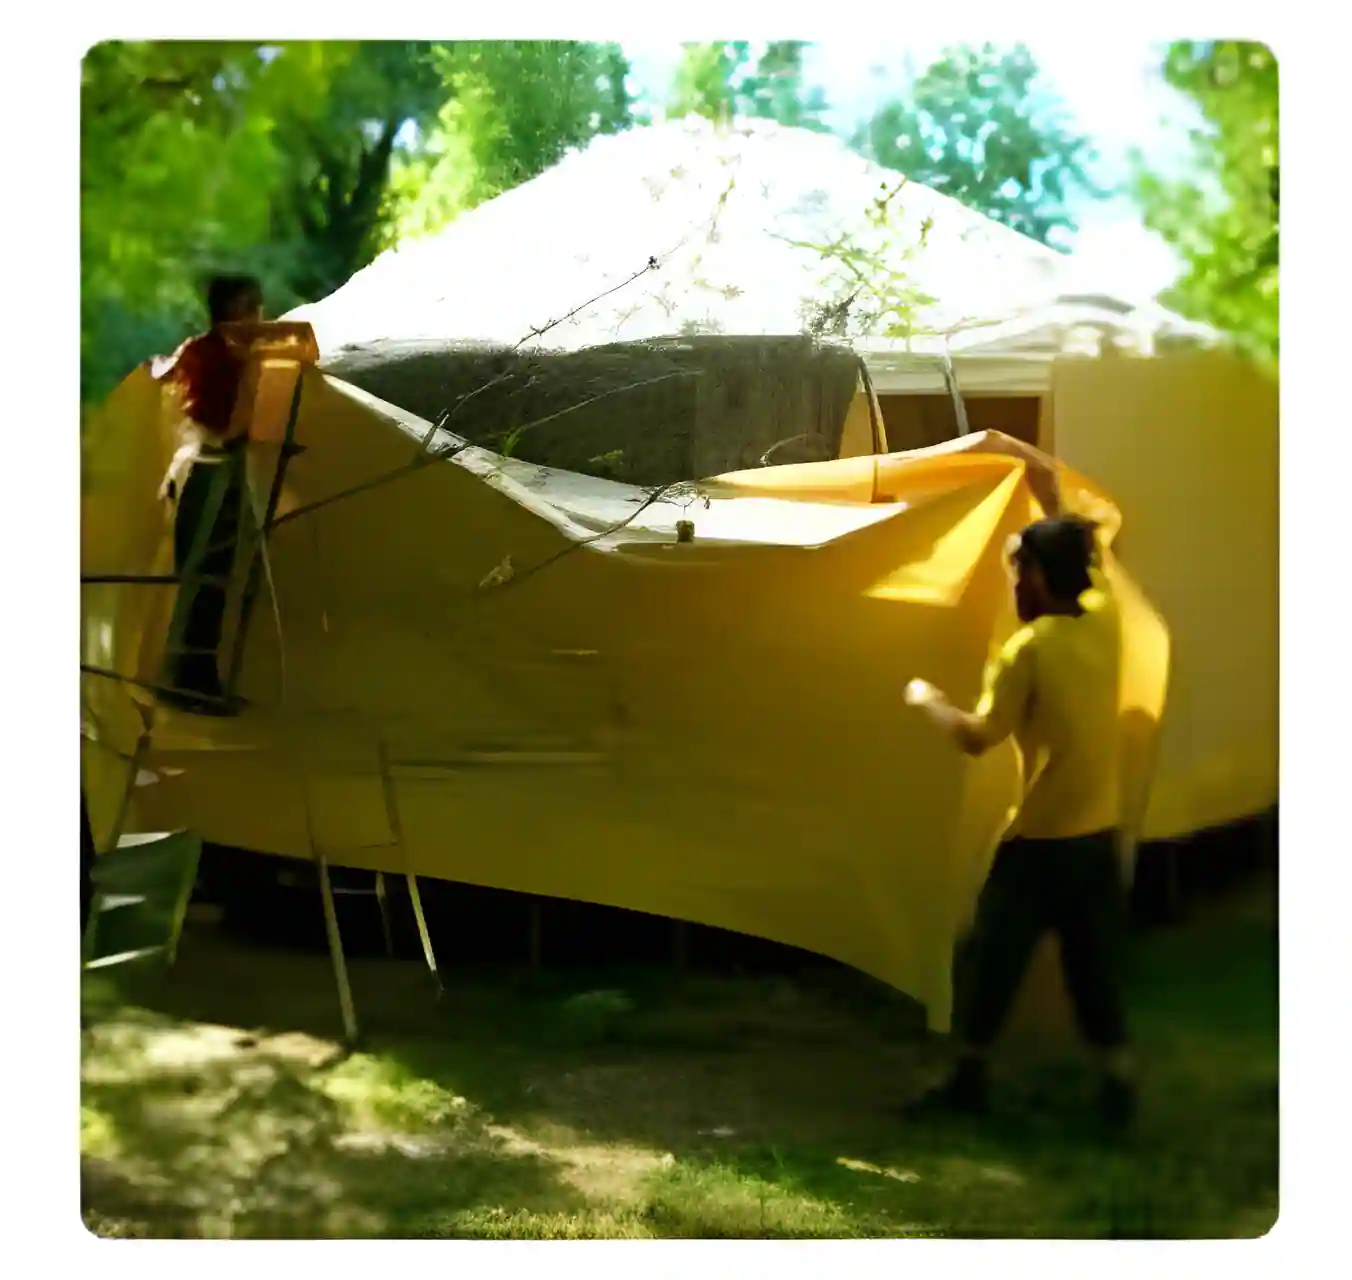
Assembly assistance

The team’s role

Our team is there to train and structure the assembly, but the help of the participants is essential for a successful participative site.

Safety

For safety reasons, children are not allowed on the assembly site.

Site preparation

  1. Levelling: Prepare the site in advance to allow the earth to settle.
  2. Ground surface: Allow at least 1 metre of clearance around the perimeter of the yurt.
  3. Gravel: To stabilise the ground and prevent mud, cover the area with gravel.
  4. Access: Provide an access road for delivery vehicles and make sure the site is clear for assembly.

To find out more, visit our practical advice page.

Weather and liability

Weather conditions

The set-up date depends on a favourable weather report. In the event of unfavourable weather, set-up may be postponed.

Liability

The customer is responsible for storing the yurt in the event of postponement.
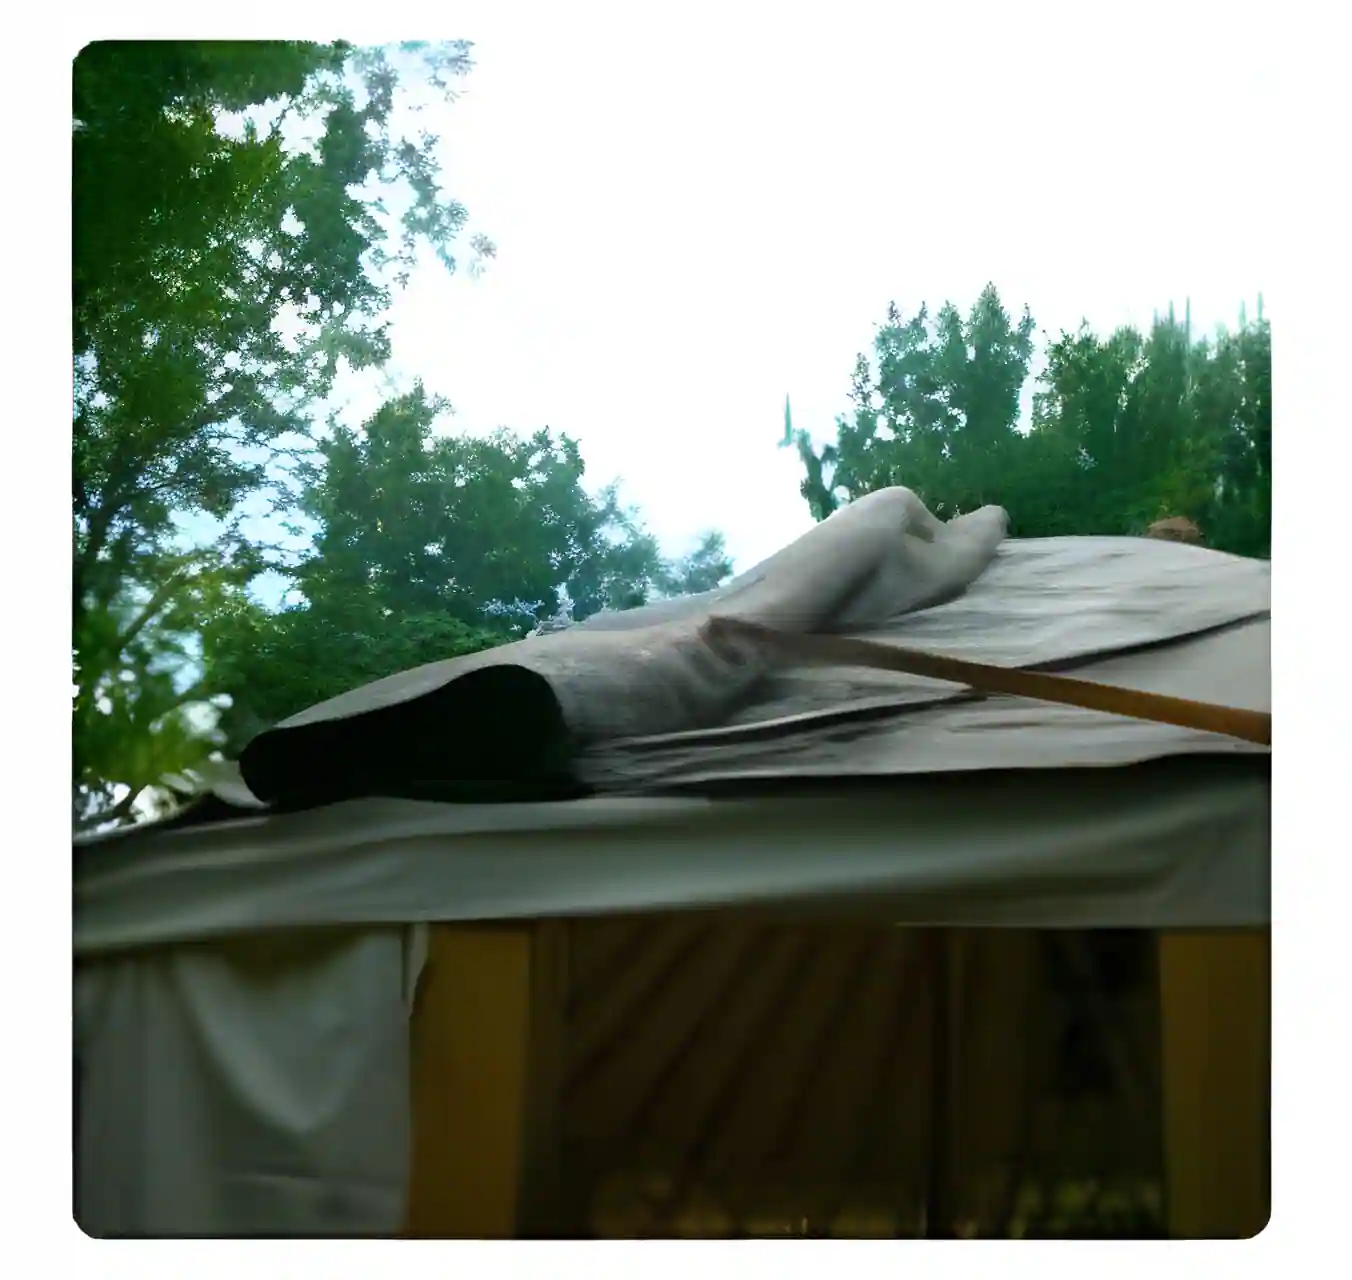
Equipe de montage
Perches et toono
Ossature et cordages
Equipe de montage

Assembly steps

The Team

5 of us set up a 30 m² yurt

Fitting the trellis

Here, the trellis is fitted into the door frame. If there is no door or window, the yurt trellises are clamped together and joined with rope.

Strapping of treillises

The trellises of the yurt are held upright by a rope that runs all the way round.

Strapping at the foot of the trellis

Adjusting the flexible plywood strip that runs around the floor of the Yurt.

Initial stabilisation

The rope that runs around the Yurt is threaded through a hole in the door frame. This rope maintains stability during assembly.

Pillar preparation

The lifting pillars lie in the centre of the yurt and are attached to the crown with a cord.

Door lock and handle

Fitting the lock and door handle.

Lifting the Pillars

Once attached to the toono, the pillars can be lifted. With 4 people, they are easy to assemble and position.

Positioning the Toono

You block the pillar with your foot so that it doesn’t slip and together you lift the toono of the yurt.

Positioning the pillars

Place the pillars with the crown correctly in the middle of the floor (the centre should have been marked beforehand) and hold the position.

Interlocking poles

The poles are embedded in the toono one after the other.

Fixing poles

The loop at the end of each pole is very tight and must be fitted over the inner crosspiece of the trellis.

Positioning the poles

The poles are positioned one after the other.

Structure in place

And that’s it! The larch frame of the Yurt is complete. The structure is in place.

Layout of the interior decorative canvas

The decorative cotton canvas is attached to the outside of the yurt.

Preparing the window

A space is left for the future window in flexible Plexiglas sewn into the outdoor canvas.

Preparing the insulation

The yurt felt is spread out to be mounted on the roof.

Rolling the felt

The wool felt insulation is rolled into a cigar shape and tied with a long rope.

Positioning the insulation

After first laying out the cotton inner lining, the rolled woollen felt is hoisted onto the roof from above.

Unrolling the felt

Using one of the extra poles, the felt is pushed onto the roof.

Fixing insulation

The felt is sewn in a semi-circle. There is also a decorative cotton canvas (or inner lining) on the roof.

Fixing wall felt

Next comes the felt for the walls of the yurt. It sticks out a little on the roof.

Maintaining wall felt

Several people are needed to hold the felt in place. You can also use a string.

Support cord

We attach the cord

Maintaining insulation

The string in the ties holds the felt in place.

Insulation in place

The yurt is completely covered in cosy sheep’s wool felt insulation.

Fixing Canvas Walls

The canvas walls are attached to the string of felt insulation.

Teamwork

Two is better than one!

Fixing the canvas

The canvas is hung with the fasteners sewn around the edge.

Finishing the roof

Positioning the roof on the yurt requires a final effort!

Final adjustment

Yes, you can even sit on the toono to adjust the canvas!

Montage terminé !

After 6 hours of assembly, we’ve done it! The yurt is up, and it’s time to eat.

Assembling a yurt is a rewarding and collaborative experience, made possible by meticulous preparation and the help of experienced professionals.
Tarif 2025
Afin de recevoir notre tarif Yourtes et Tipis 2025, veuillez simplement nous indiquer votre adresse email.
Nous nous ferons une joie de vous l'envoyer sans plus tarder

    Prices 2025
    To receive our 2025 Yurts and Tipis prices, simply provide us with your email address.
    We will be happy to send them to you without delay.

      Preise 2025
      Um unsere Preise für Jurten und Tipis für 2025 zu erhalten, geben Sie uns einfach Ihre E-Mail-Adresse.
      Wir senden Ihnen diese gerne umgehend zu.

        Tarifas 2025
        Para consultar nuestras tarifas de yurtas y tipis para 2025, solo tiene que indicarnos su dirección de correo electrónico.
        Estaremos encantados de enviárselas sin demora.