Materialien, Herstellung
und Aufbau unserer Jurten
Unsere Jurten, die aus edlen Materialien hergestellt werden, bieten einen warmen, komfortablen und hellen Lebensraum, der an das europäische Klima angepasst ist. Sie respektieren einen ethischen Ansatz und fügen sich harmonisch in die natürliche Umgebung ein.
Eigenschaften, Materialien und Ausführungen
Fünf Durchmesser zur Auswahl
Wir bieten Jurten mit einem Durchmesser am Boden an, der gleich ist:
- 4m (entspricht einer Grundfläche von 12,5m²),
- 5m (19.6m²),
- 6m (28,2m²),
- 7m (38,5m²) und
- 8m (50,3m²).
und bietet somit eine passende Antwort für die meisten Bedürfnisse.
Benötigt Ihr Projekt eine größere Fläche?
Haben Sie schon an Zwillingsjurten gedacht?
Zögern Sie in jedem Fall nicht, uns zu kontaktieren.
Zwei Wandhöhen
Klassisch
Bei einer Gitterhöhe von 160 cm beträgt die maximal erreichbare Gesamthöhe 320 cm*.
Erhöht
Die Gitterhöhe von 180 cm bei einer erreichten Maximalhöhe von 340 cm* bietet eine komfortablere Bewohnbarkeit mit der Möglichkeit, Aktivitäten unterzubringen, die eine hohe Decke erfordern, wie z. B. Werkstätten, Räume für Yoga oder andere Körperübungen.
*für ein Modell mit einem Durchmesser von 8m am Boden.


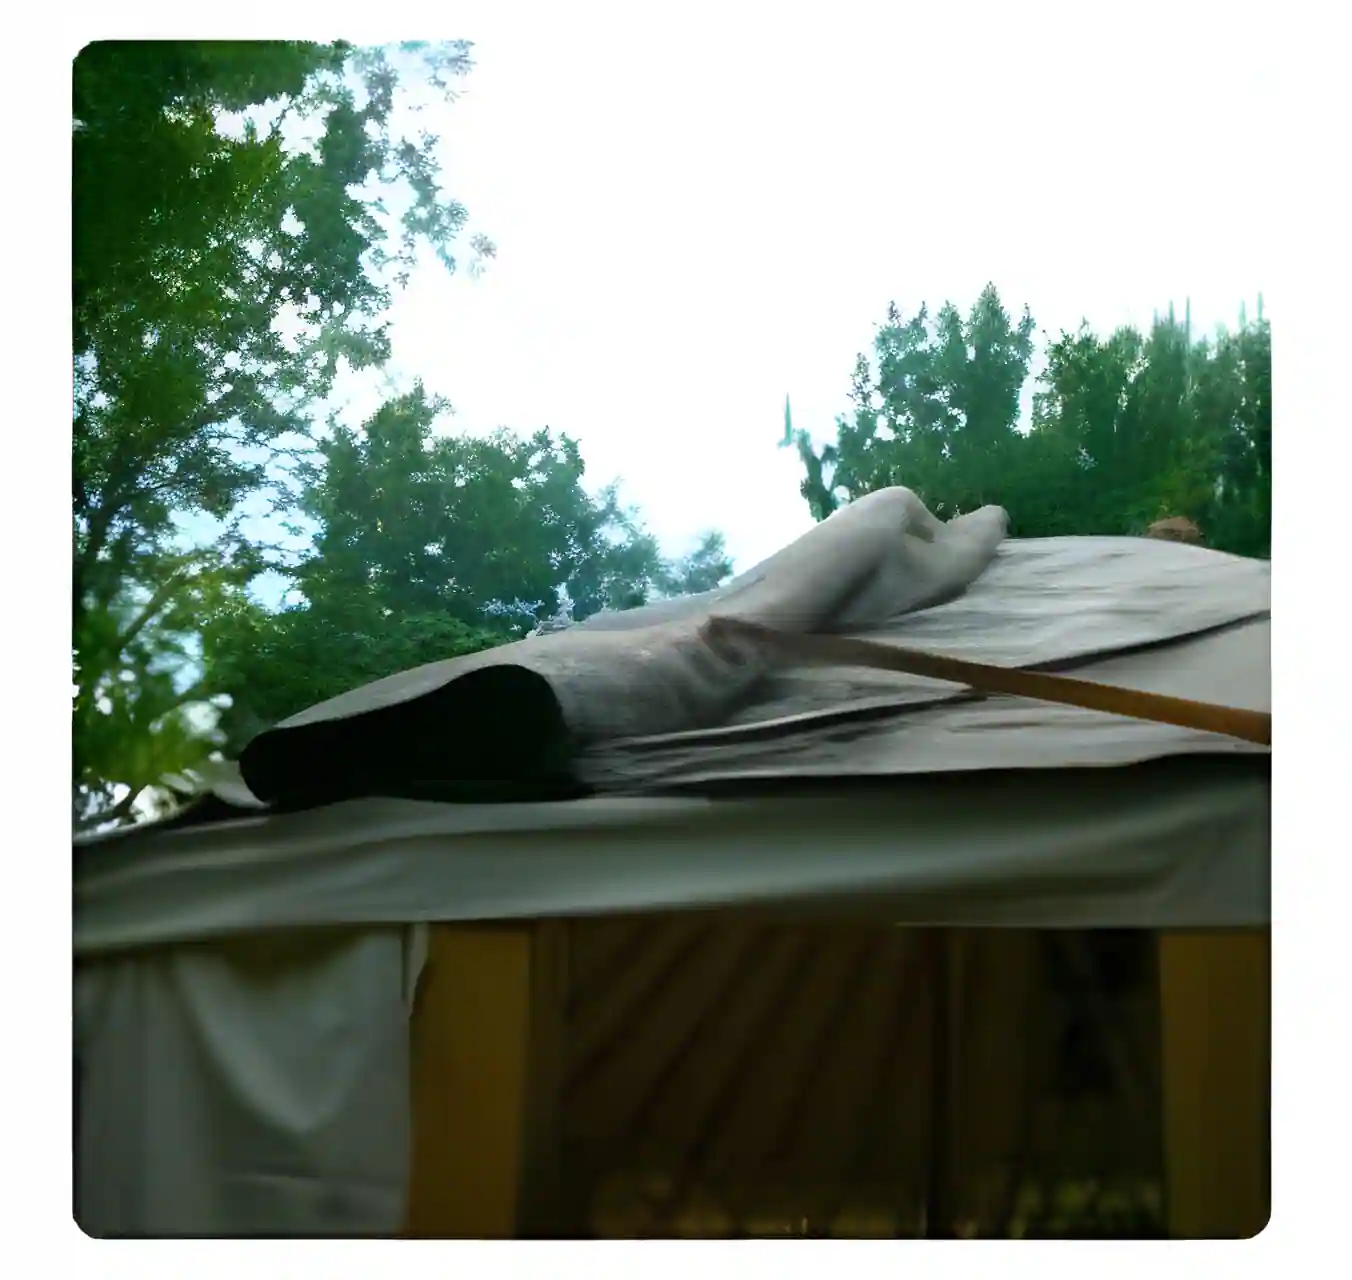
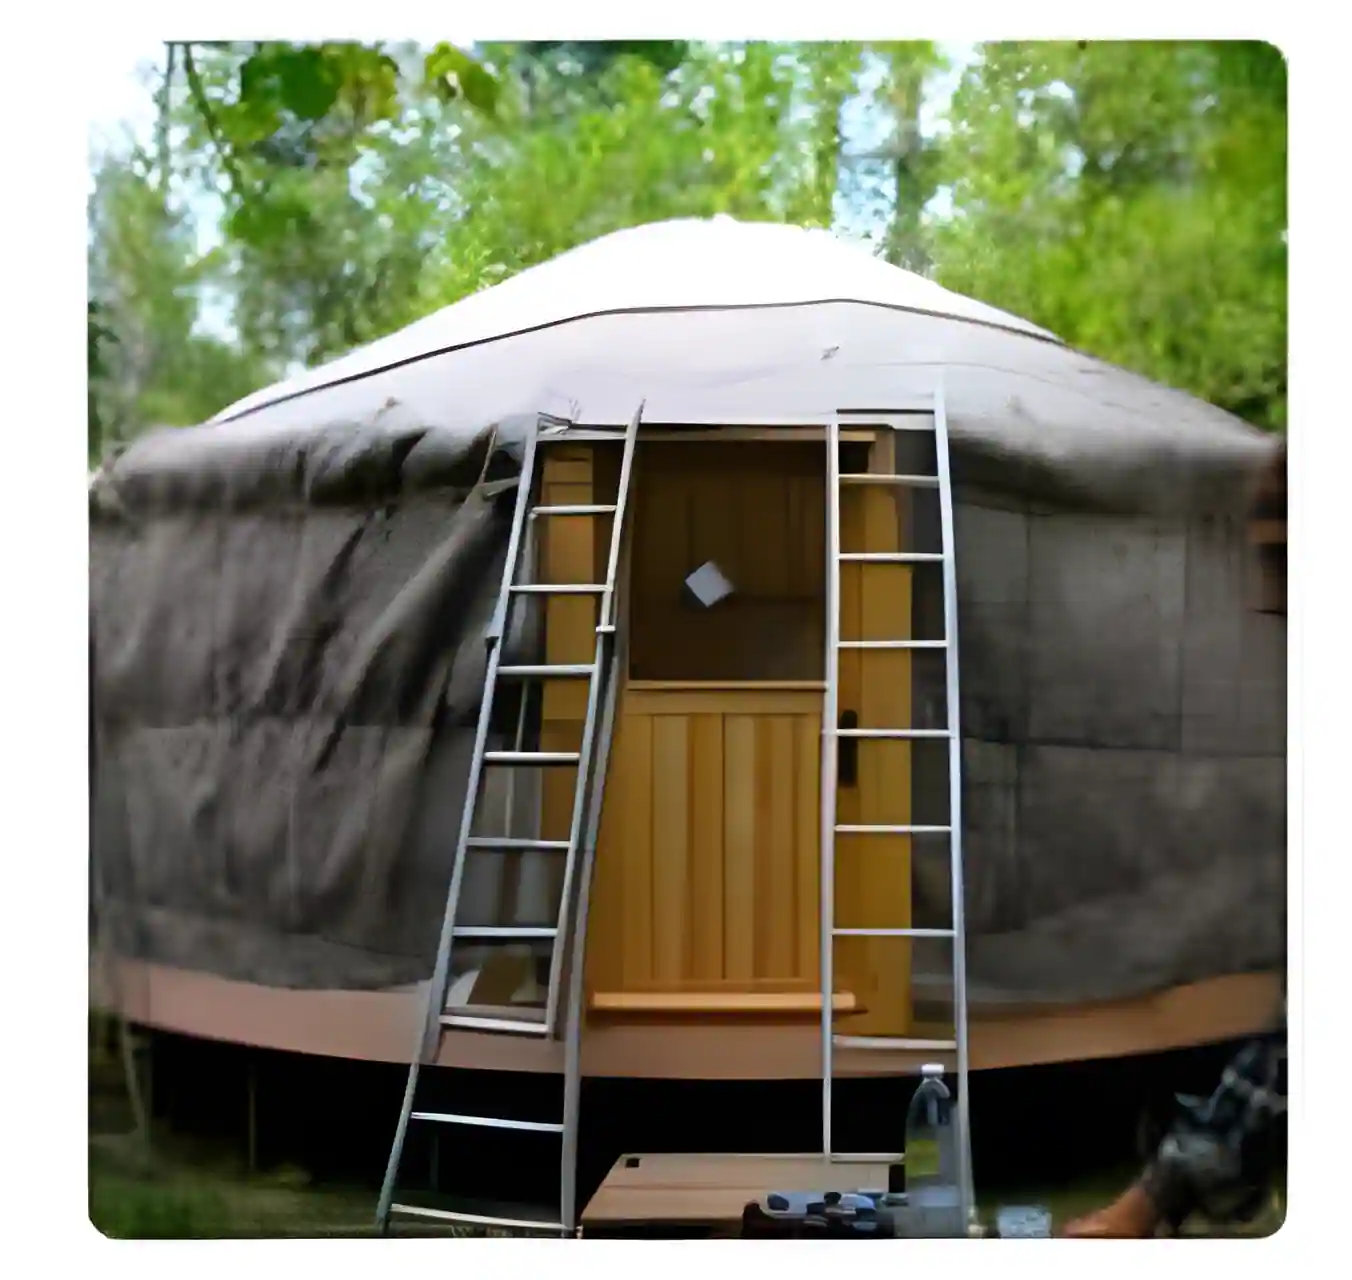
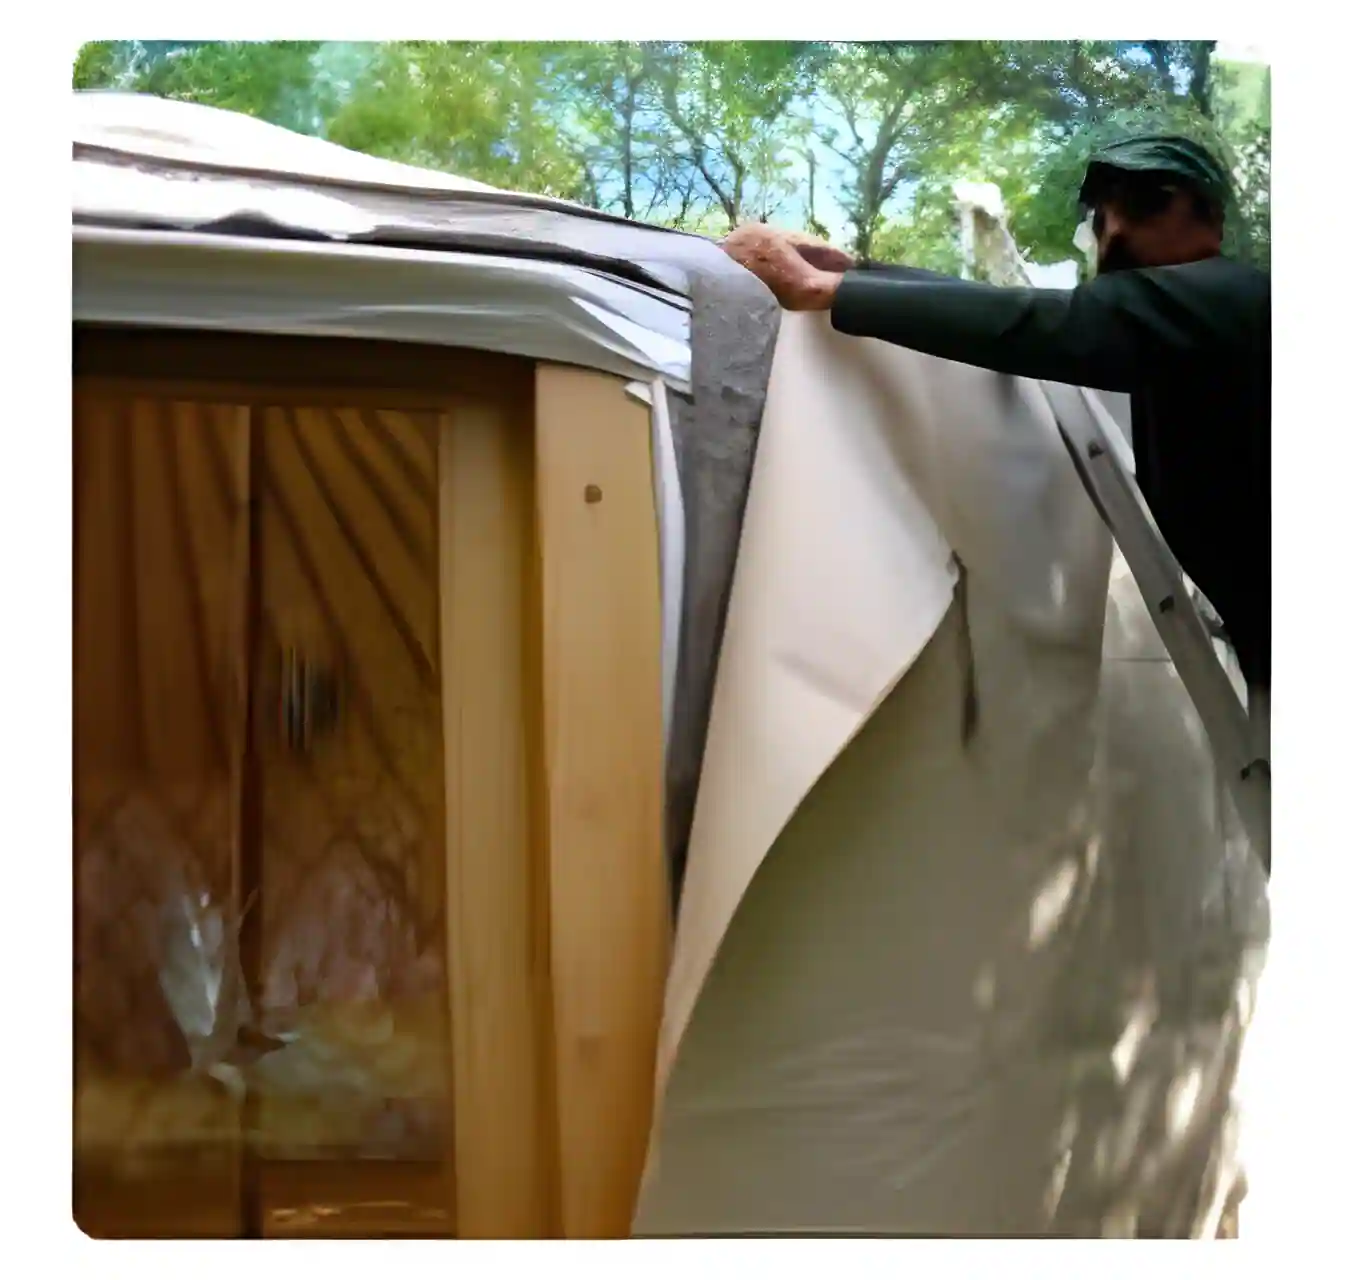
Natürliche Materialien
Unsere natürlichen „atmungsaktiven“ Planen und Isolierungen begrenzen die Bildung von Kondenswasser, selbst bei längerem Regen.
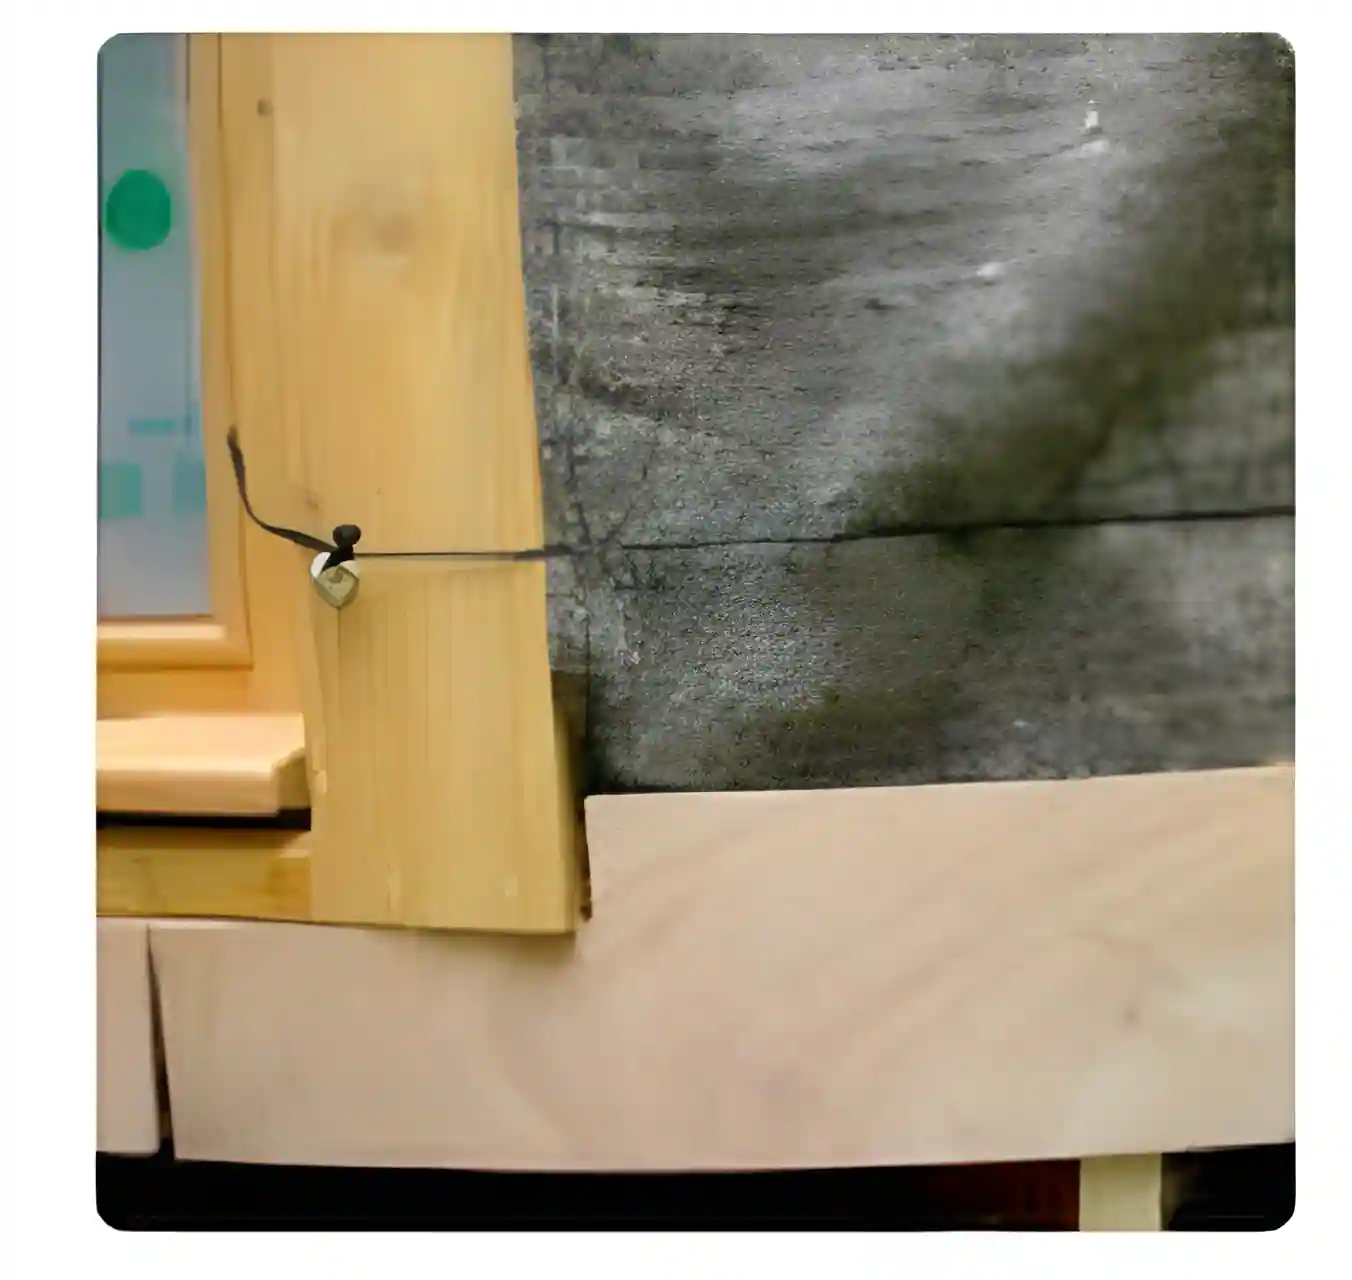
Plane für den Außenbereich
100% Acryl in Bootsqualität, UV-beständig und schimmelresistent, Öko-tex-zertifiziert.
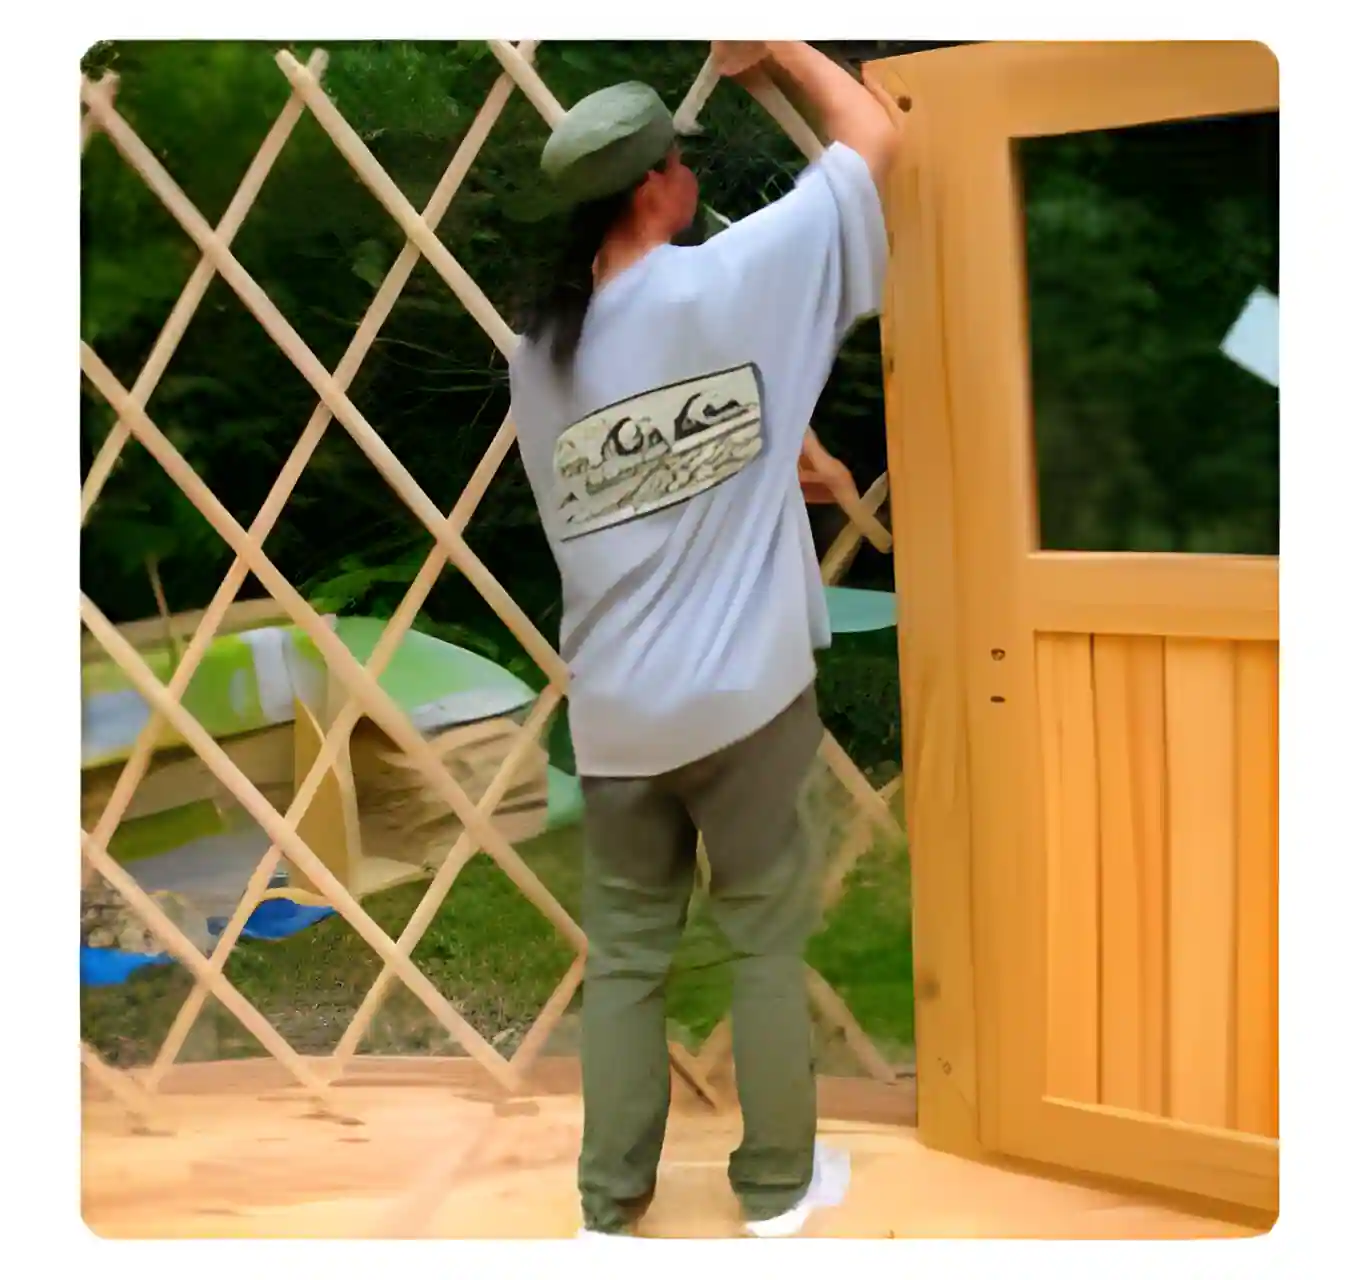
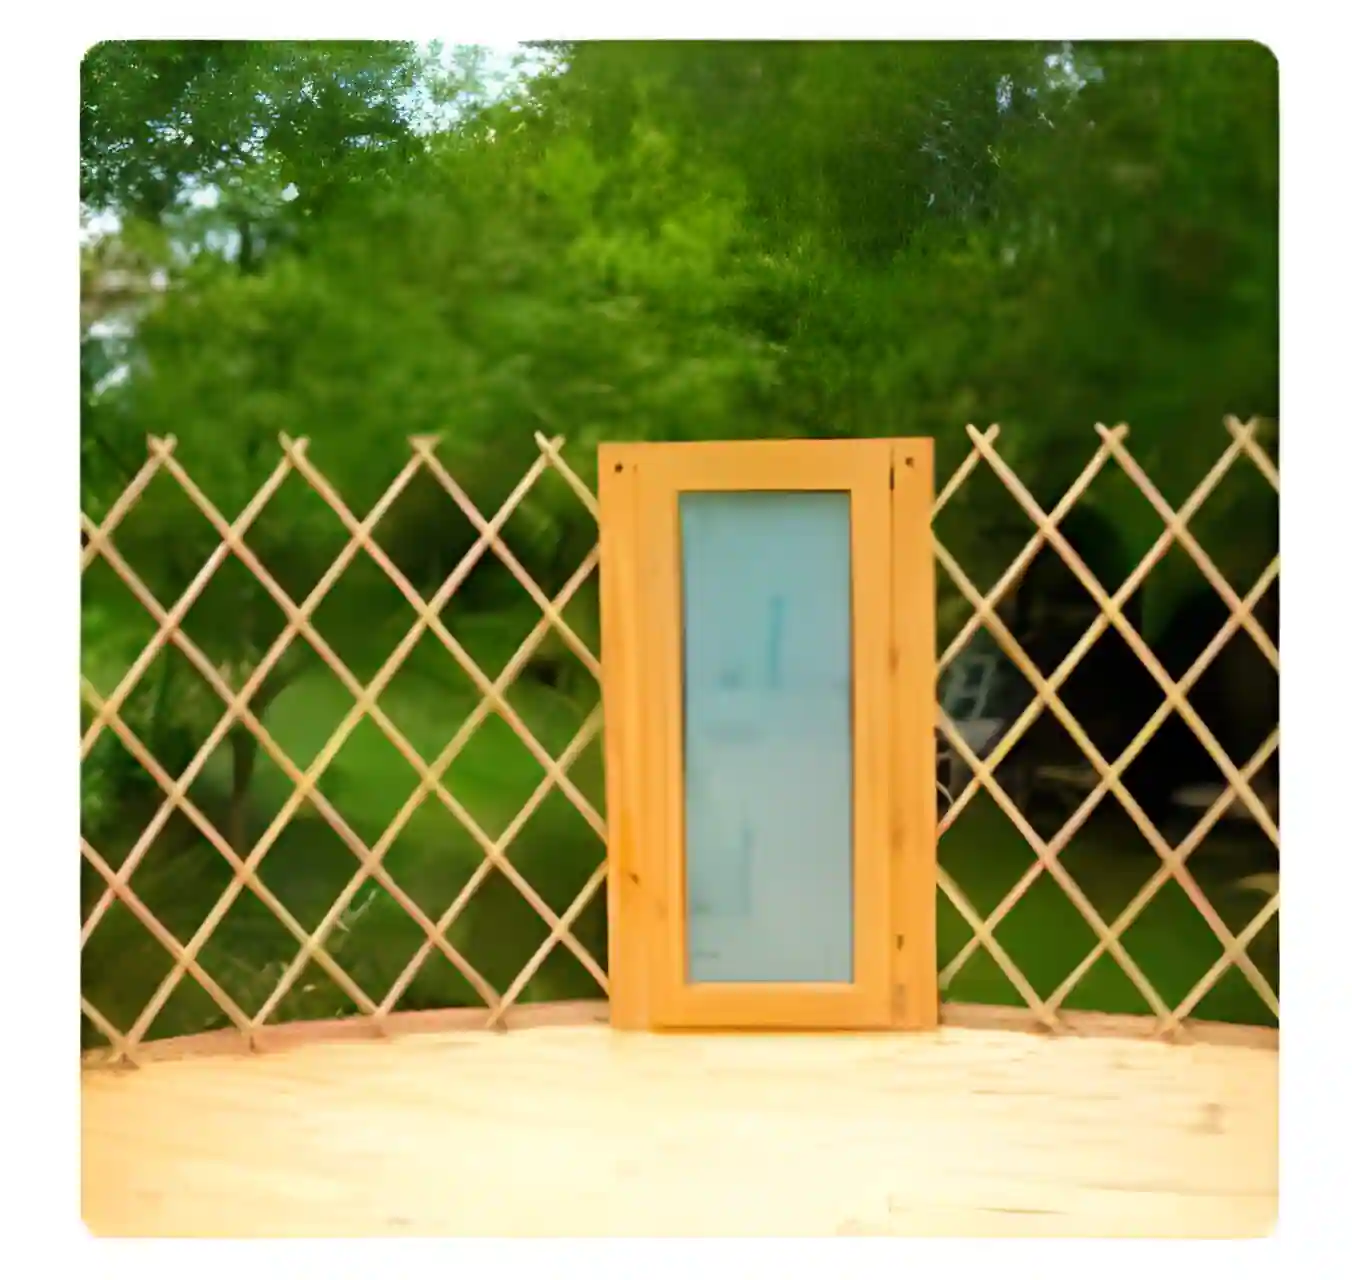
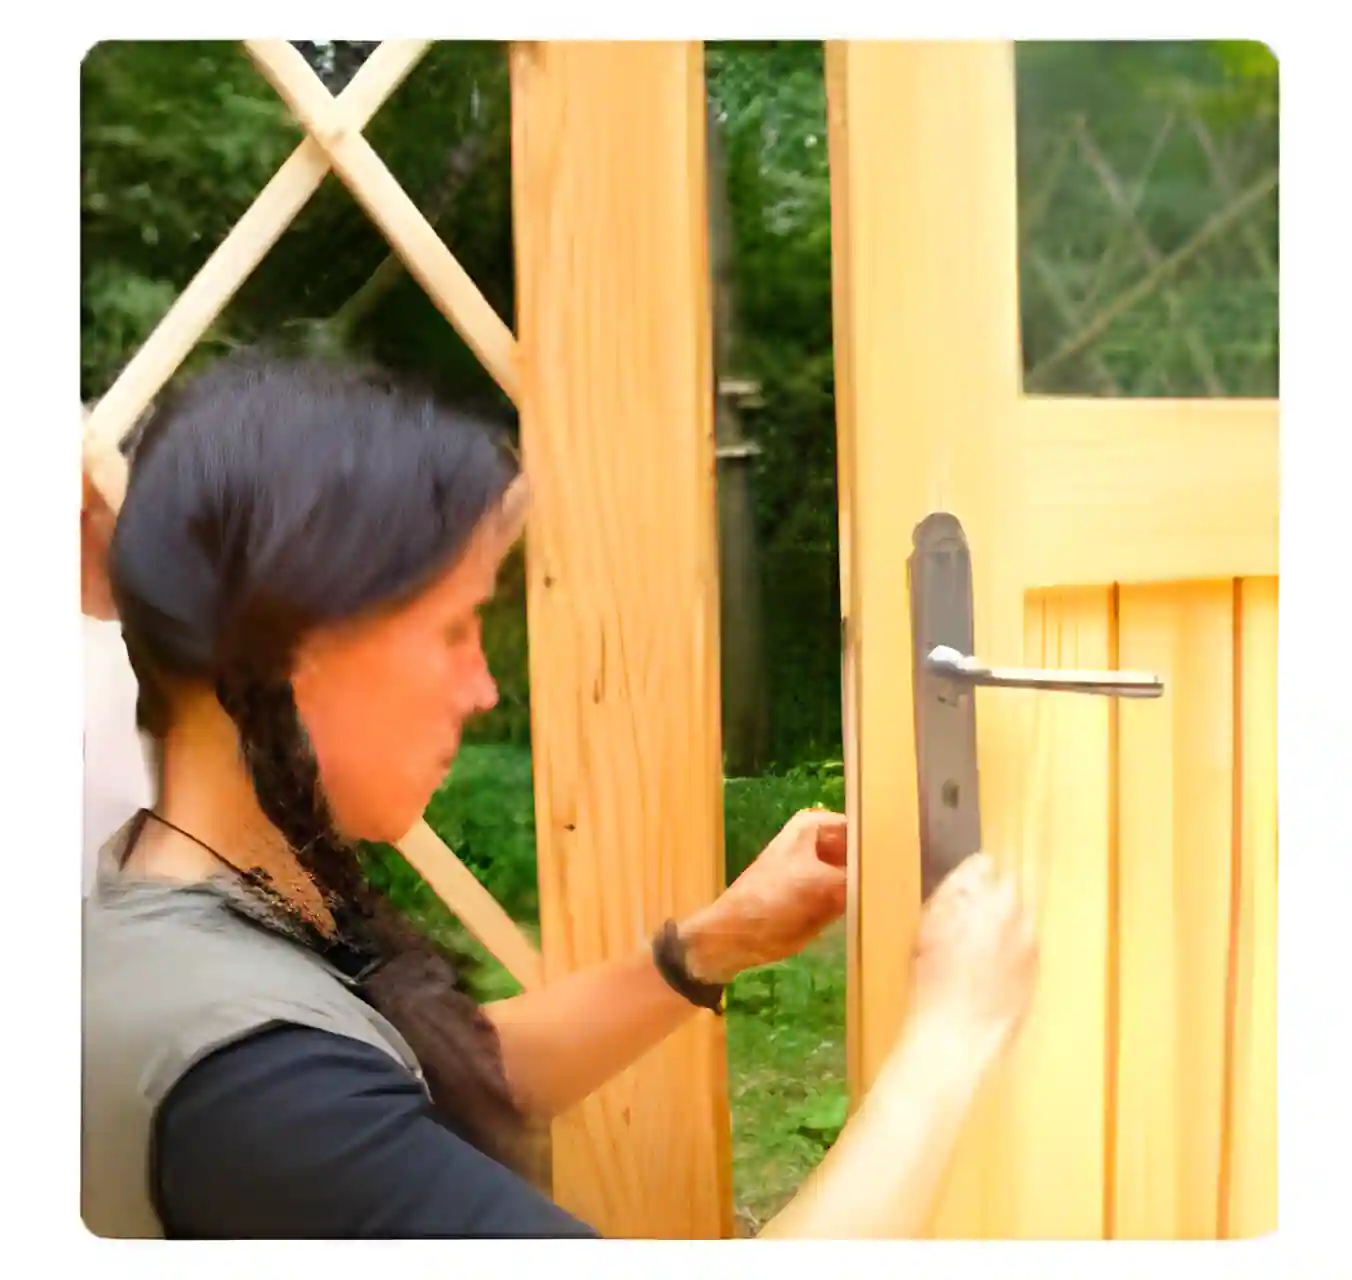
Fenster und Türen
Aus Lärchenholz, mit Doppelverglasung oder Plexiglas, stoßfest.
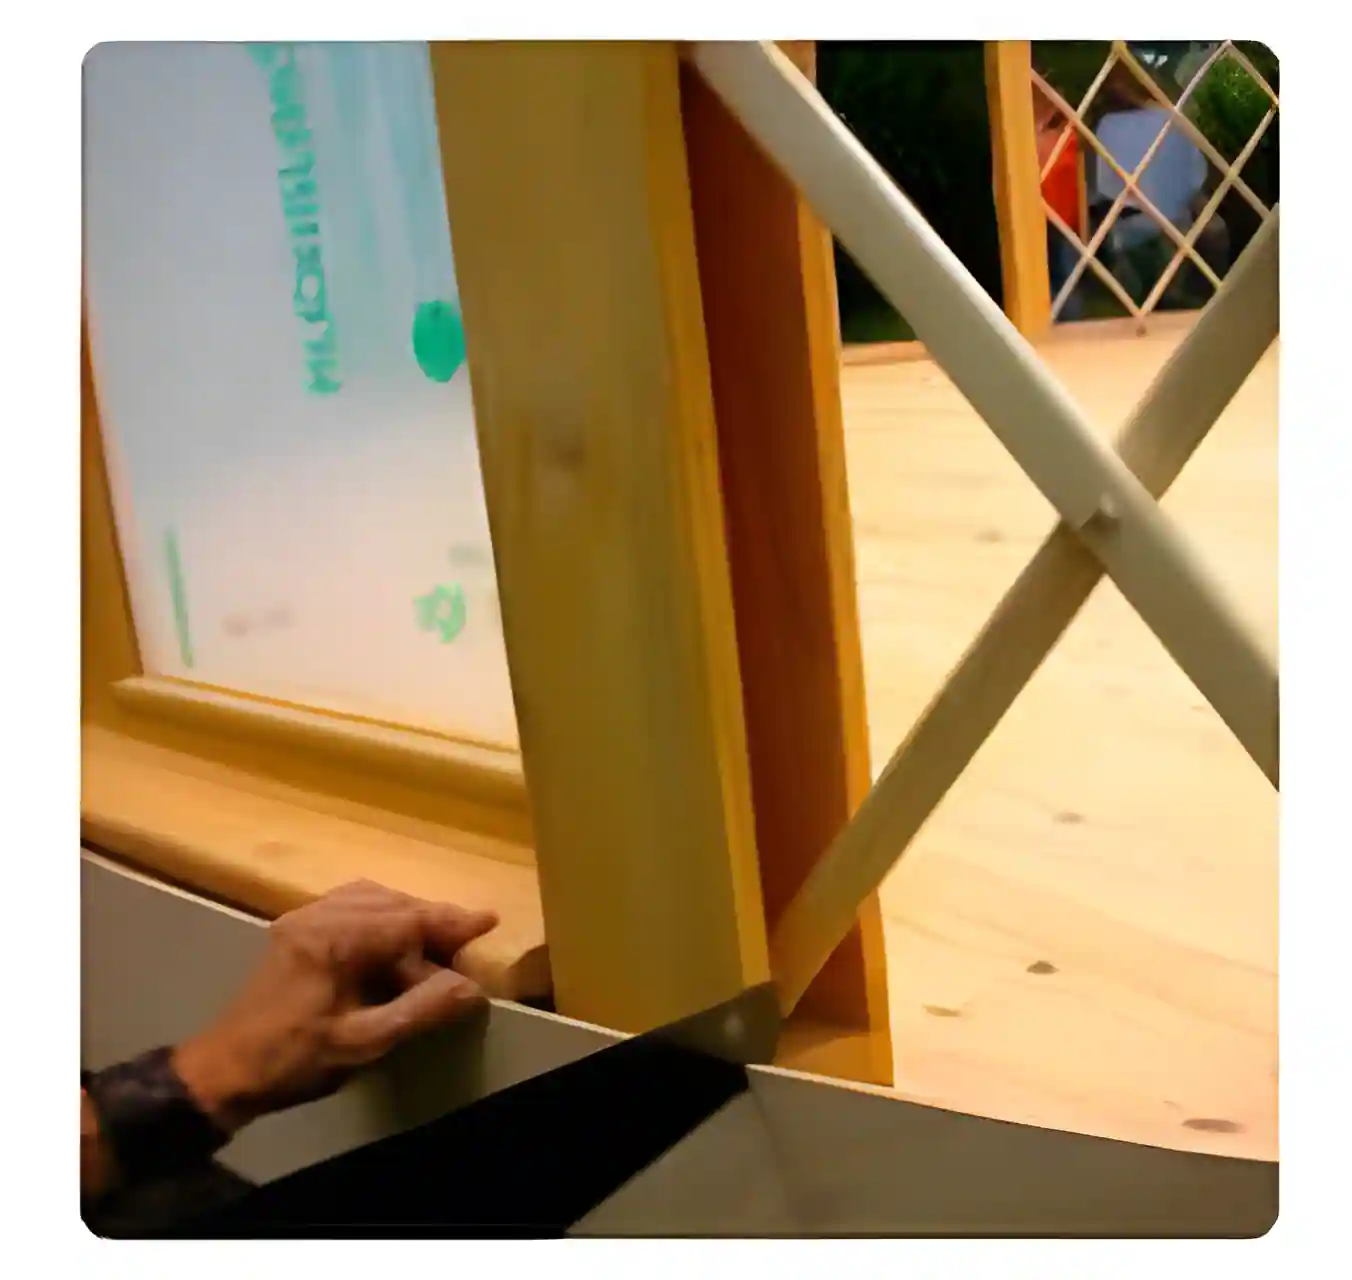
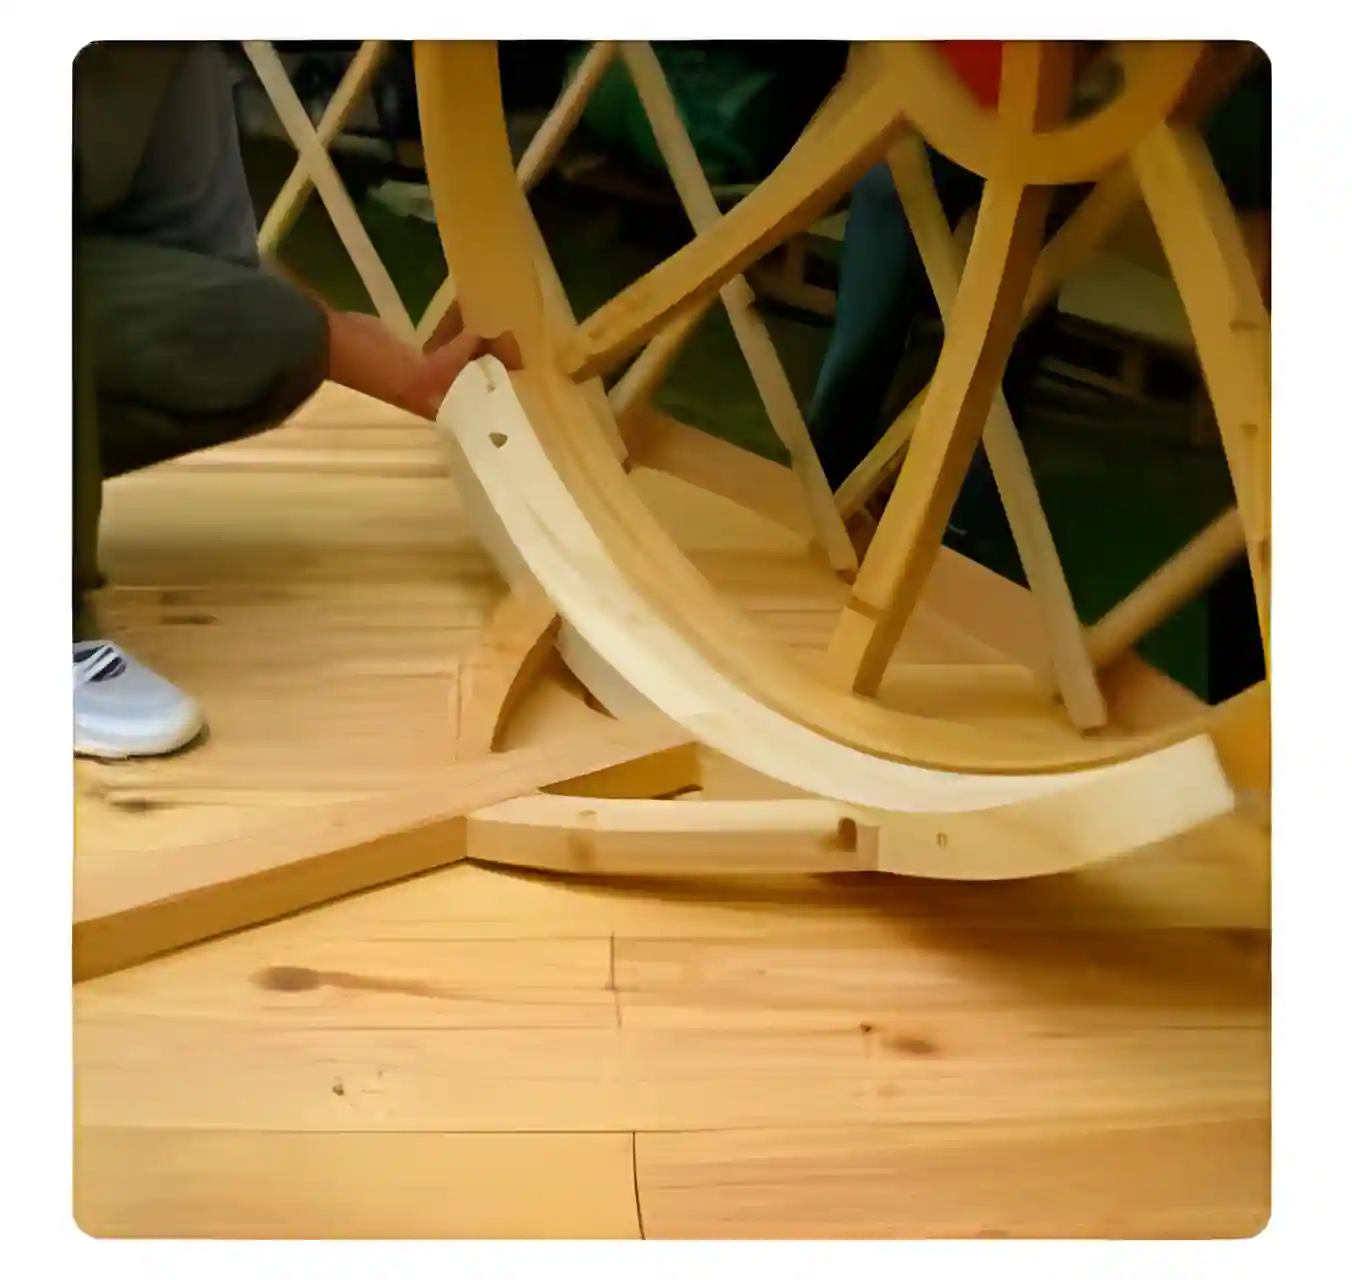
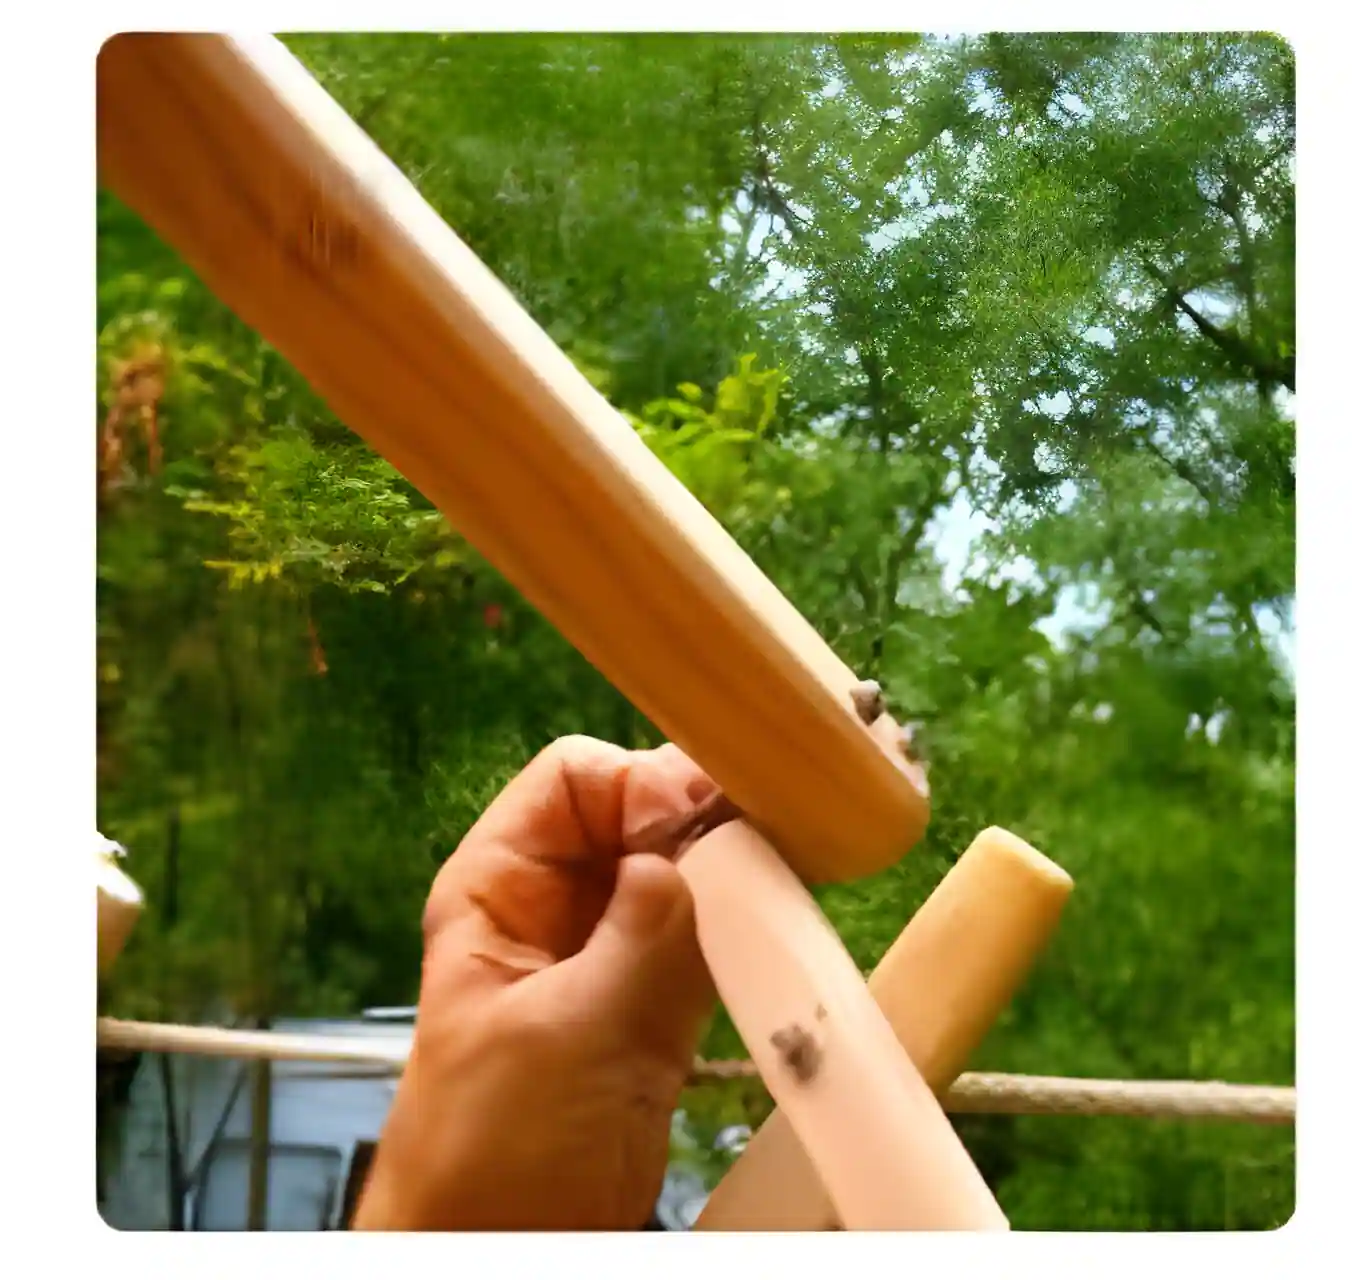
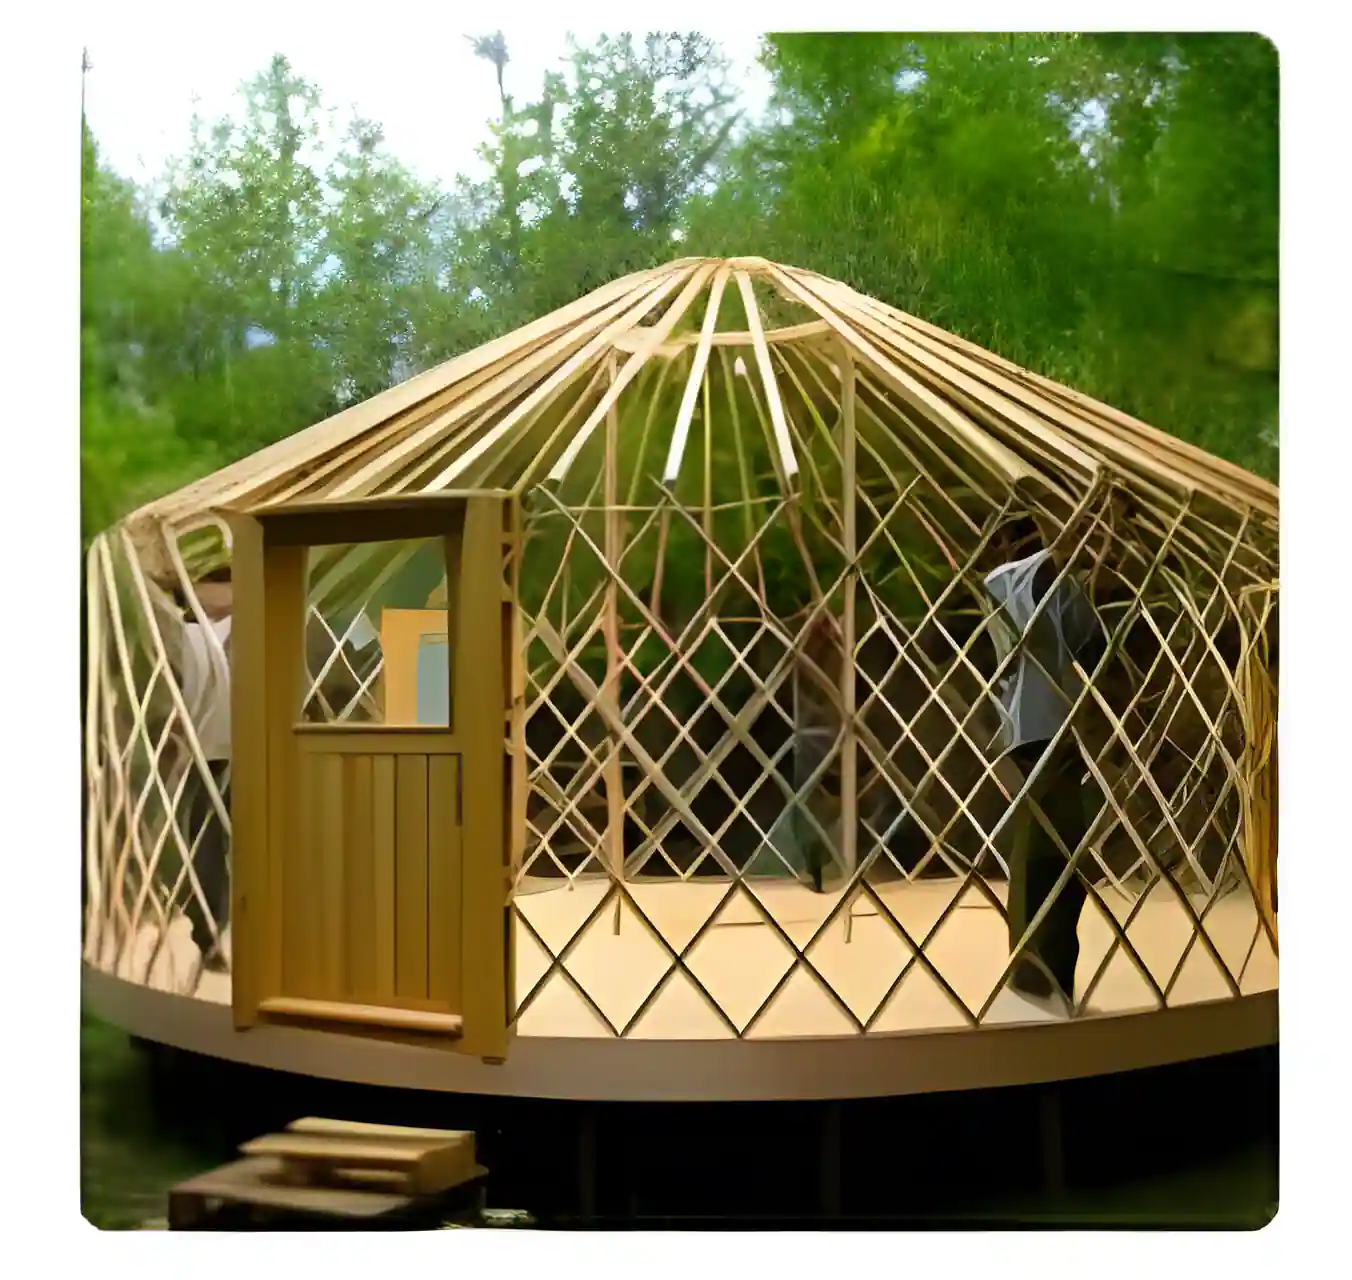
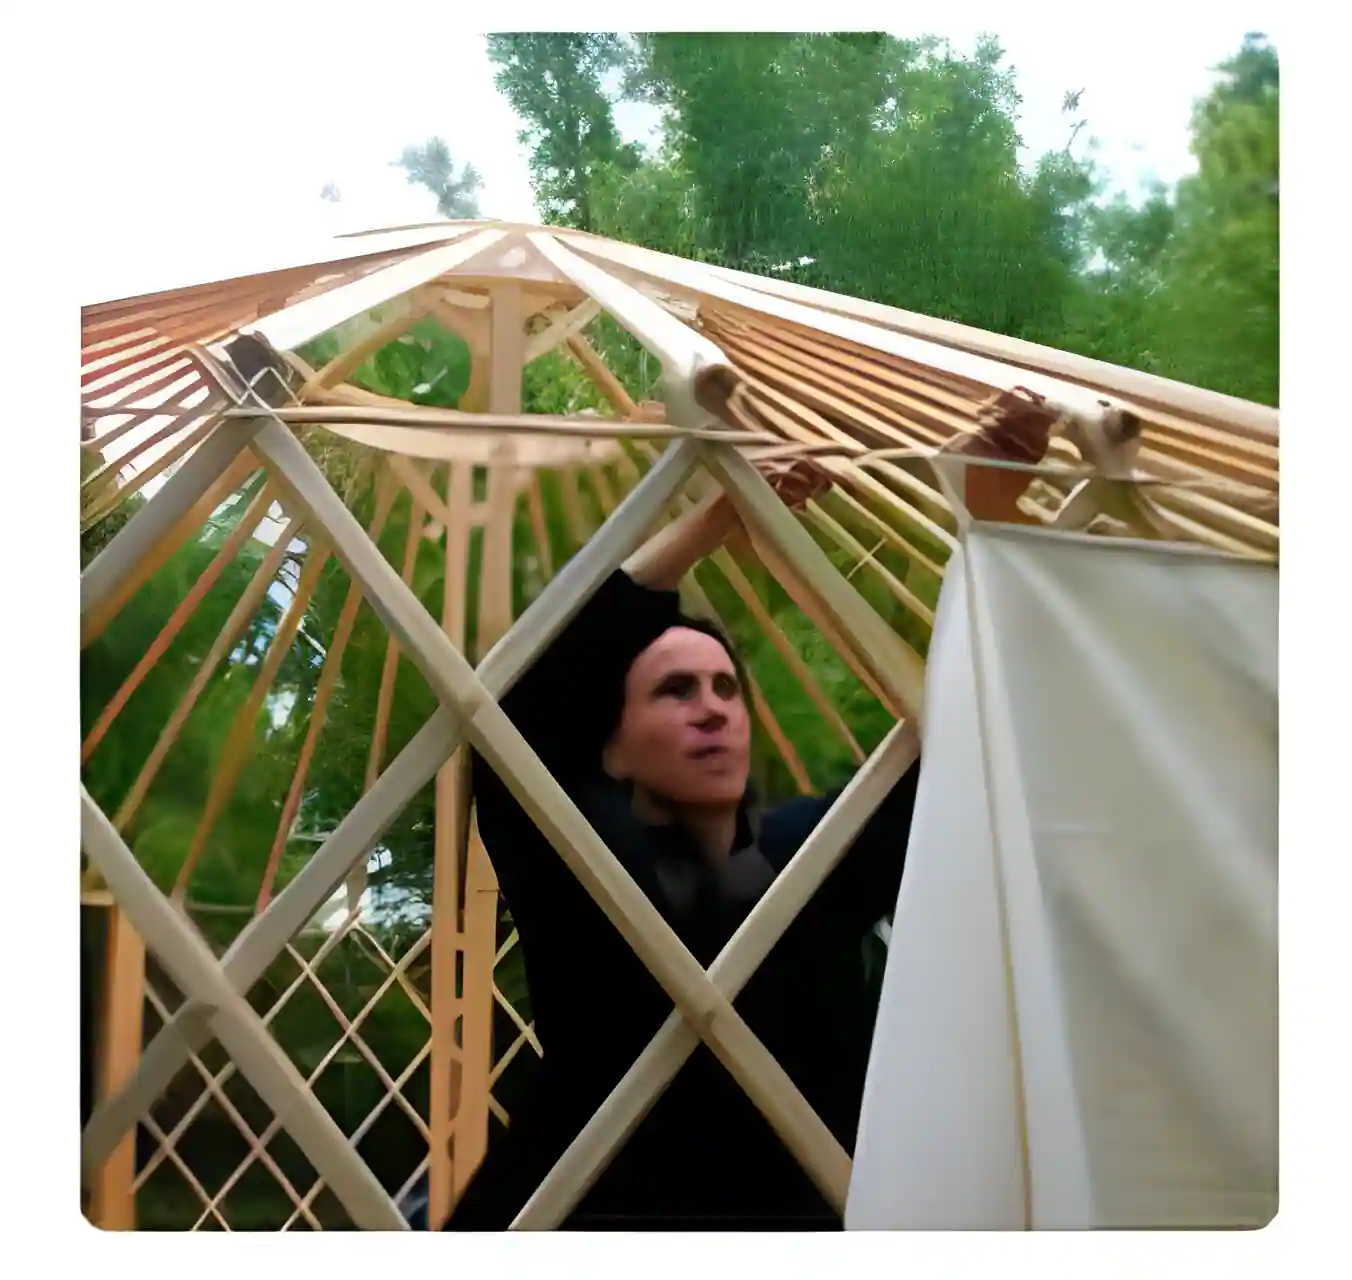
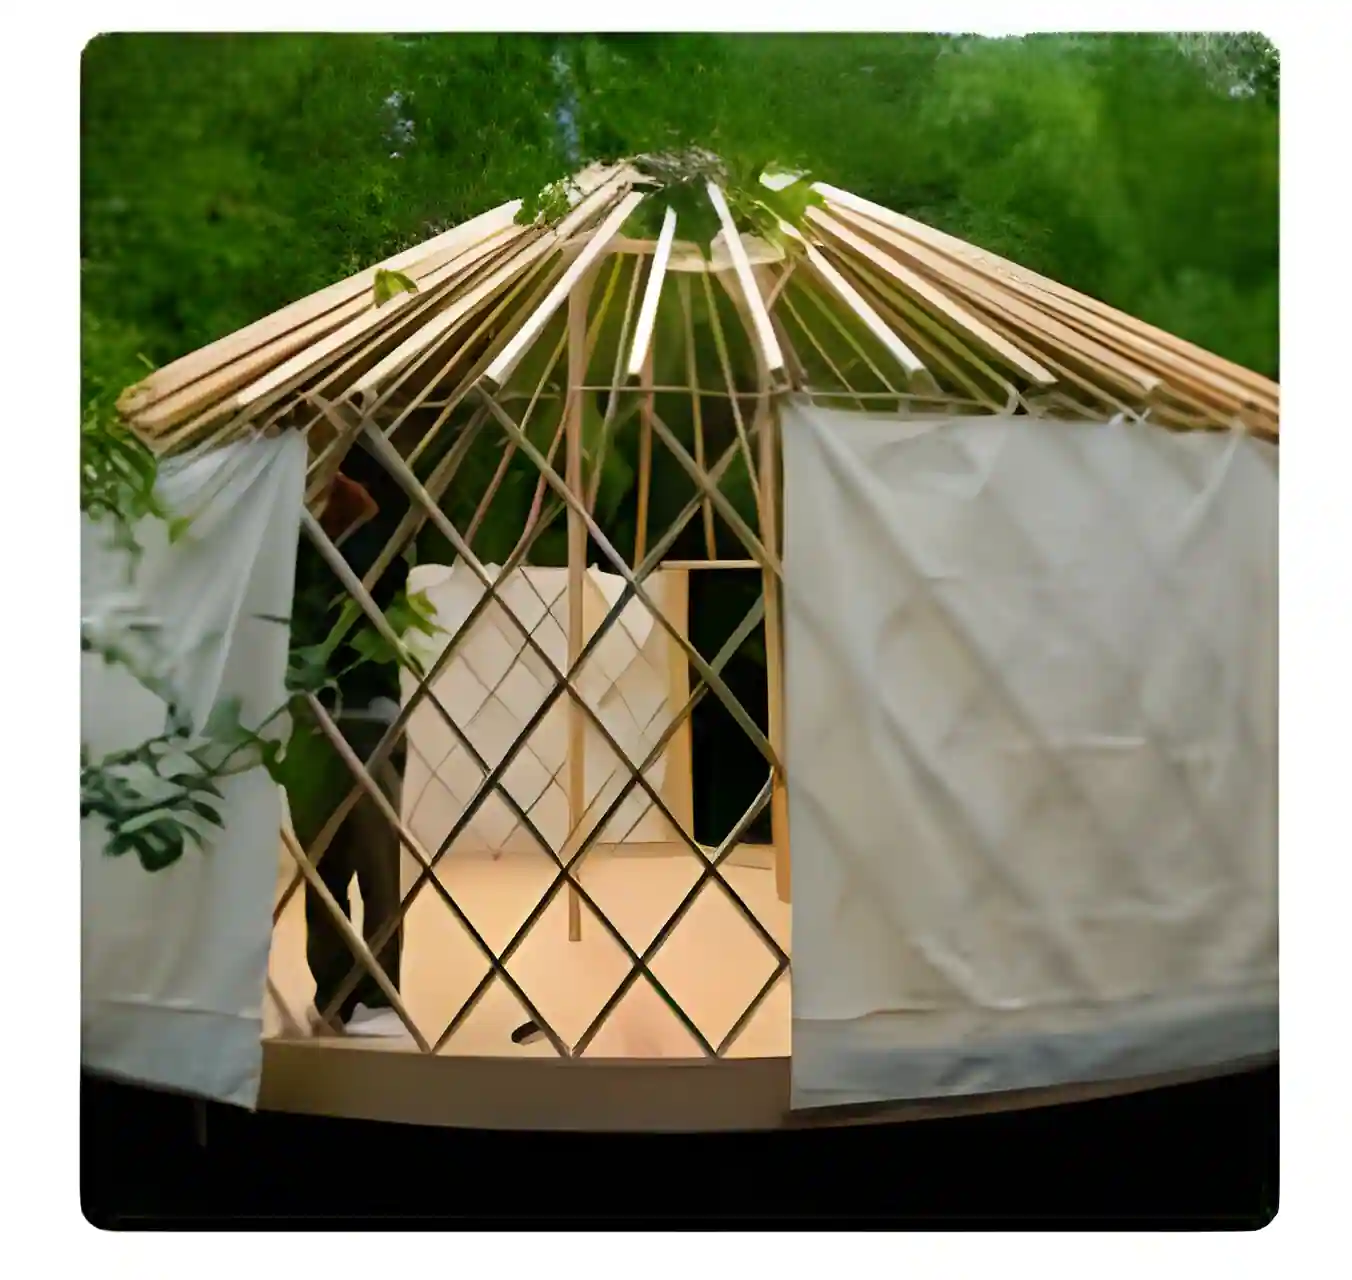
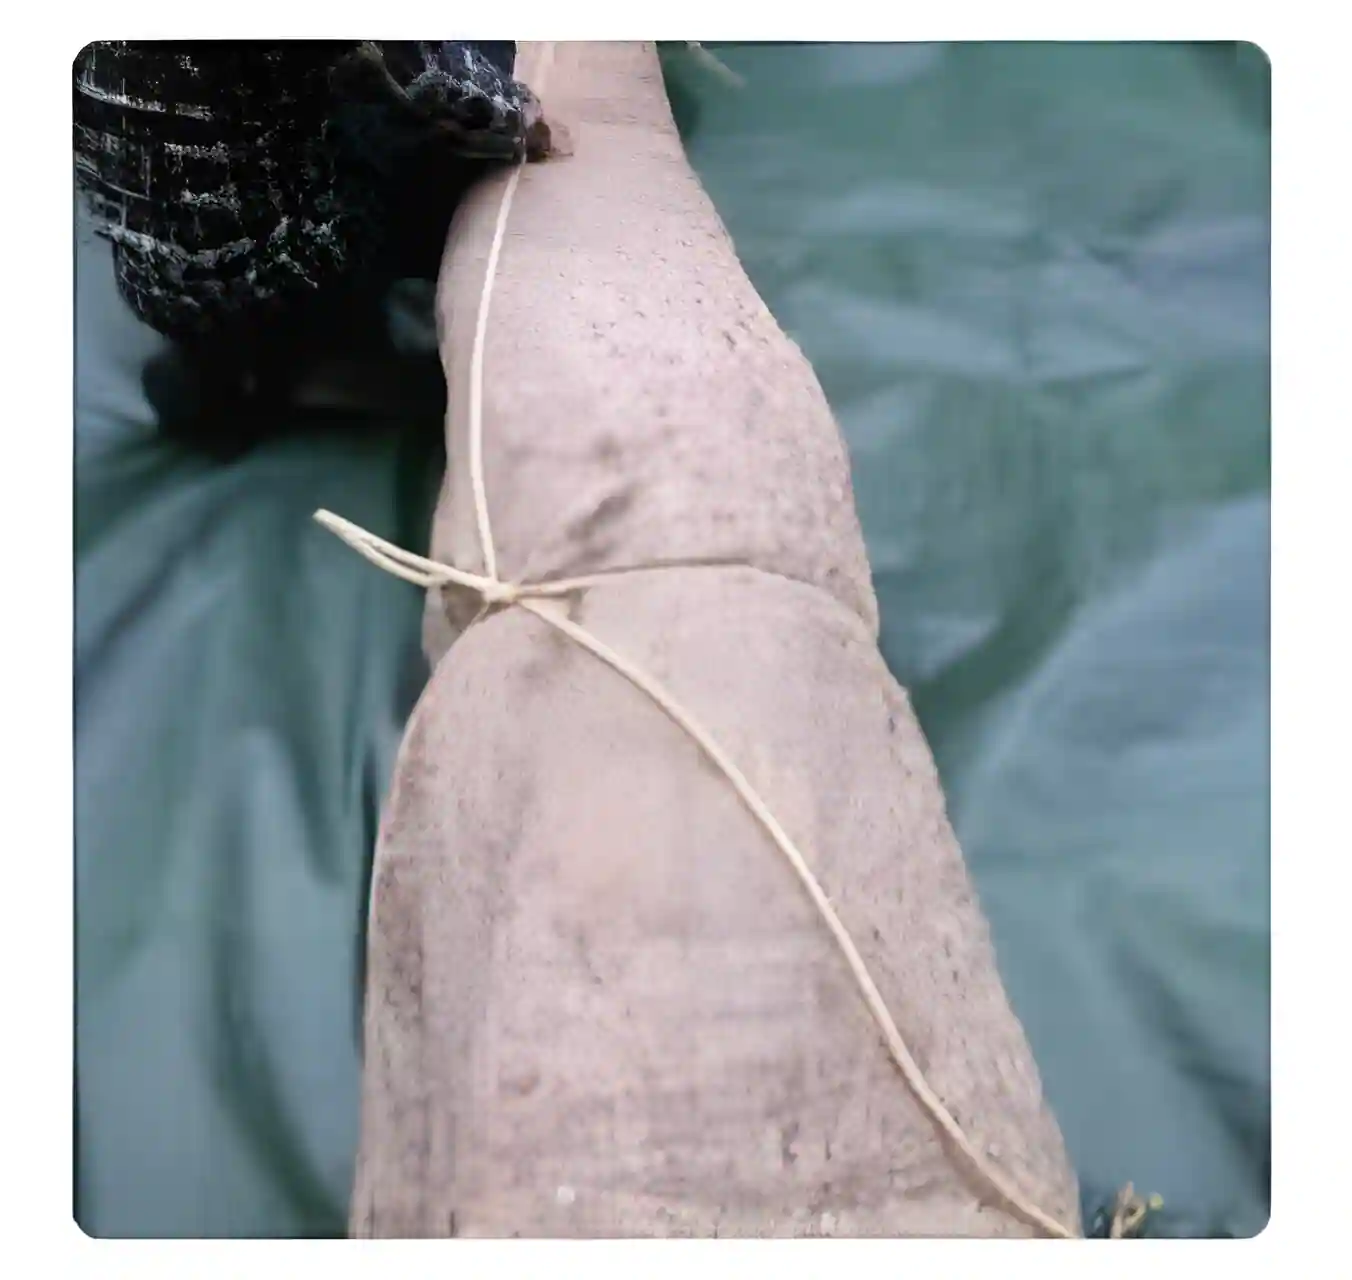
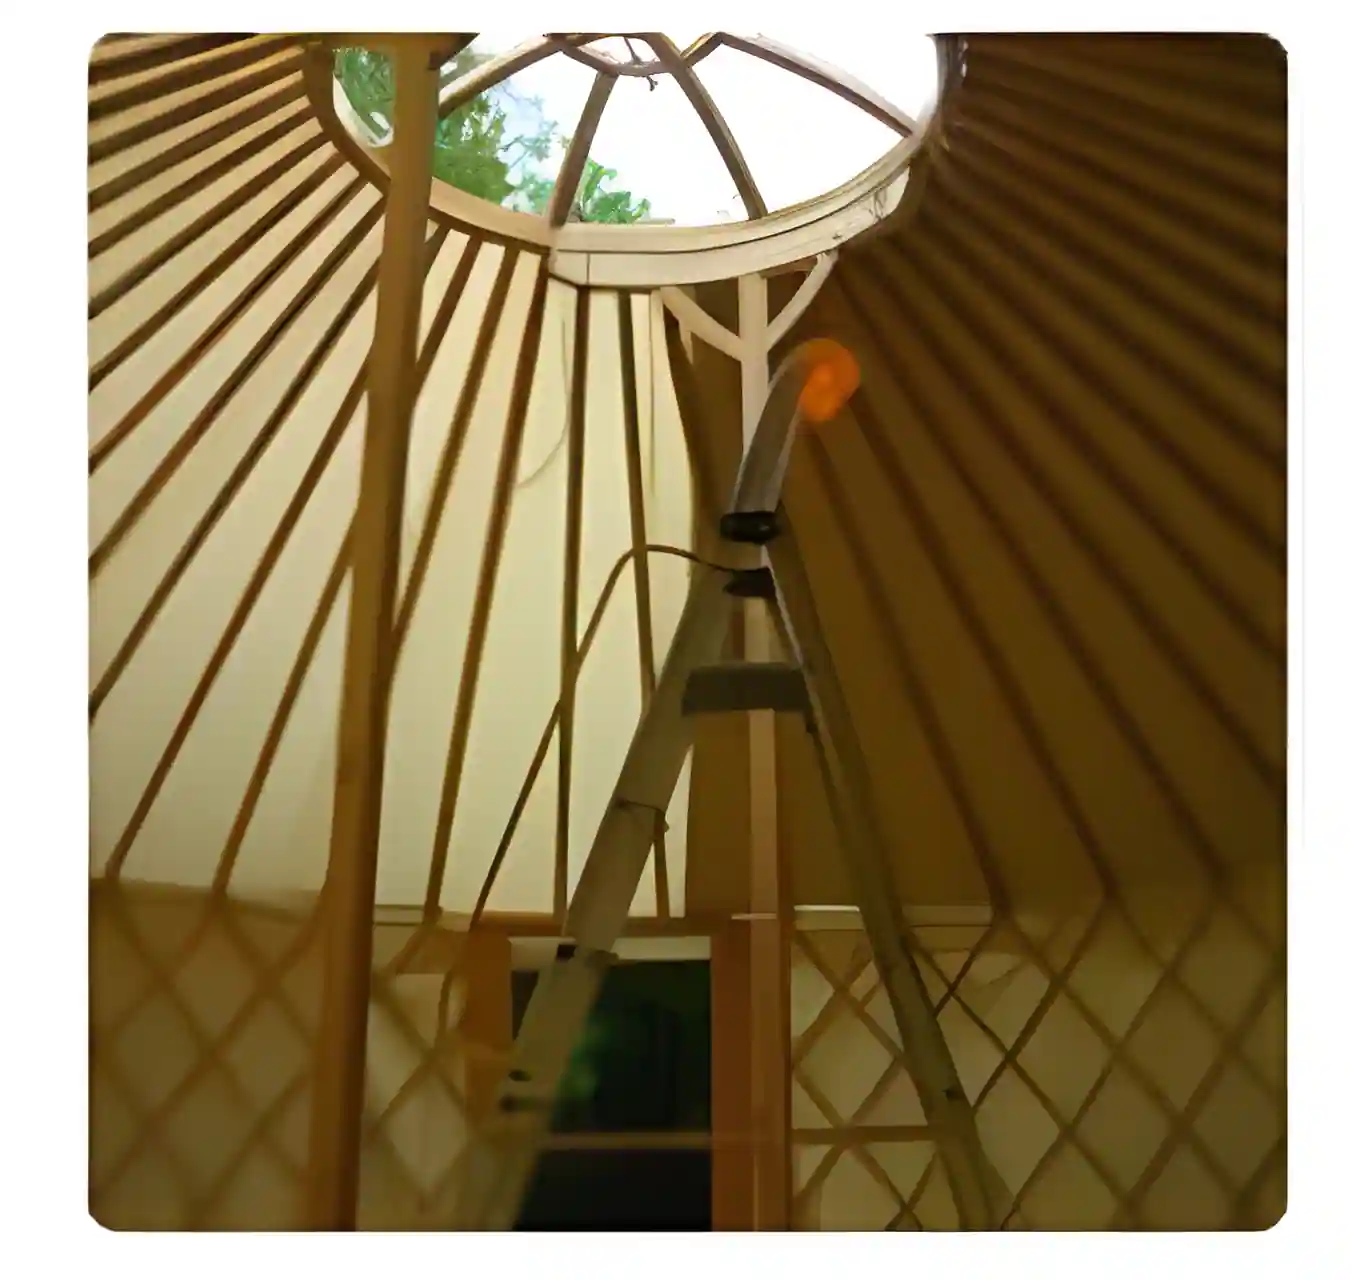
Struktur
Gerüst aus massivem Lärchenholz, das mit flexiblen Seilbefestigungen zusammengefügt wird.
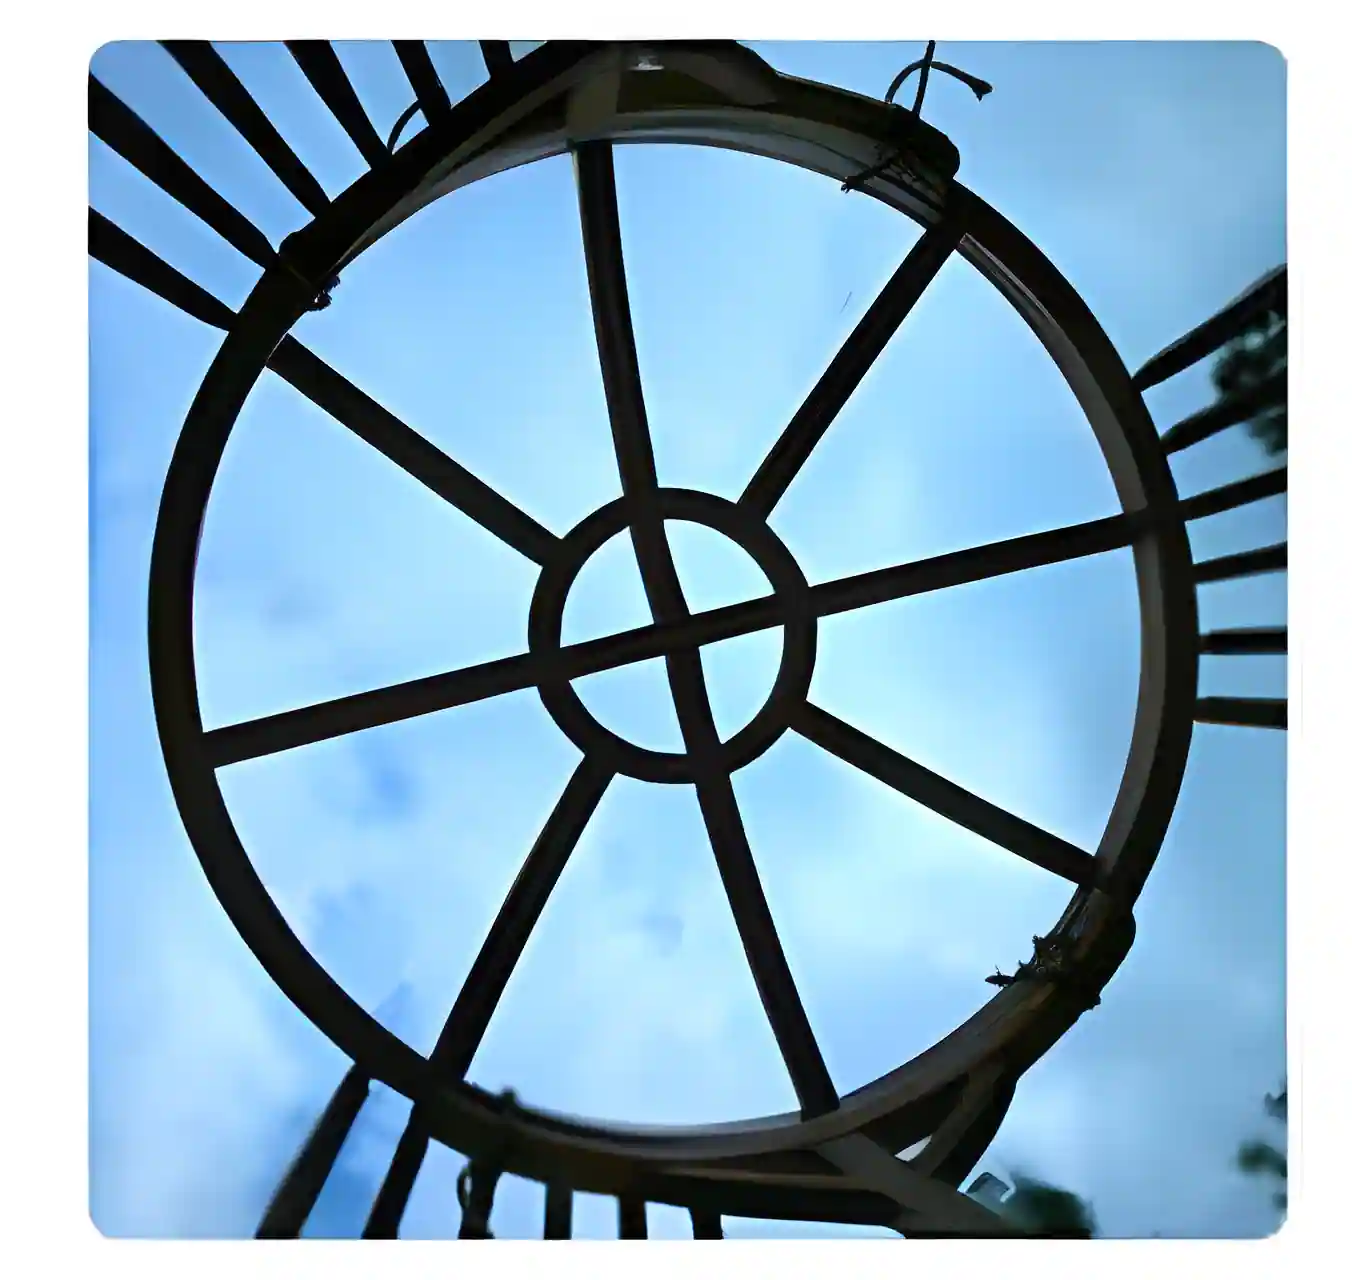
Kristallkappe
Aus weichem PVC-Plexiglas, ermöglicht eine optimale Belüftung und einen zentralen Lichtschacht.

Isolierung und Komfort
Natürliche Isolierung
Der Filz aus hochwertiger Schafwolle (900 gr/m²) hält im Winter warm und im Sommer ein wenig kühl und schafft so zu jeder Jahreszeit einen gemütlichen Kokon.
Dekorativer Stoff im Inneren
Das rohweiße Polycotton-Futter (290 gr/m²) begrenzt die Kondensation, hält den Staub fern und beleuchtet gleichzeitig den Innenraum.
Heizungsoptionen
Zentraler Ausgang für Ofenrohr.
Für eine zentrale Beheizung und eine optimale Wärmeverteilung.
Seitlicher Ausgang des Ofenrohrs.
Für spezielle Installationen mit einem in das Jurtengitter integrierten Rahmen.


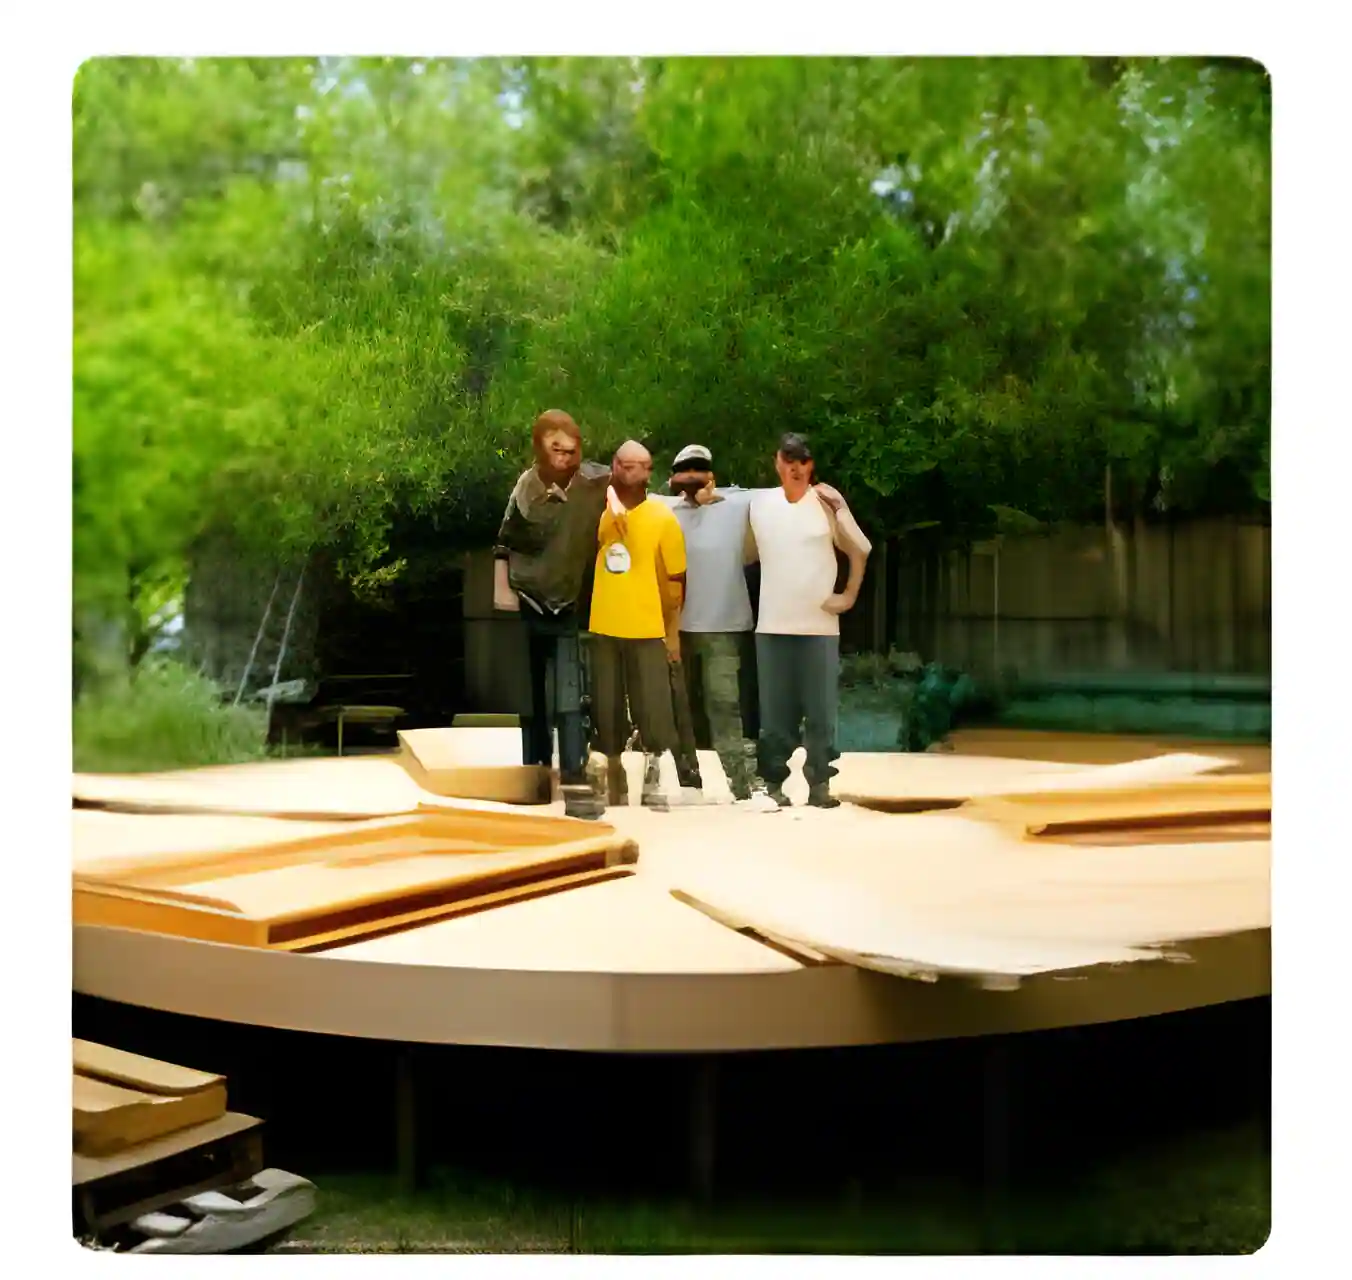
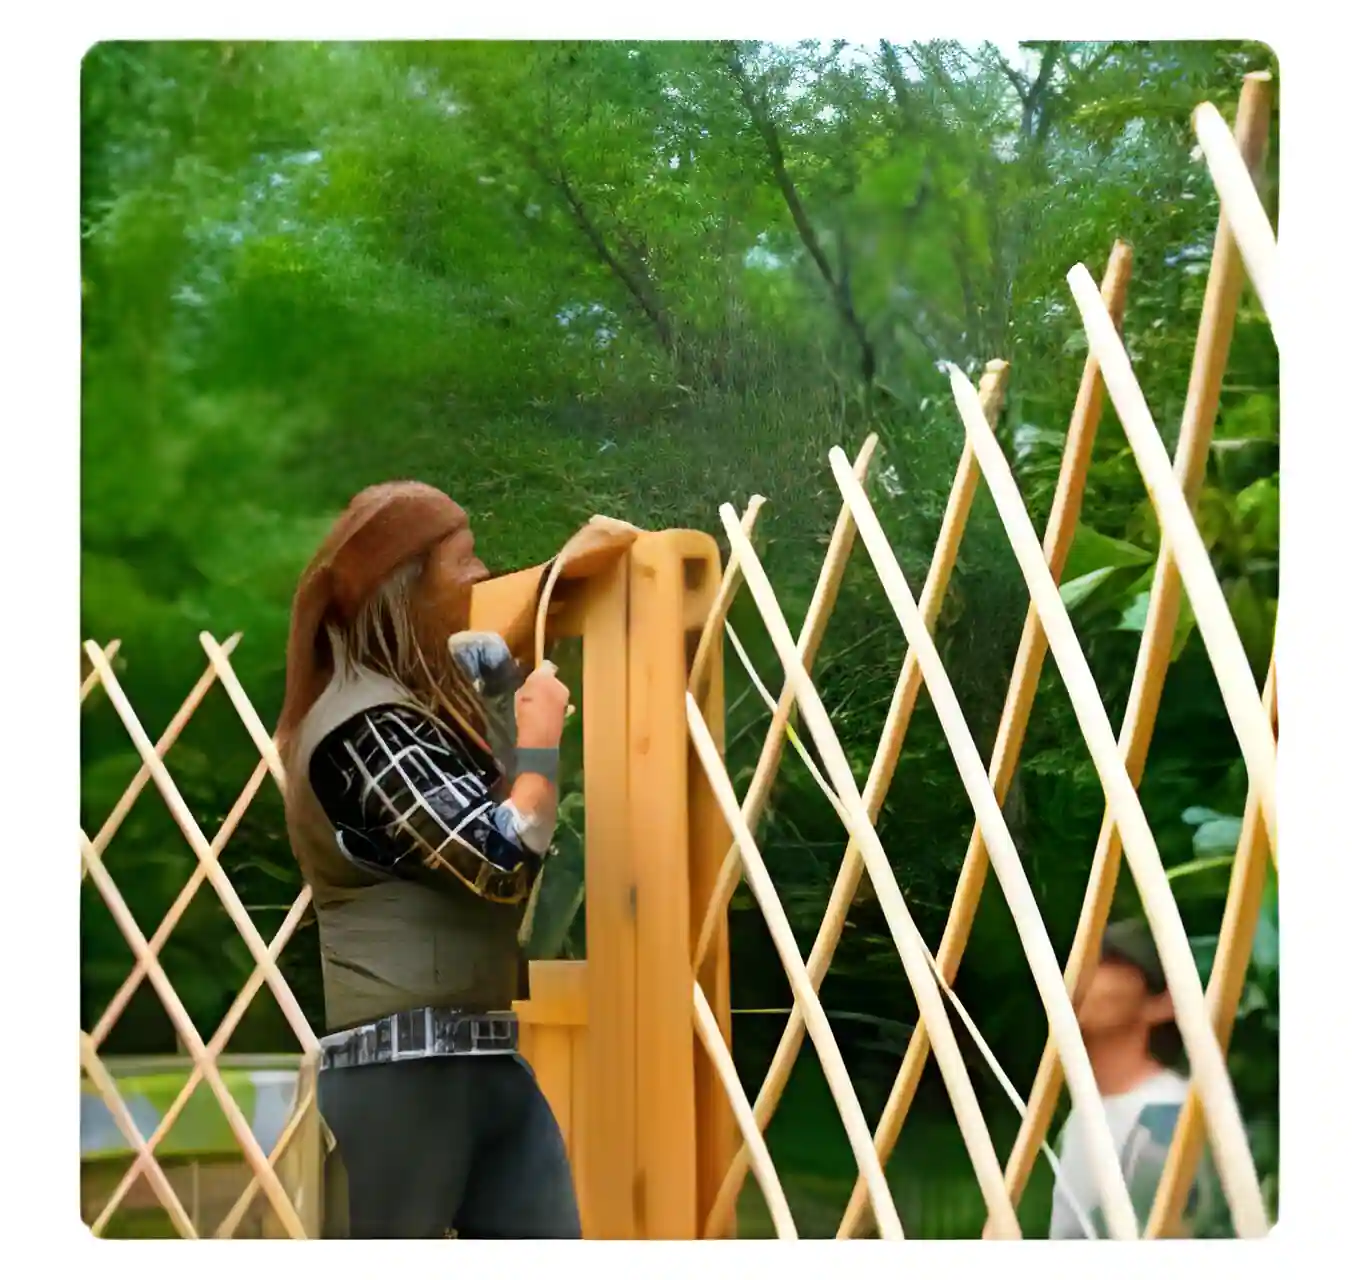
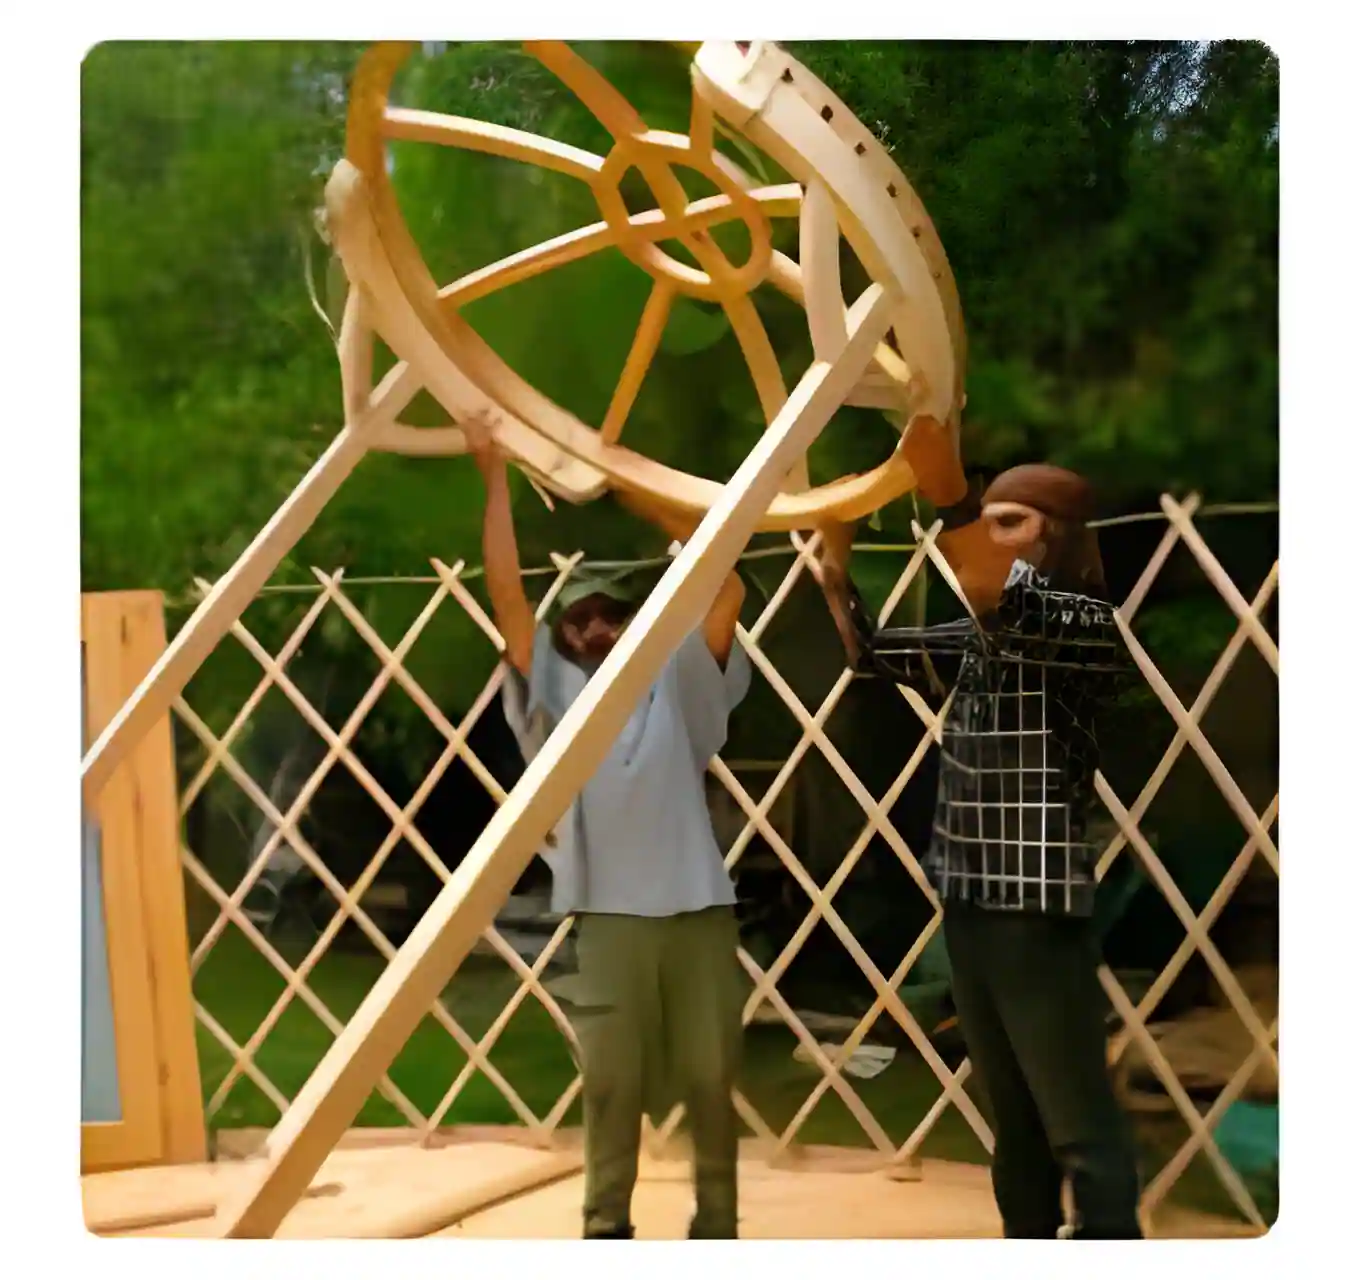
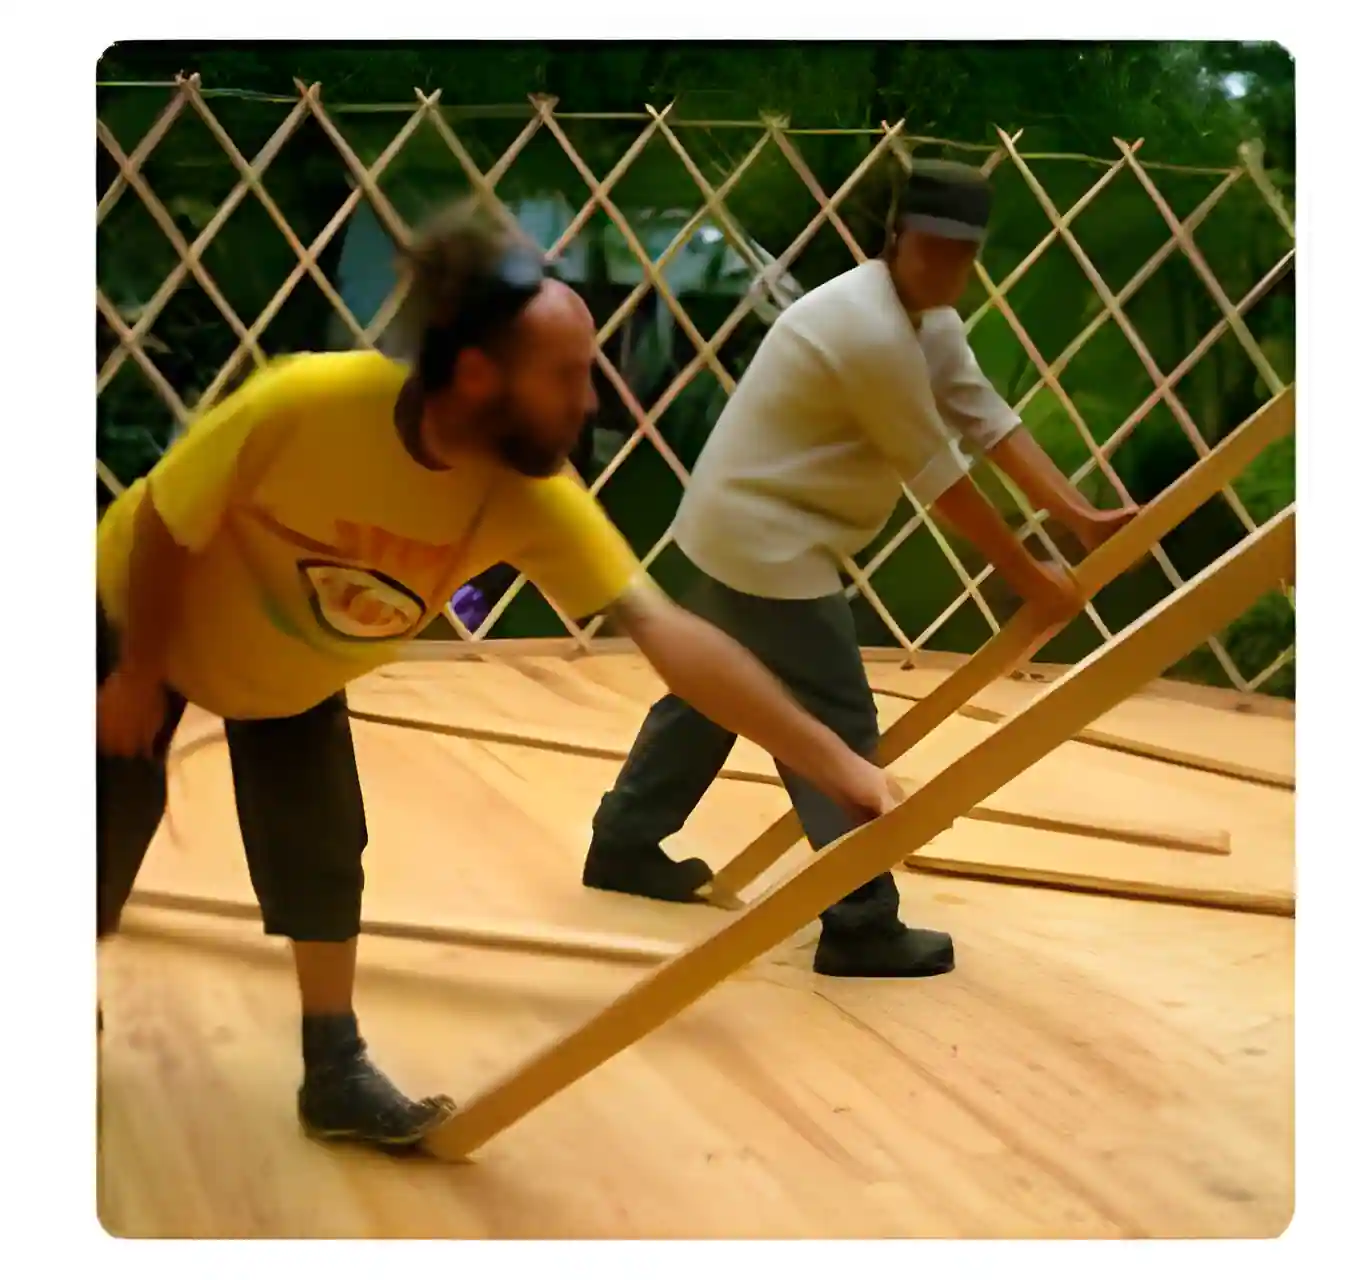
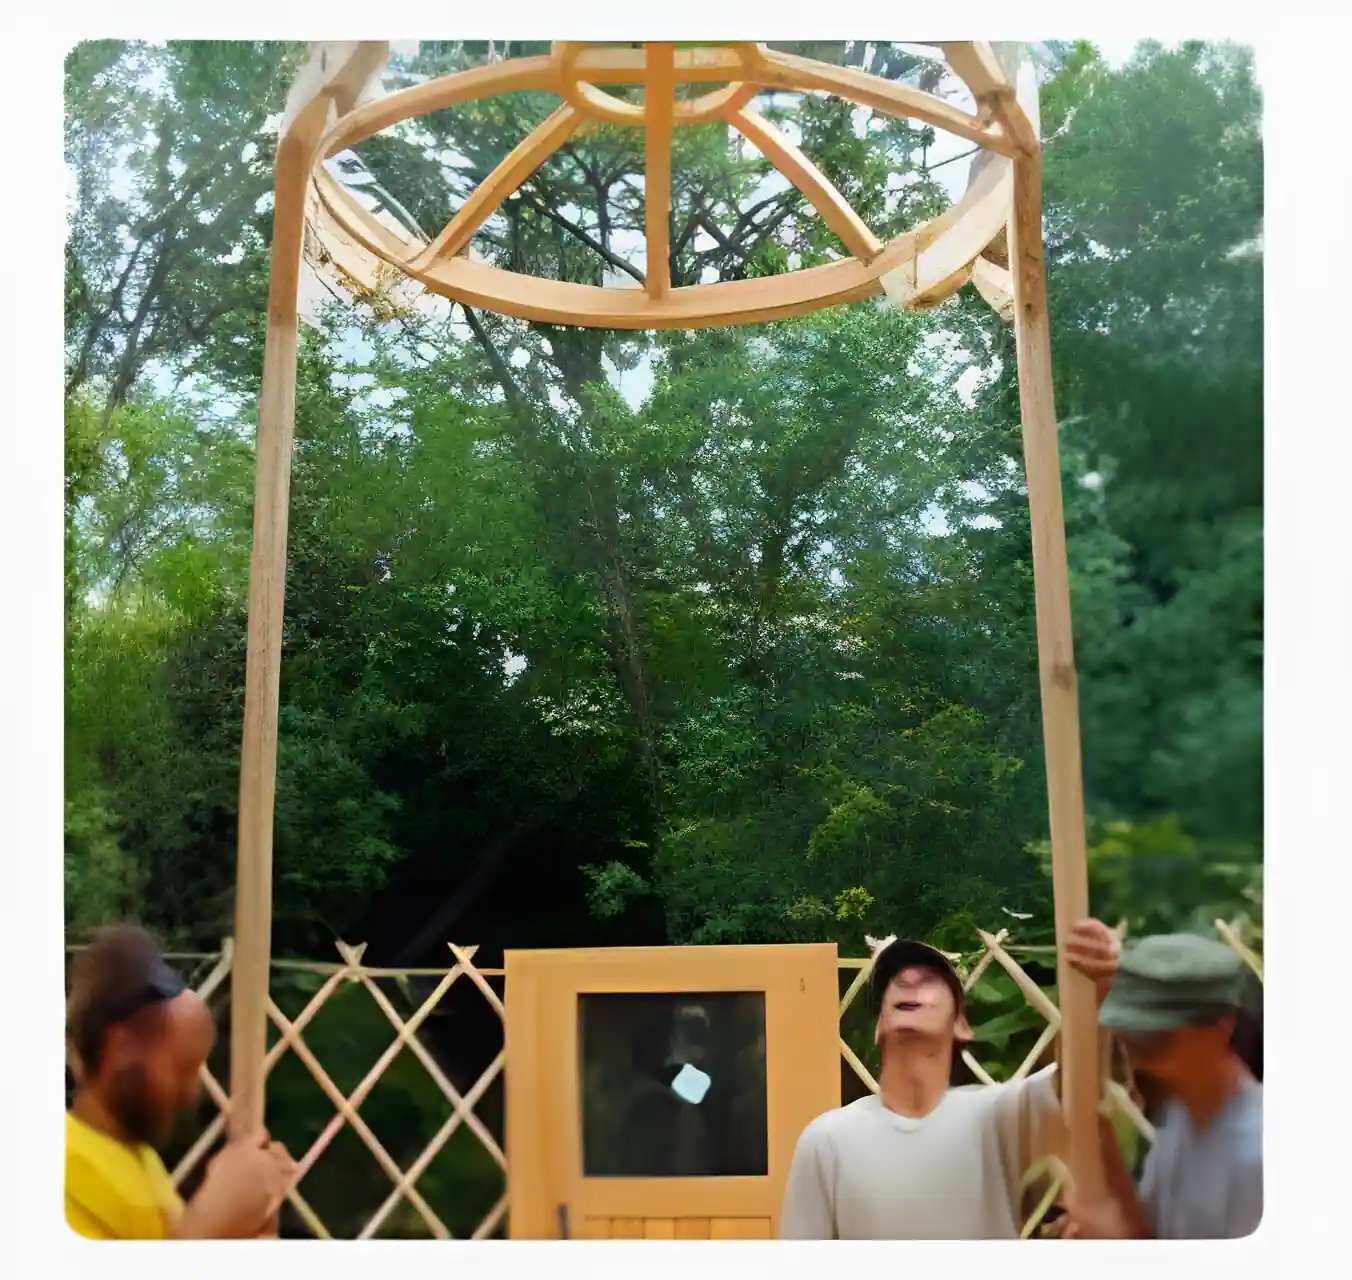
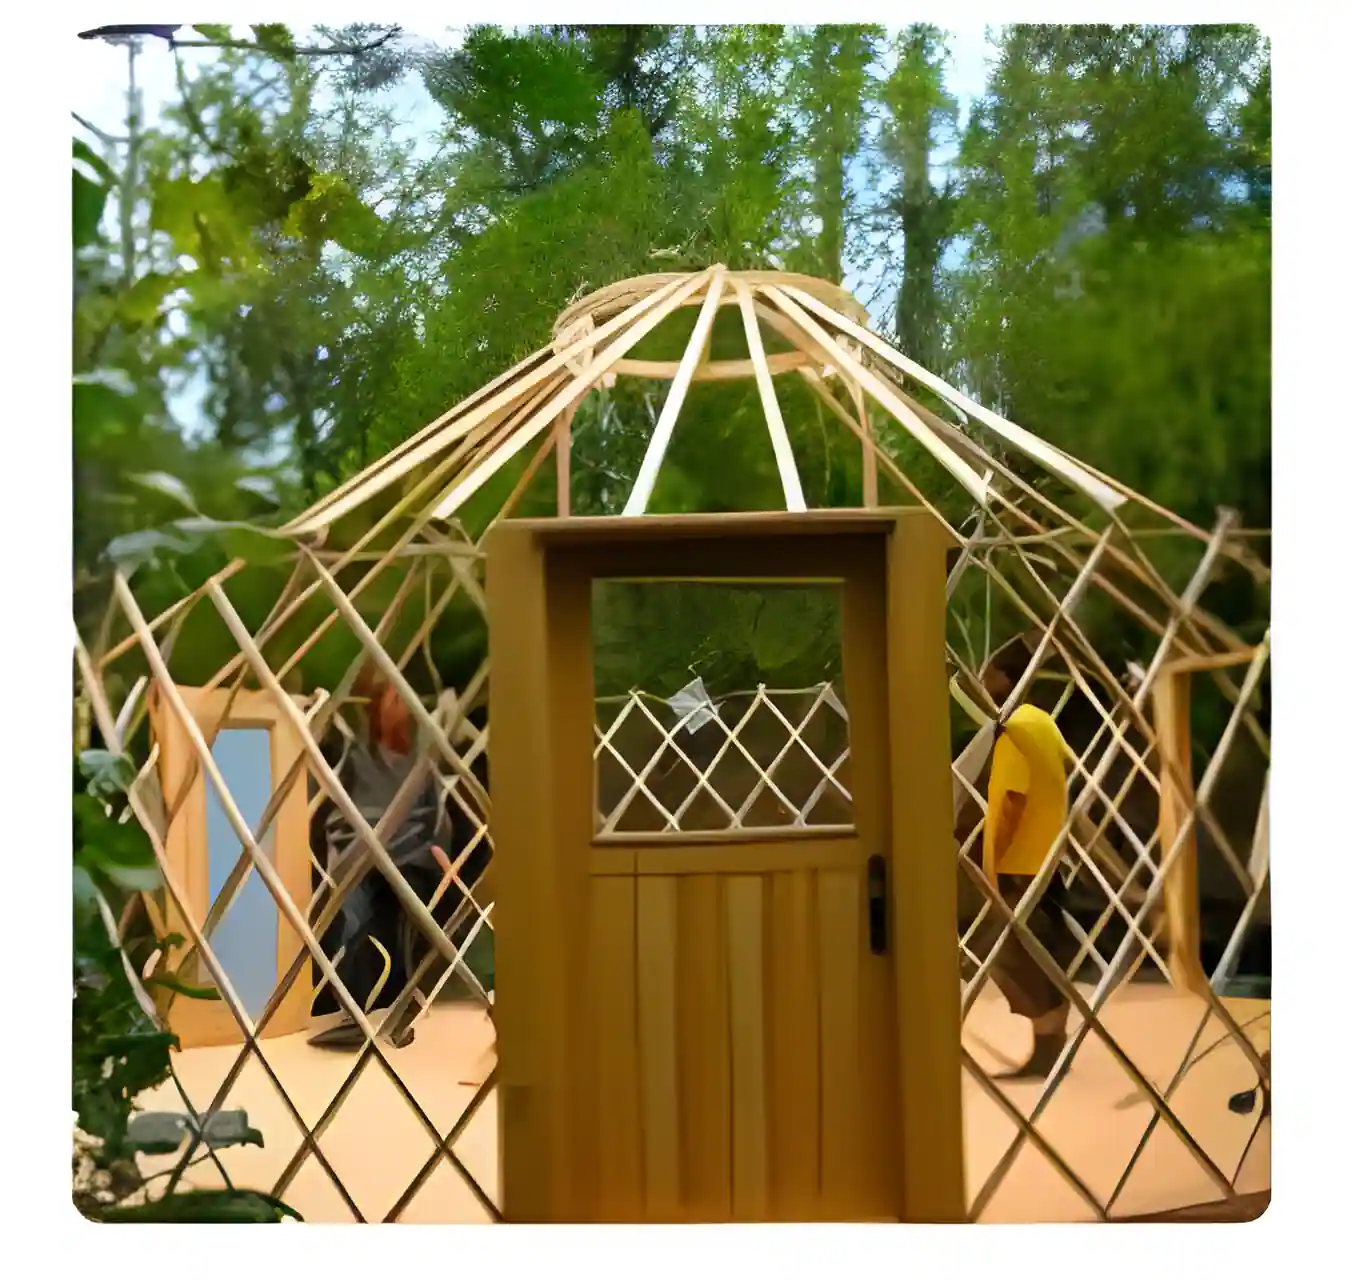
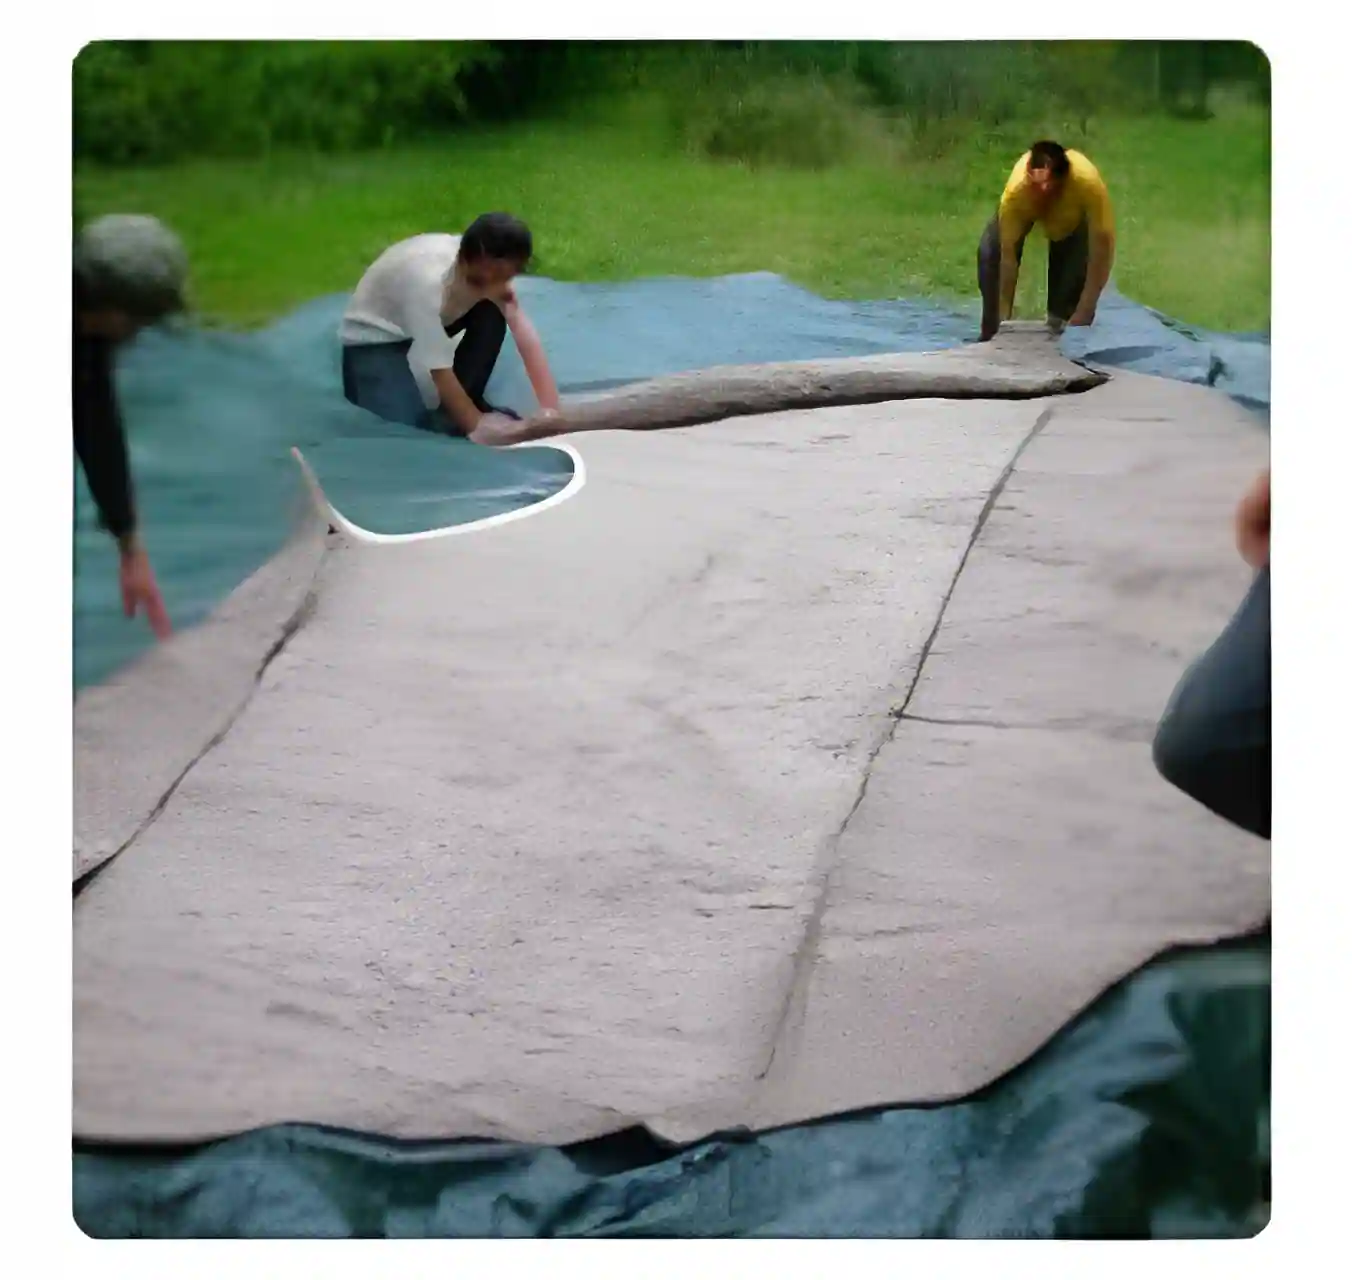
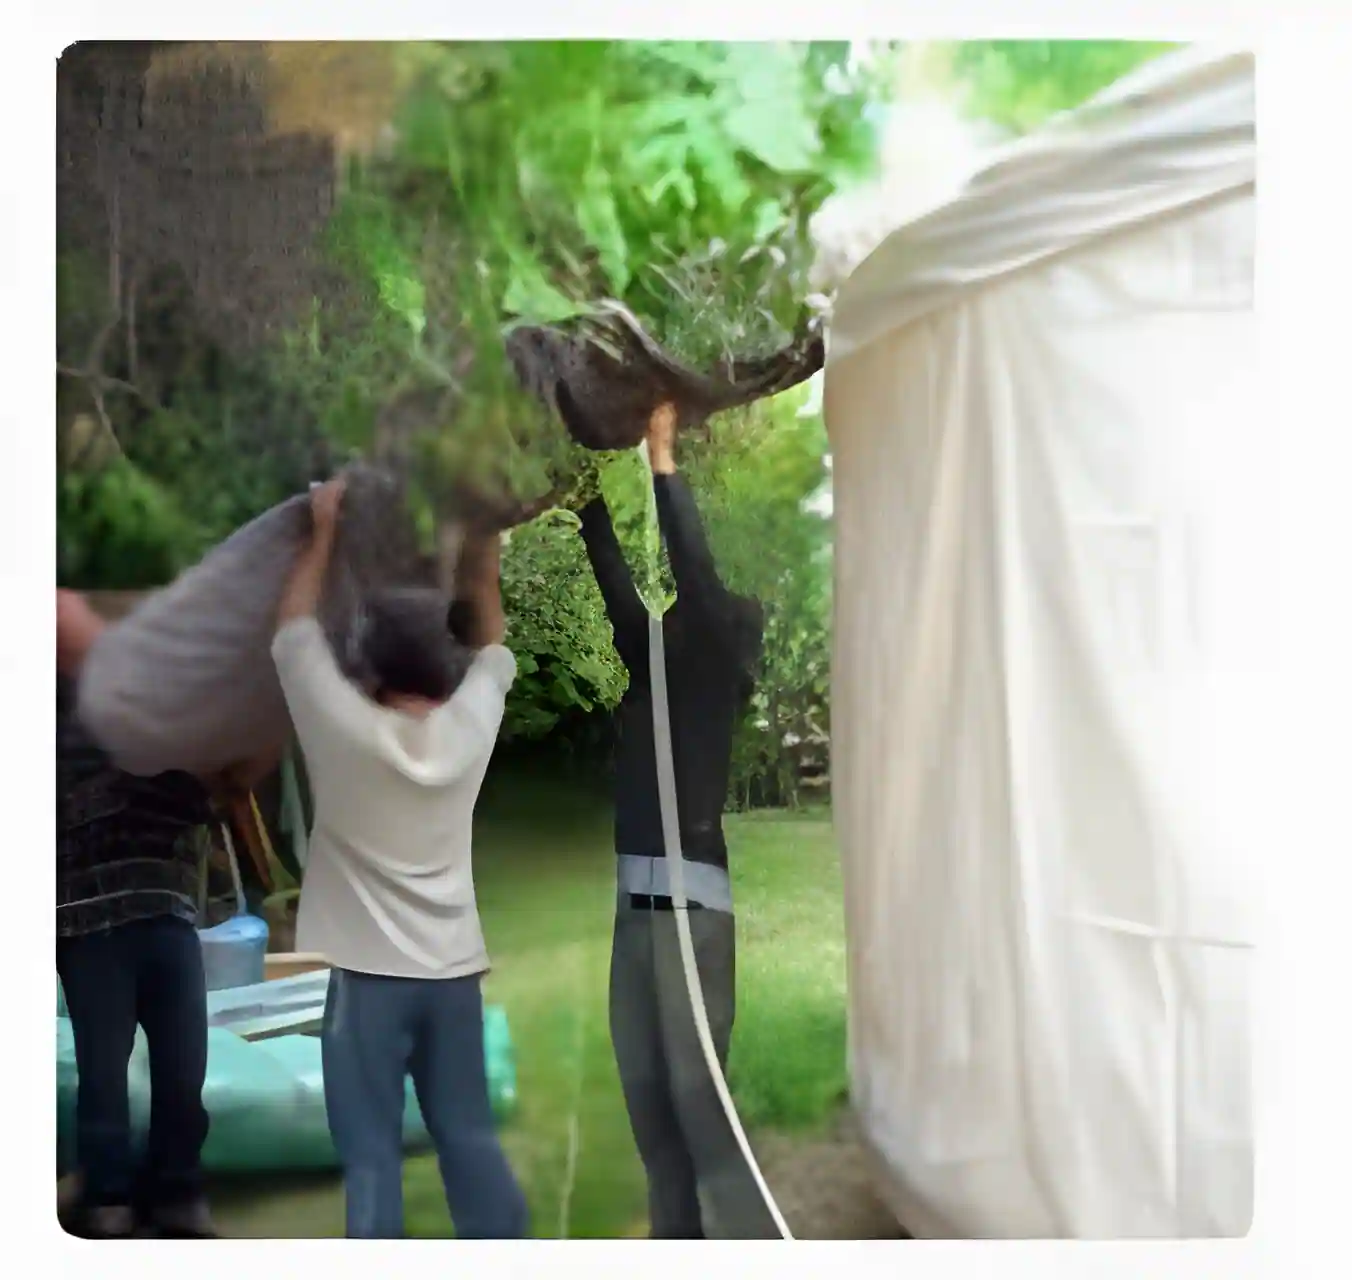
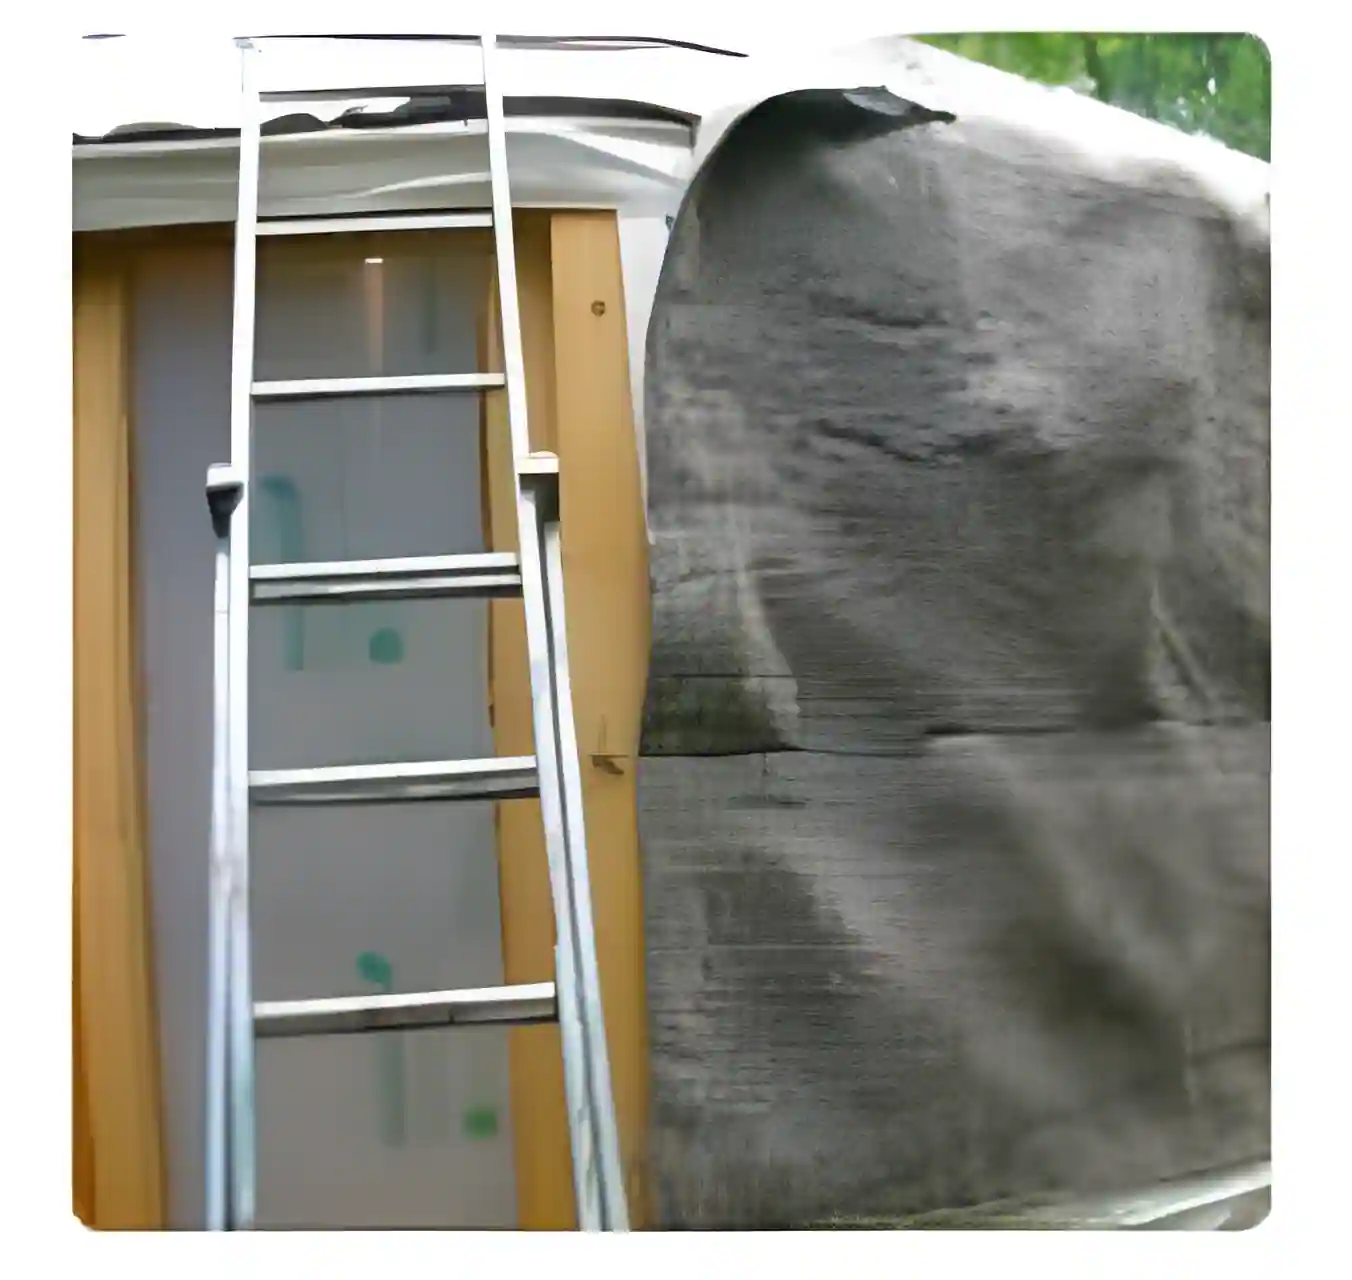
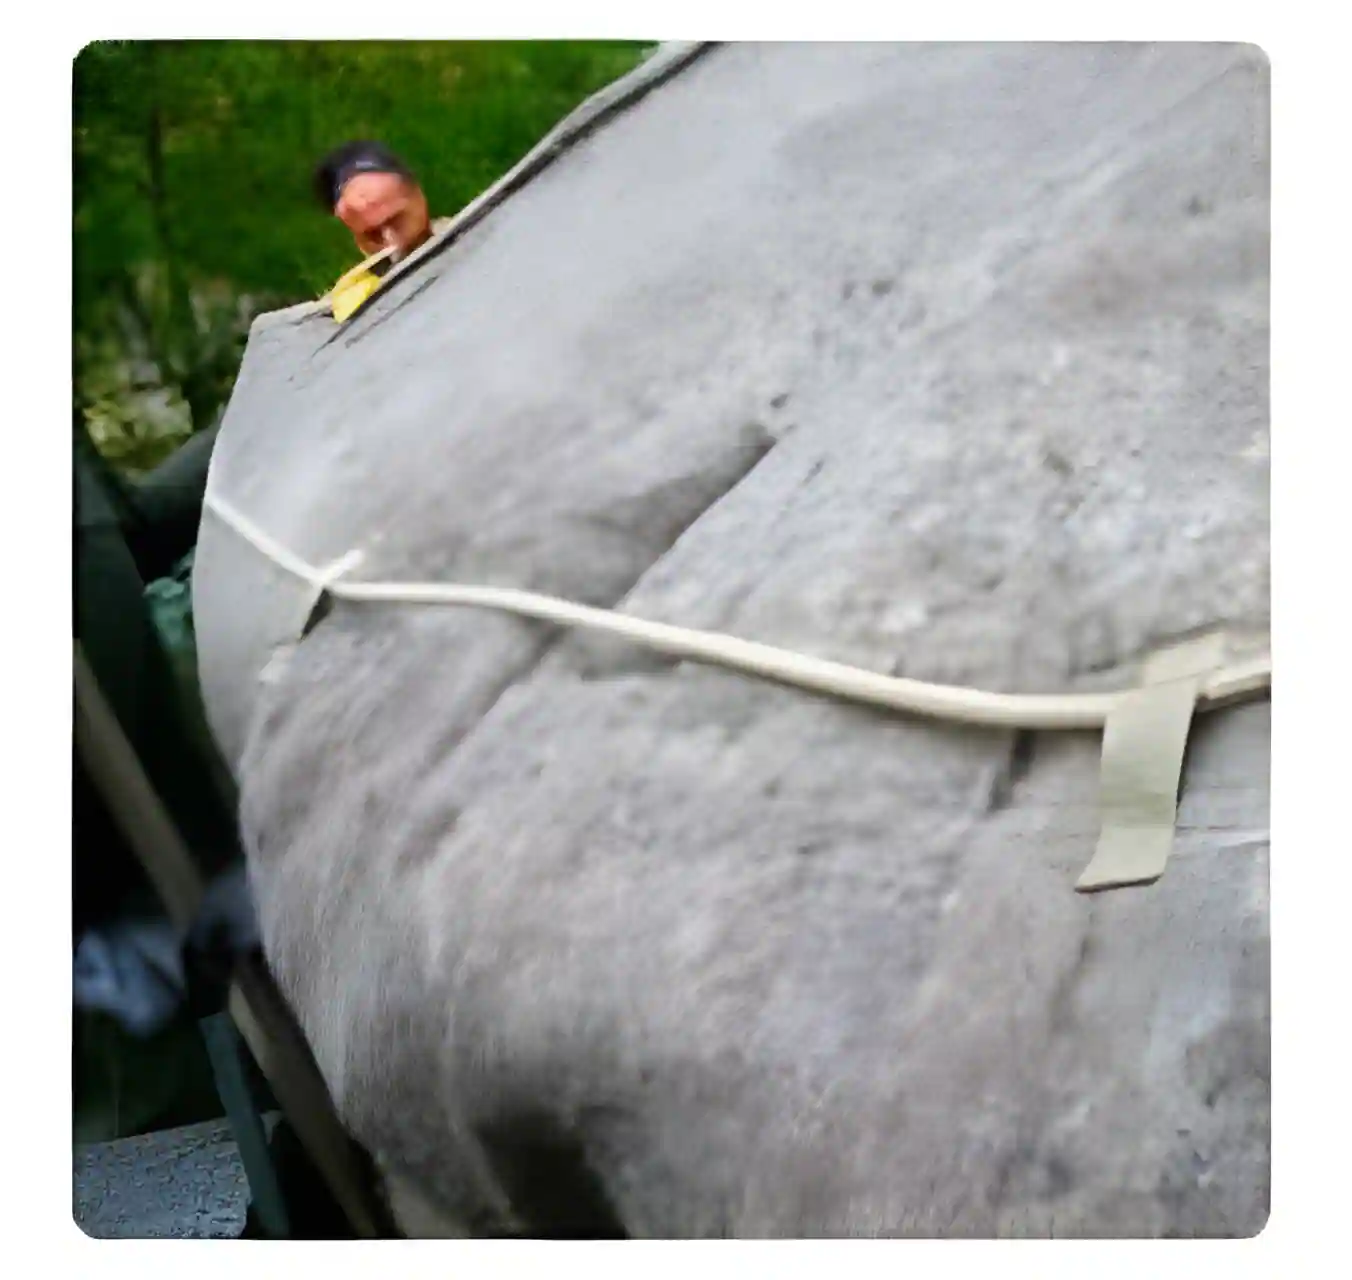
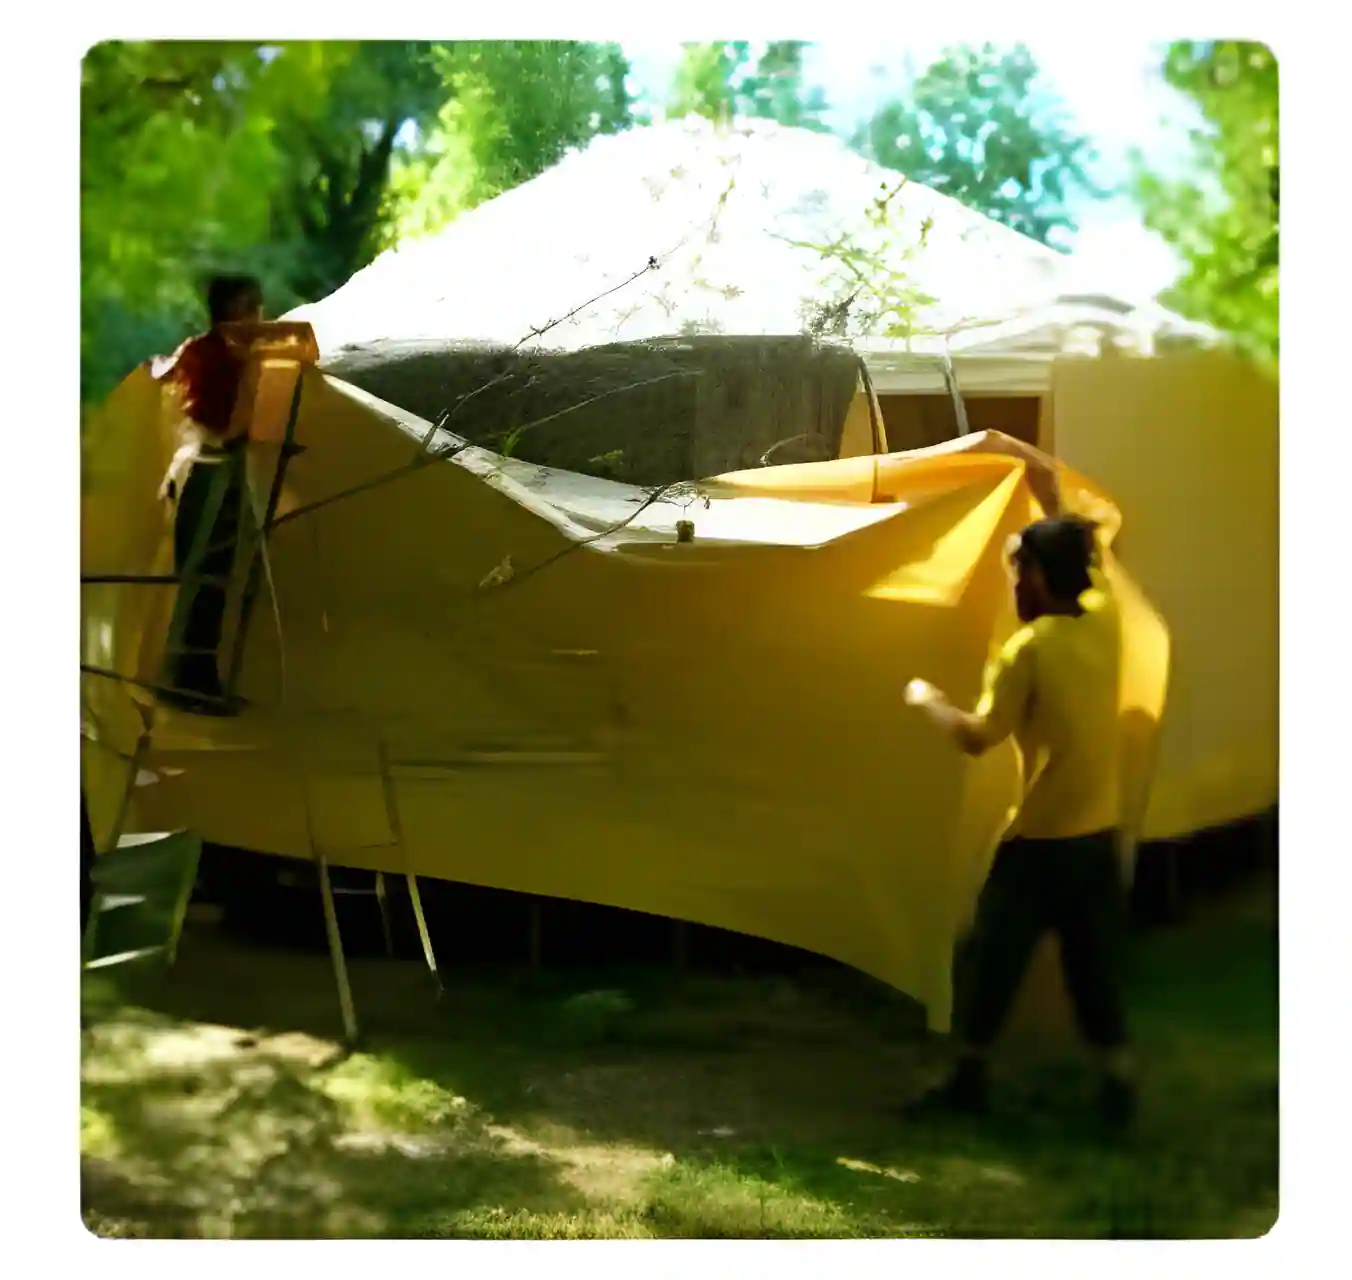
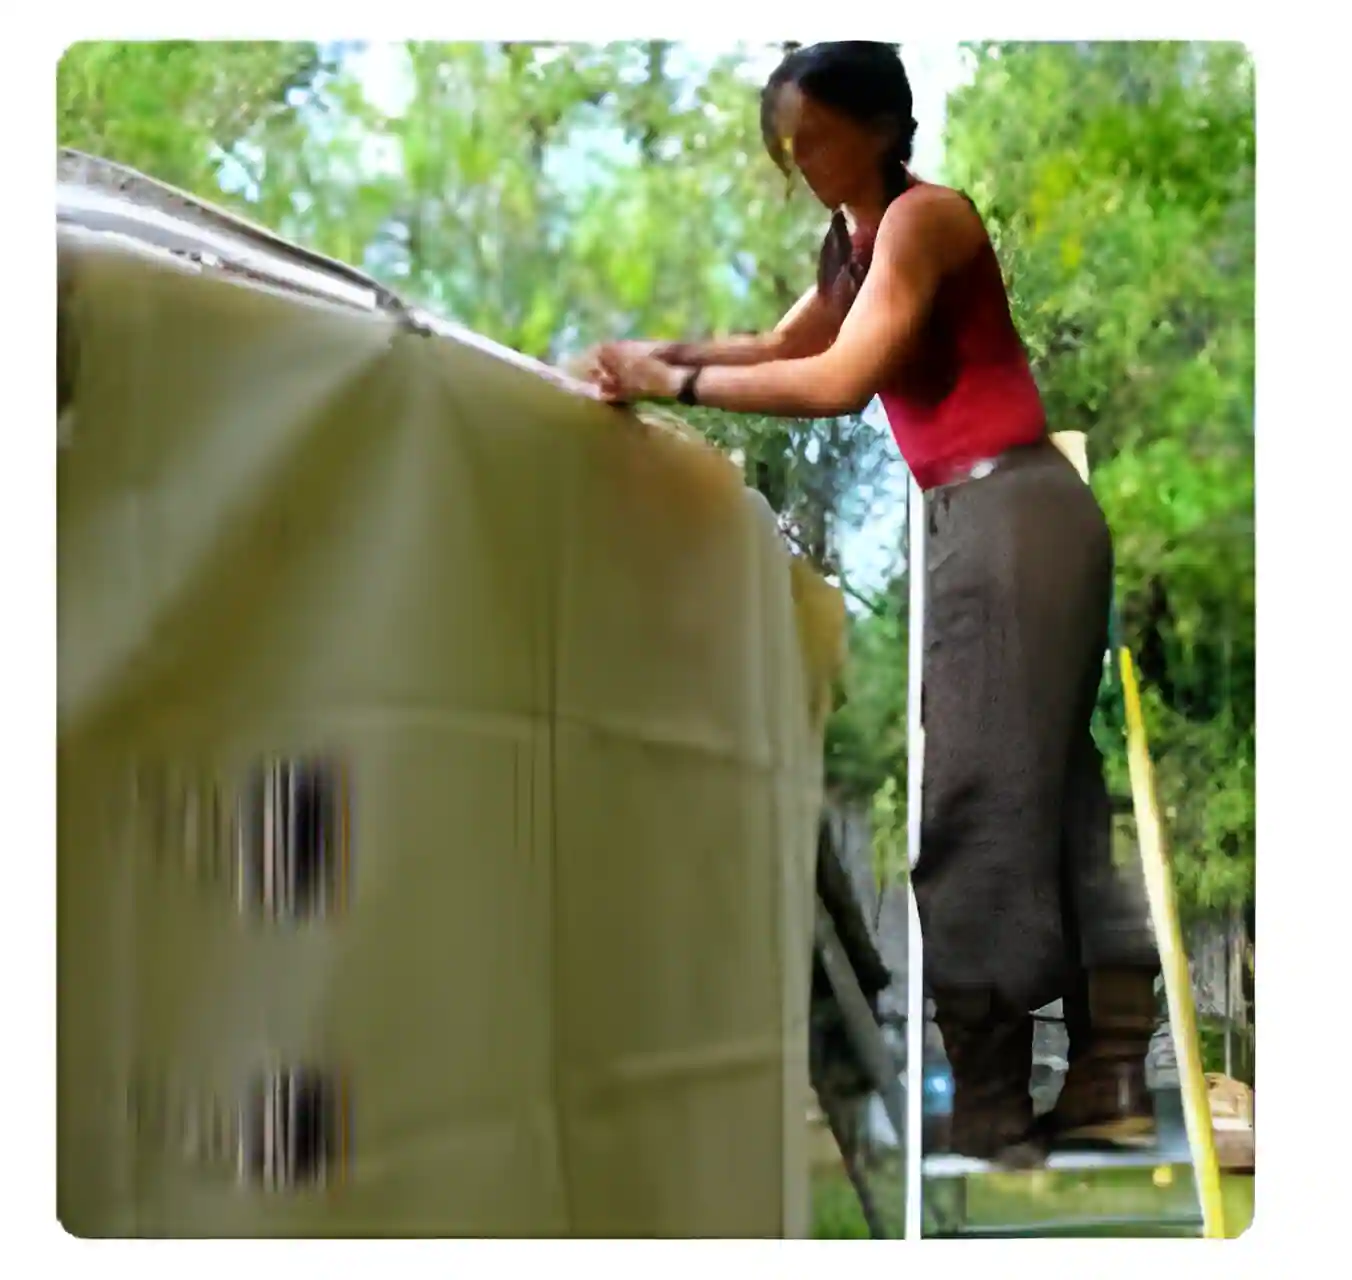
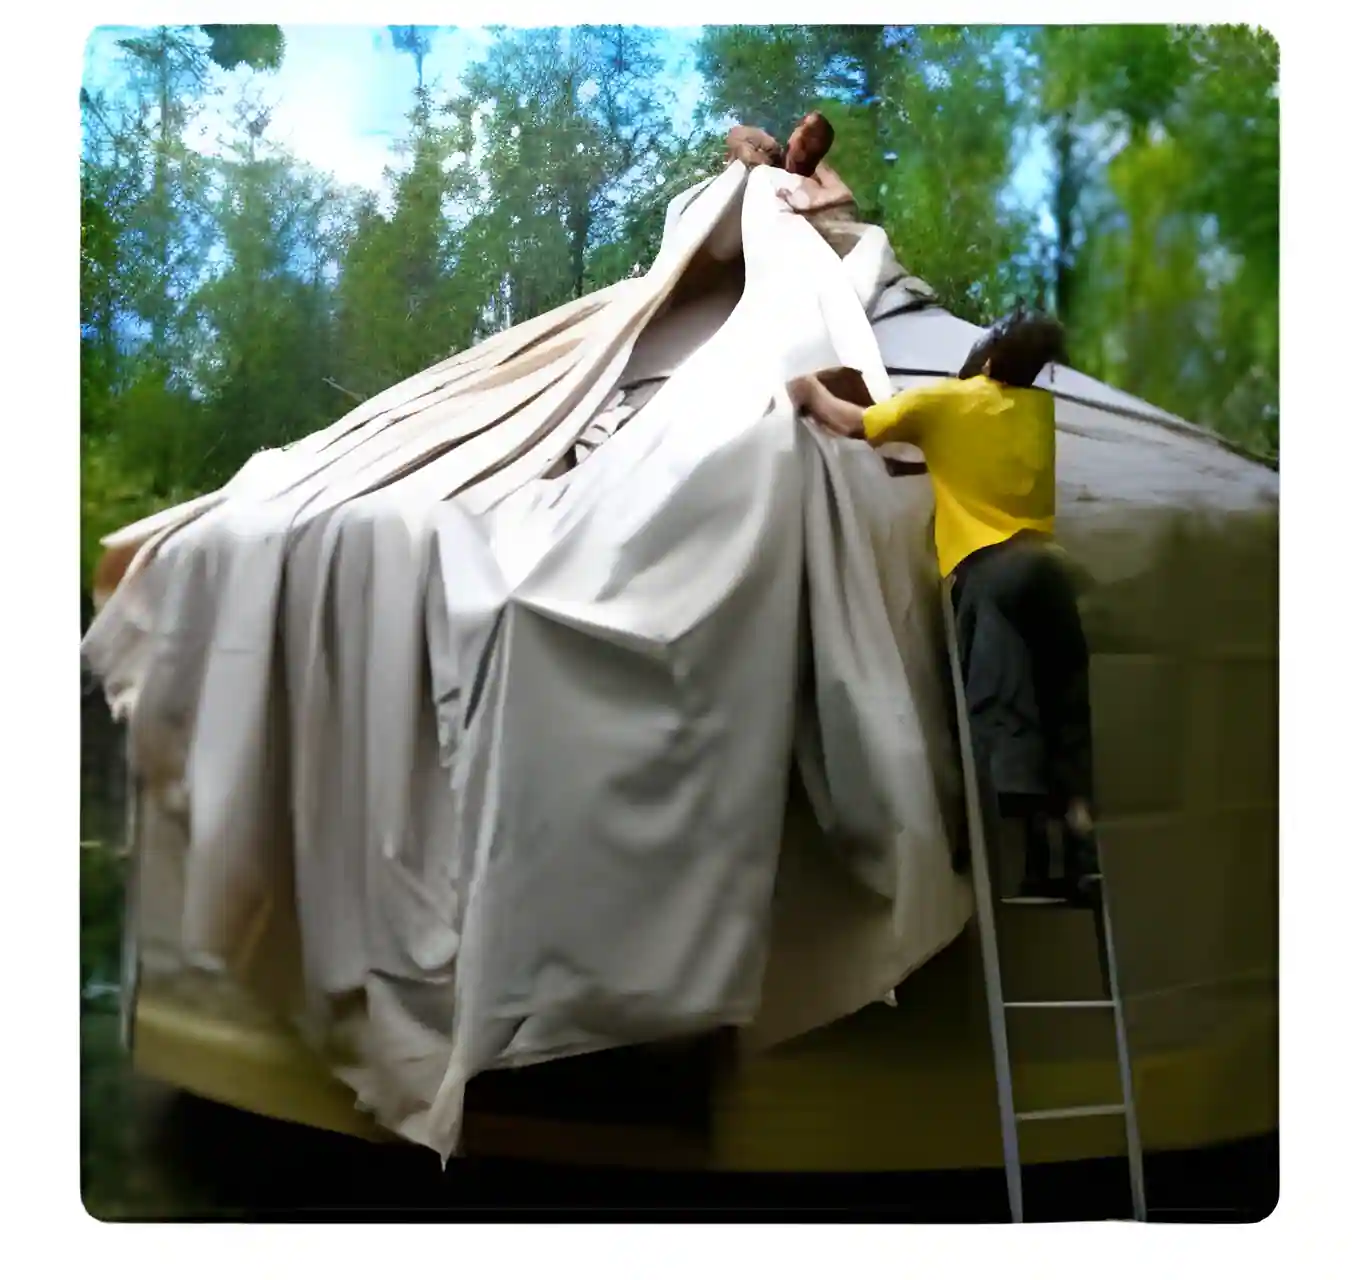
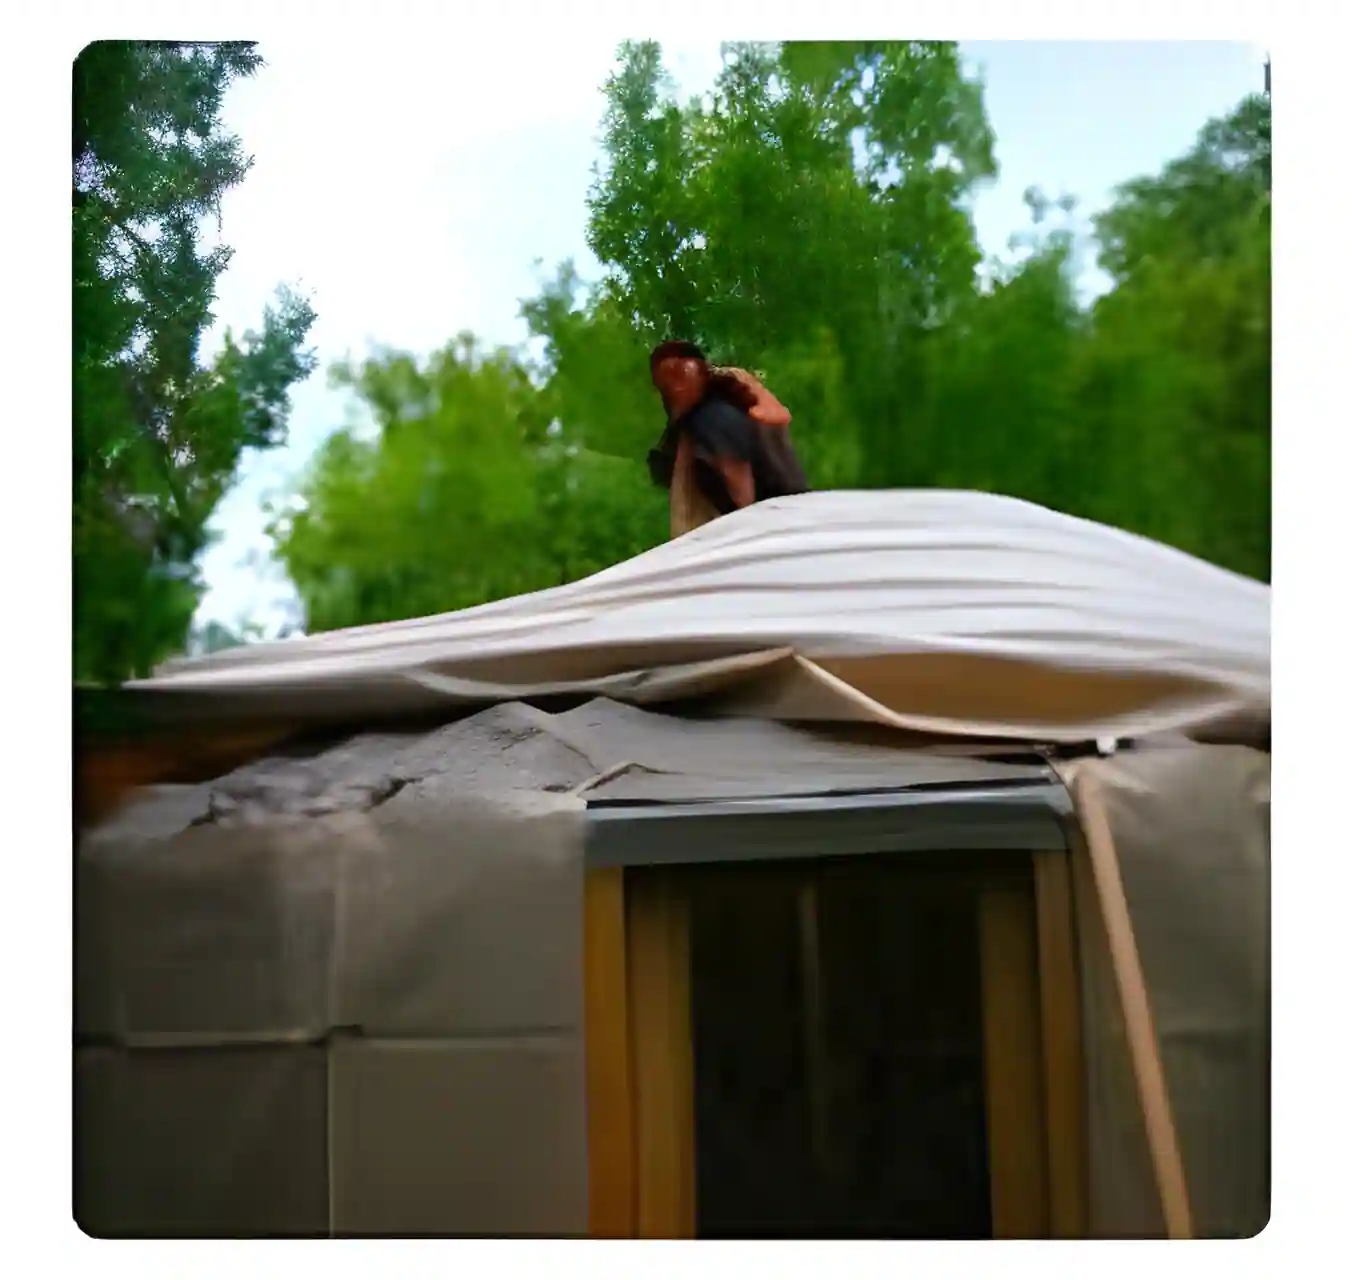
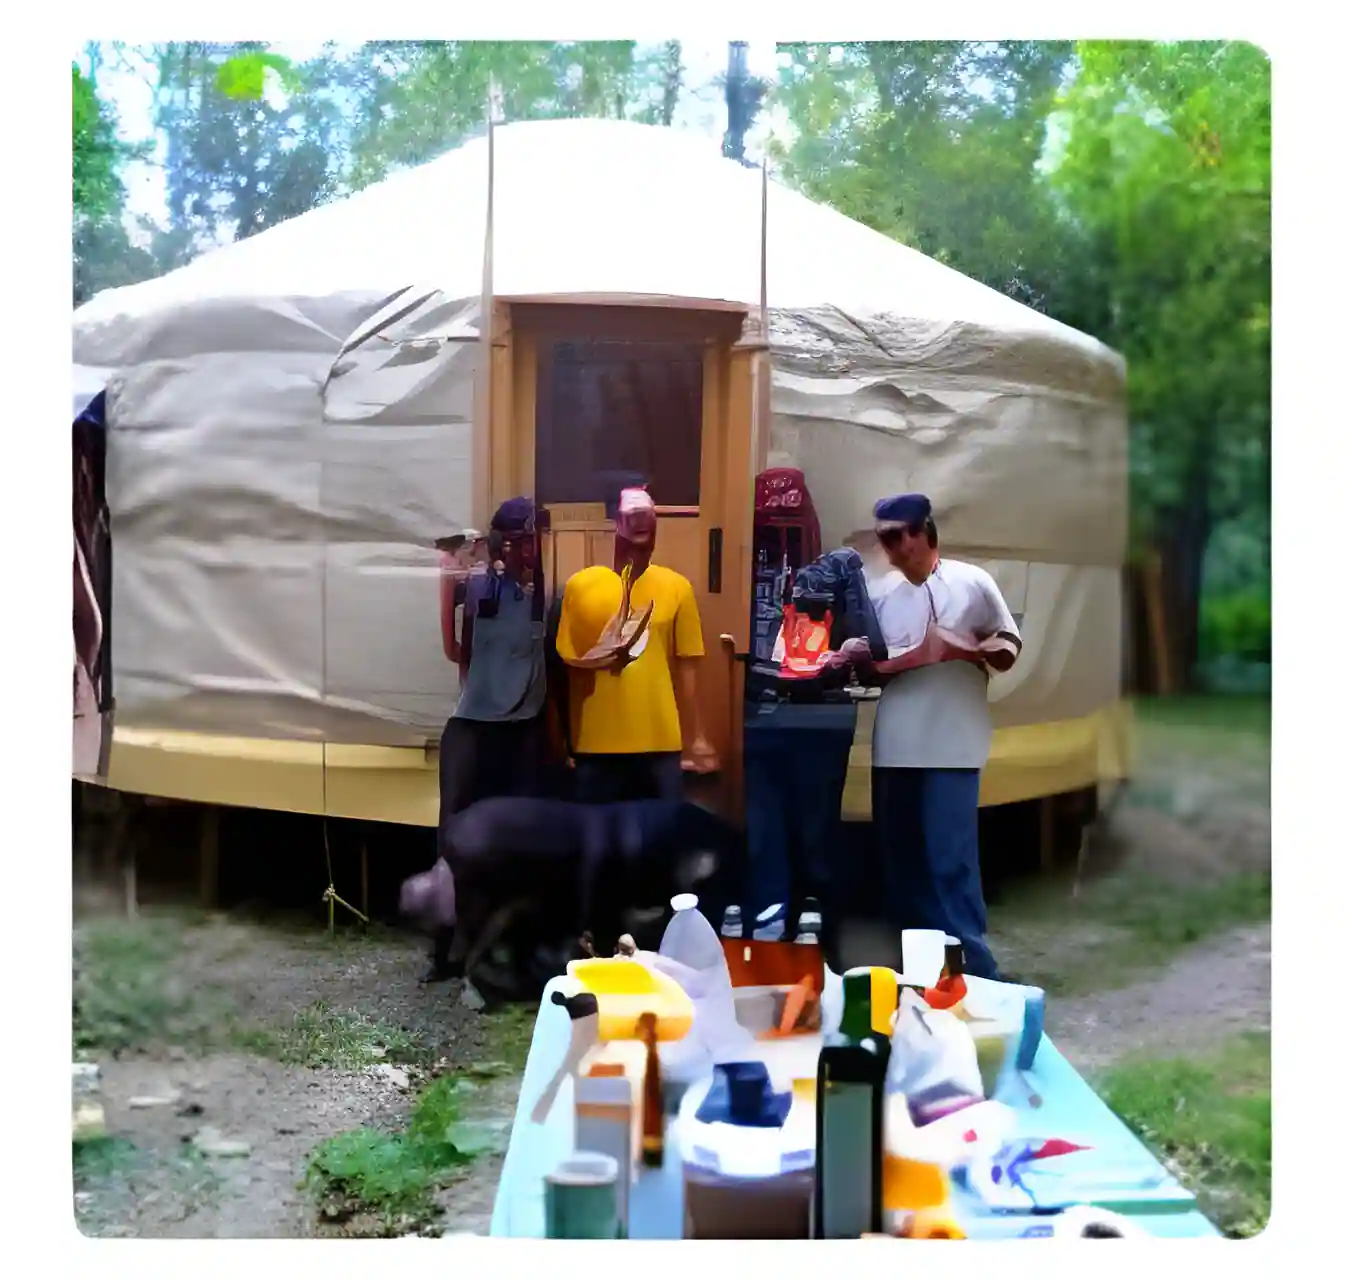
Der Aufbau Ihrer Jurte:
Ein geselliges Erlebnis.
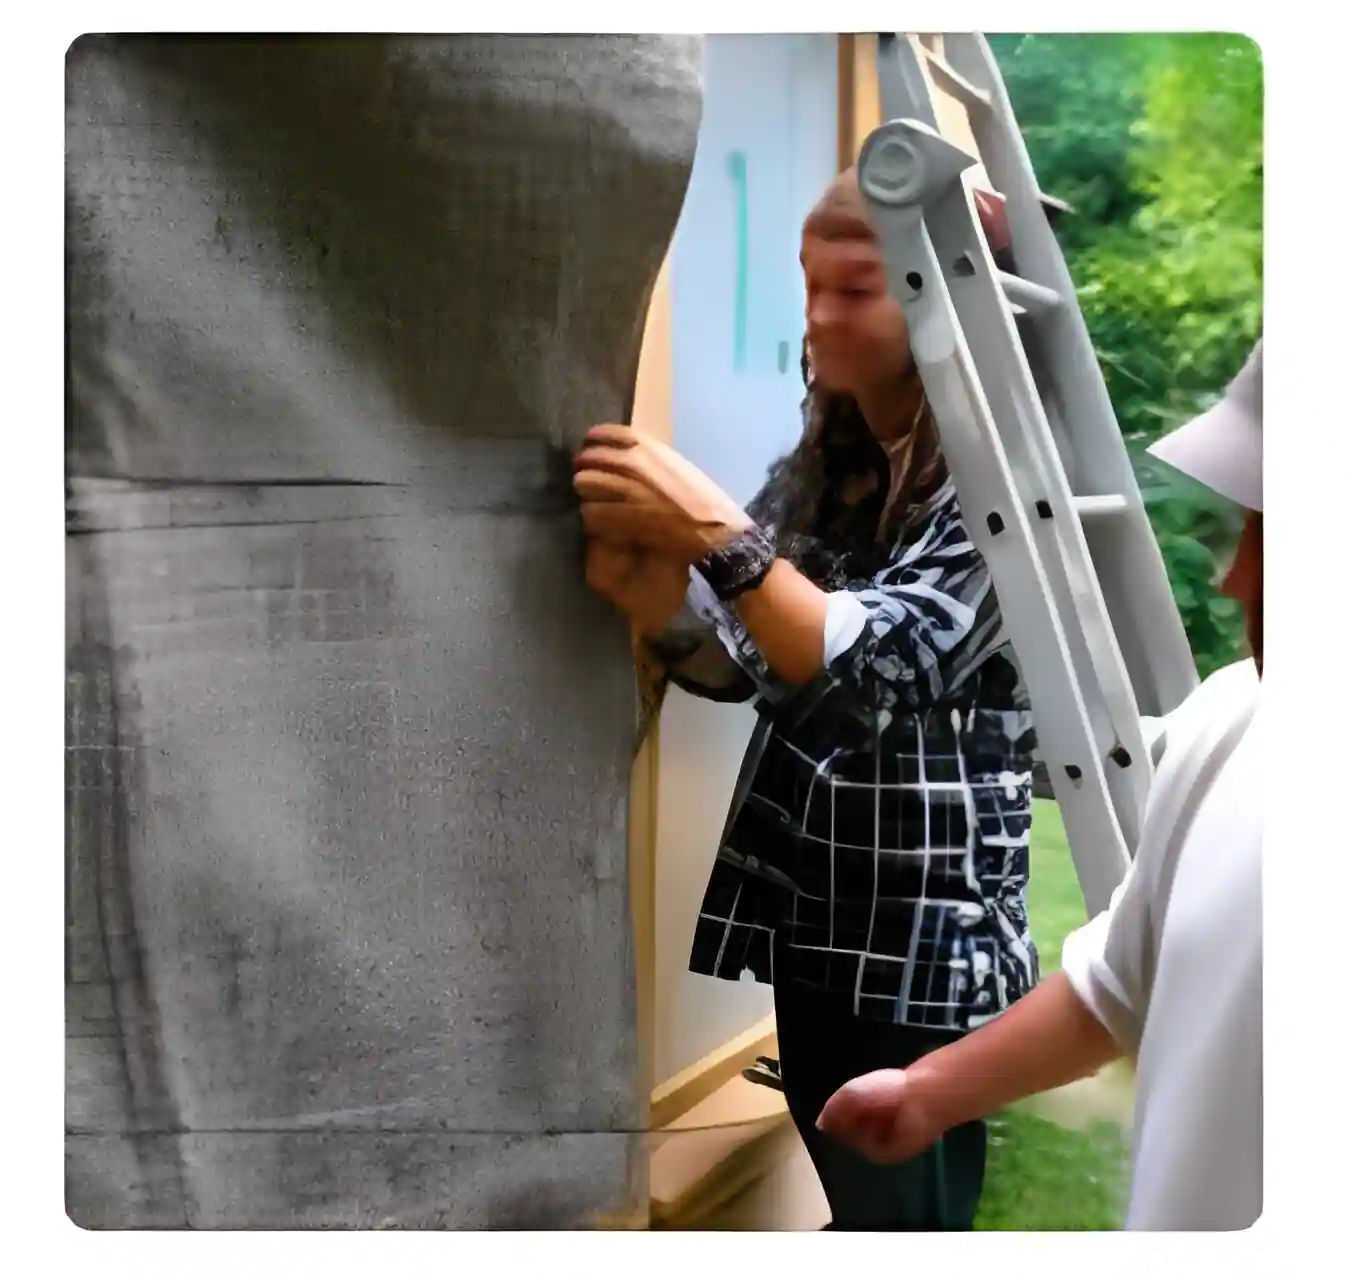
Der Aufbau einer Jurte ist ein Abenteuer, das in der Regel an einem Tag mit der Hilfe unseres erfahrenen Teams und einiger freiwilliger Freunde in einer festlichen und geselligen Atmosphäre bewältigt wird.
Wie läuft die Montage ab?
Team für die Montage
Wir stellen ein Team von zwei erfahrenen Cuttern zur Verfügung, die Sie durch den gesamten Prozess führen und unterstützen.
Beteiligung von Freunden
Neue Eigentümer werden gebeten, einige Freunde zusammenzubringen, um die Grundlagen des Live-Editings zu erlernen.
Dauer
Der Aufbau beginnt am Morgen und endet am Nachmittag, wobei die Dauer je nach Jurtenmodell variieren kann.
Ihre Jurte selbst aufbauen
Es ist durchaus möglich, Ihre Jurte ohne unser Zutun aufzubauen, dank unserer detaillierten Aufbauanleitung, erklärender Fotos und telefonischer Unterstützung, falls Sie Hilfe benötigen.
Hilfe beim Aufbau
Rolle des Teams
Unser Team ist da, um den Aufbau zu schulen und zu strukturieren, aber die Hilfe der Teilnehmer ist für ein erfolgreiches Mitmach-Bauprojekt unerlässlich.
Sicherheit
Kinder sind aus Sicherheitsgründen am Montageort nicht erlaubt.
Vorbereitung des Feldes
- Angleichung: Bereiten Sie das Gelände im Voraus vor, damit sich die Erde verdichten kann.
- Geländeoberfläche: Planen Sie einen Spielraum von mindestens einem Meter um den Umfang der Jurte herum ein.
- Schotter: Um das Gelände zu stabilisieren und Schlamm zu vermeiden, bedecken Sie den Platz mit Schotter .
- Zugang: Planen Sie eine Zufahrt für Lieferfahrzeuge und sorgen Sie dafür, dass das Gelände für den Aufbau frei ist.
Weitere Informationen finden Sie auf unserer Seite mit praktischen Tipps.
Wetter und Haftung
Wetterbedingungen
Der Zeitpunkt des Aufbaus hängt von einer günstigen Wetterbilanz ab. Bei ungünstiger Wetterlage kann der Aufbau verschoben werden.
Haftung
Der Kunde ist im Falle einer Verschiebung des Aufbaus für die Lagerung der Jurte verantwortlich.


Schritte der Montage